How to Clean Your 3D Printer Vat
Treat Your Printer Well and It Will Get You Thousands of Minis for a Long Time
So you’ve been having a blast with your 3D printer, creating many unique prints, right? But it’s time to give your trusty printer some TLC and clean that resin vat.
Taking care of your 3D printer vat is essential to ensure your printer’s longevity and optimal performance. A clean vat helps to prevent clogs, ensure the accuracy of your prints, and improve the overall quality of your 3D prints.
Don’t worry. It’s more manageable than it sounds. We’ve got a handy list of steps to help you out.
Grab your gloves, put on your favorite tunes, and let’s get that vat sparkling clean. Here’s a step-by-step guide on how to clean your 3D printer vat:
#1. Empty the Resin
Carefully pour unused resin back into its original container before cleaning the vat. If there are cured prints or solidified resin, gently remove them using a plastic scraper or spatula. Be cautious not to scratch the vat’s surface.
#2. Prepare Isopropyl Alcohol (IPA)
Isopropyl alcohol (IPA) is commonly used to clean resin vats. Fill a container with enough IPA to submerge the vat, or use a spray bottle to apply it directly.
#3. Remove the Vat
Depending on your printer, you may need to remove the vat from the printer. Refer to your printer’s manual for instructions on safely removing it.
#4. Wiping
Using a lint-free cloth or sponge, dip it into the IPA and wipe the interior and exterior surfaces of the vat. Pay close attention to the walls, bottom, and areas with residual resin. This helps dissolve and remove any leftover resin.

#5. Rinsing
After wiping, rinse the vat with fresh IPA. Swirl the IPA around to ensure it reaches all surfaces of the vat. This step helps remove any remaining residue and contaminants.
#6. Drying
Allow the vat to air dry completely. You can also use compressed air or a lint-free cloth to aid in the drying process. Ensure there is no moisture left before reassembling or using the vat again.
#7. Reassembling
Once dry, reassemble it according to your printer’s manual. Please ensure all components are correctly aligned and secured before inserting them back into the printer.
There you have it! Your 3D printer vat is now squeaky clean and ready for your next printing adventure. By following these simple steps, you can keep your 3D printer in excellent condition and be certain that your prints arrive ideally every time.
Final Thoughts
It’s important to note that different printers and resin vats may have specific cleaning requirements. Always refer to your printer’s manual or the manufacturer’s guidelines for the recommended cleaning procedures. Additionally, follow safety precautions when working with resin and IPA, such as wearing gloves and safety glasses and working in a well-ventilated area.
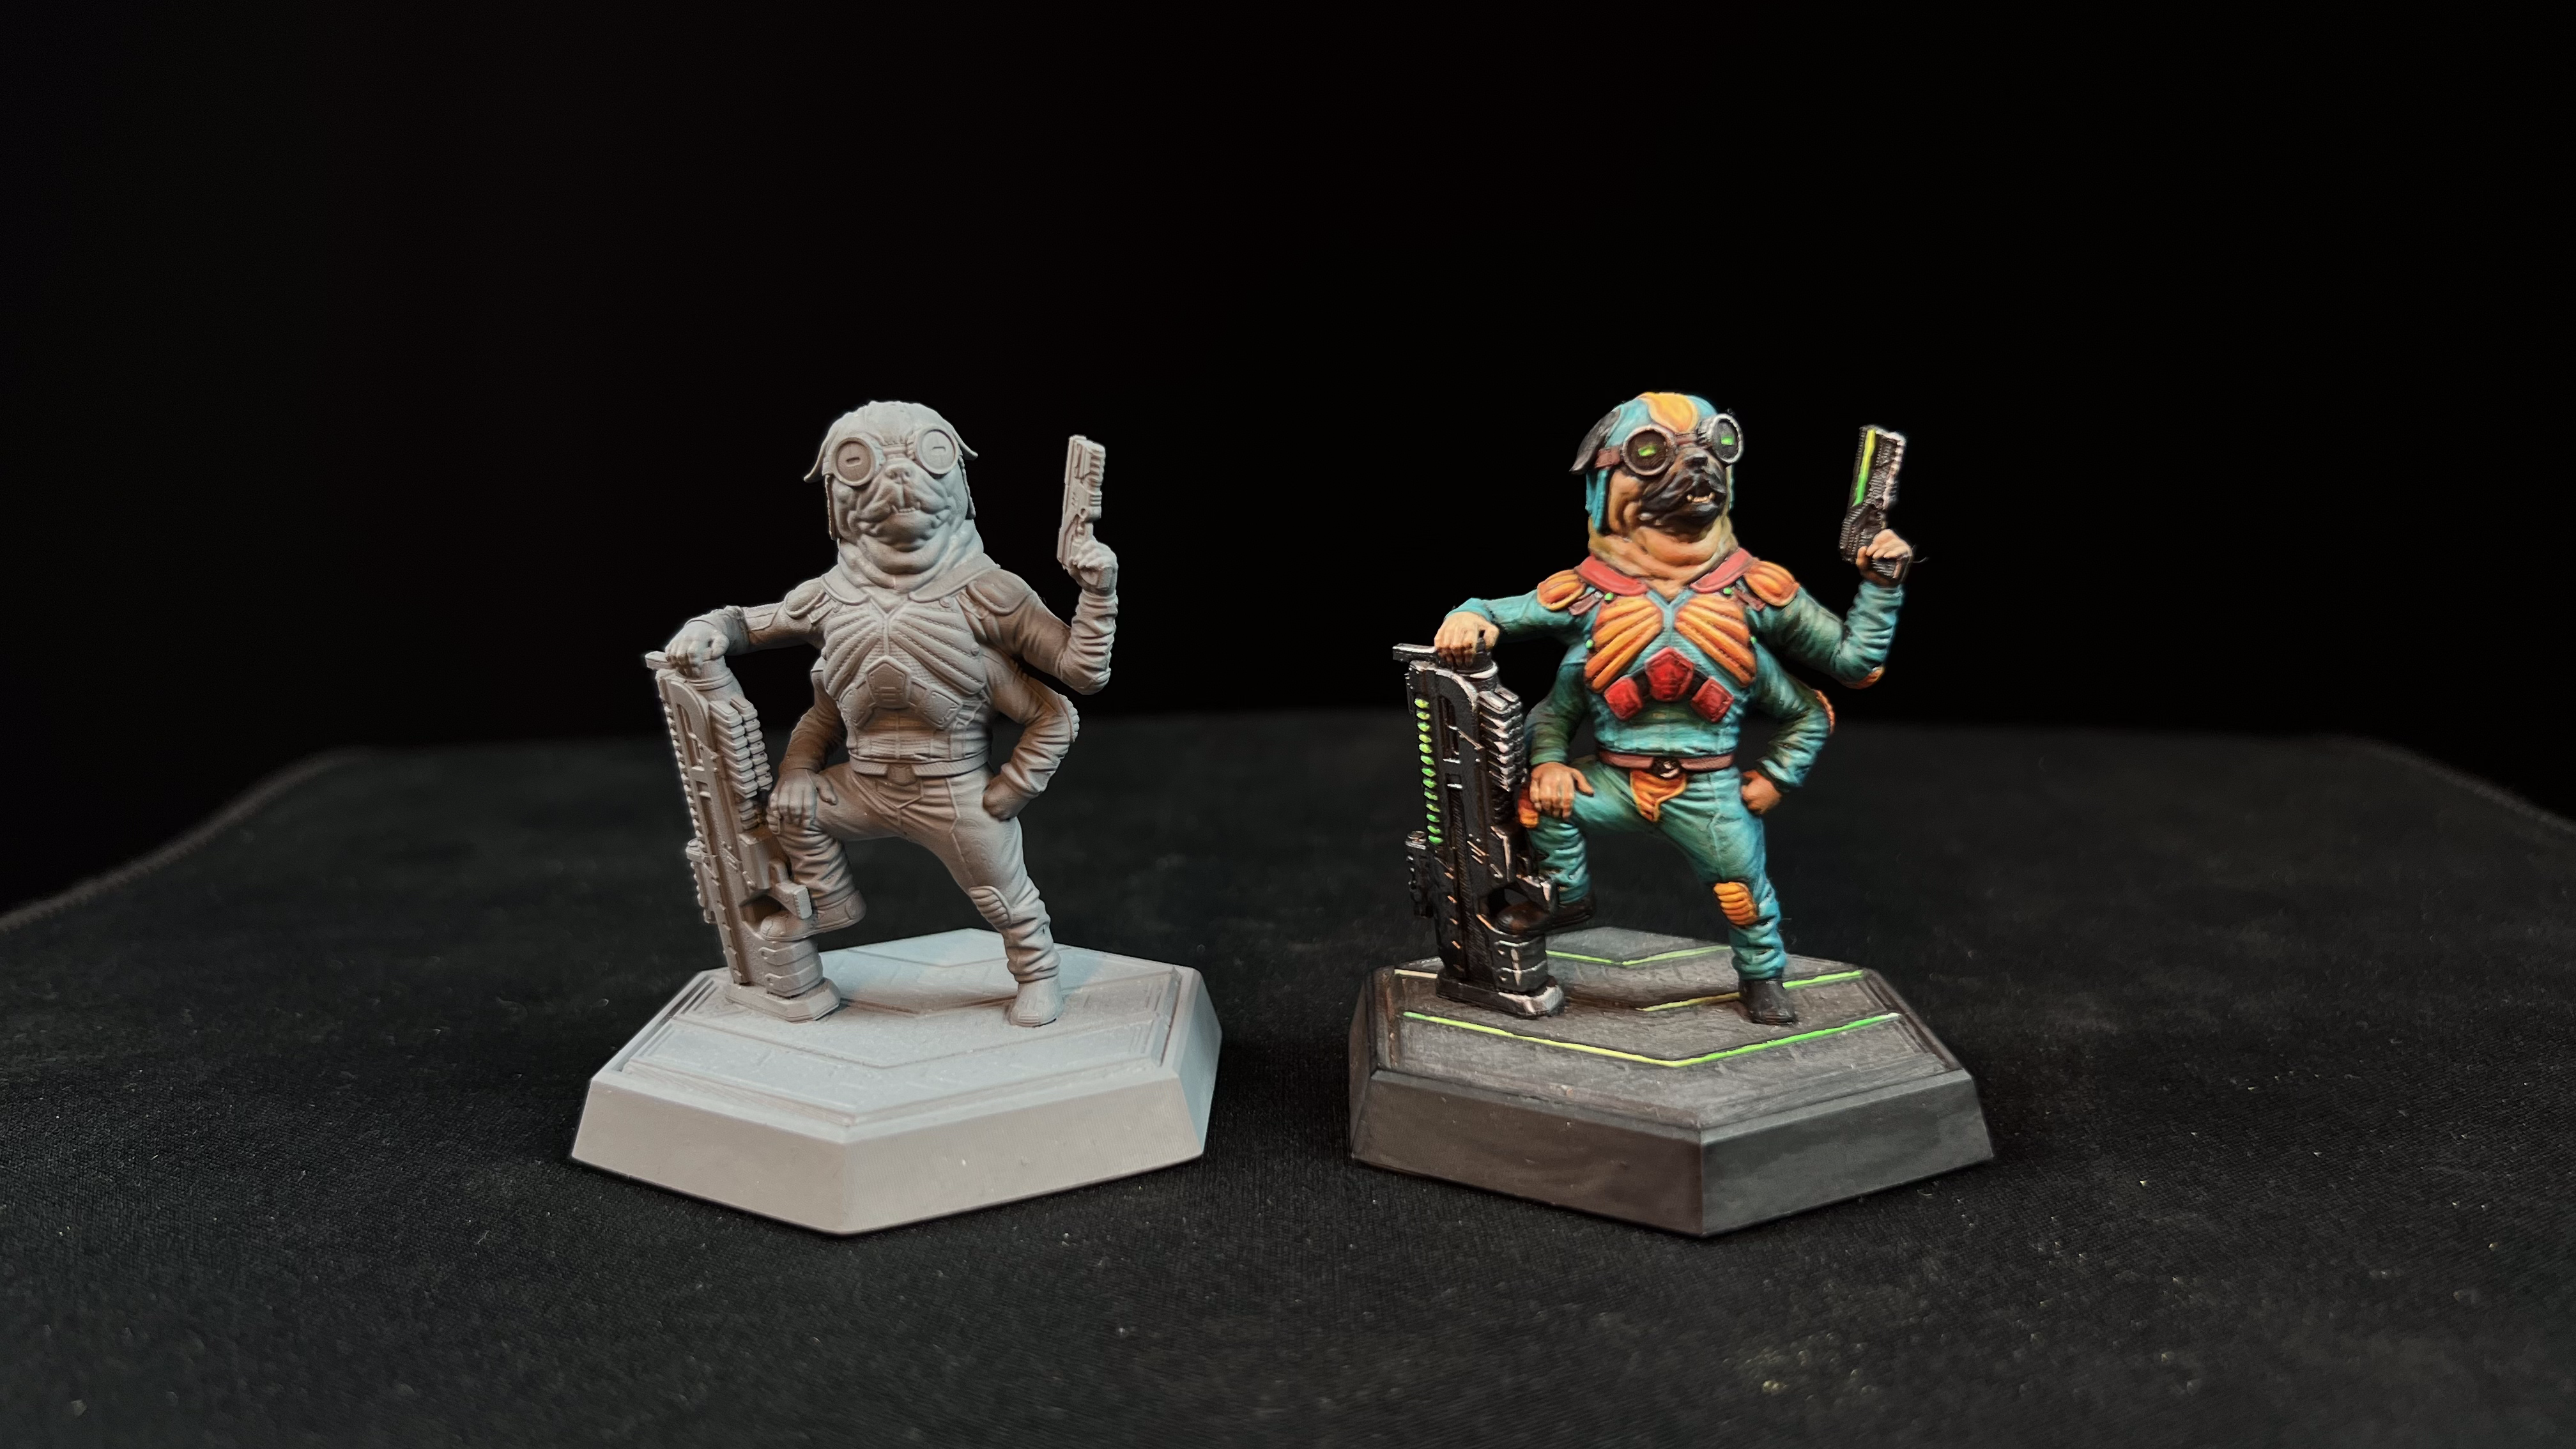
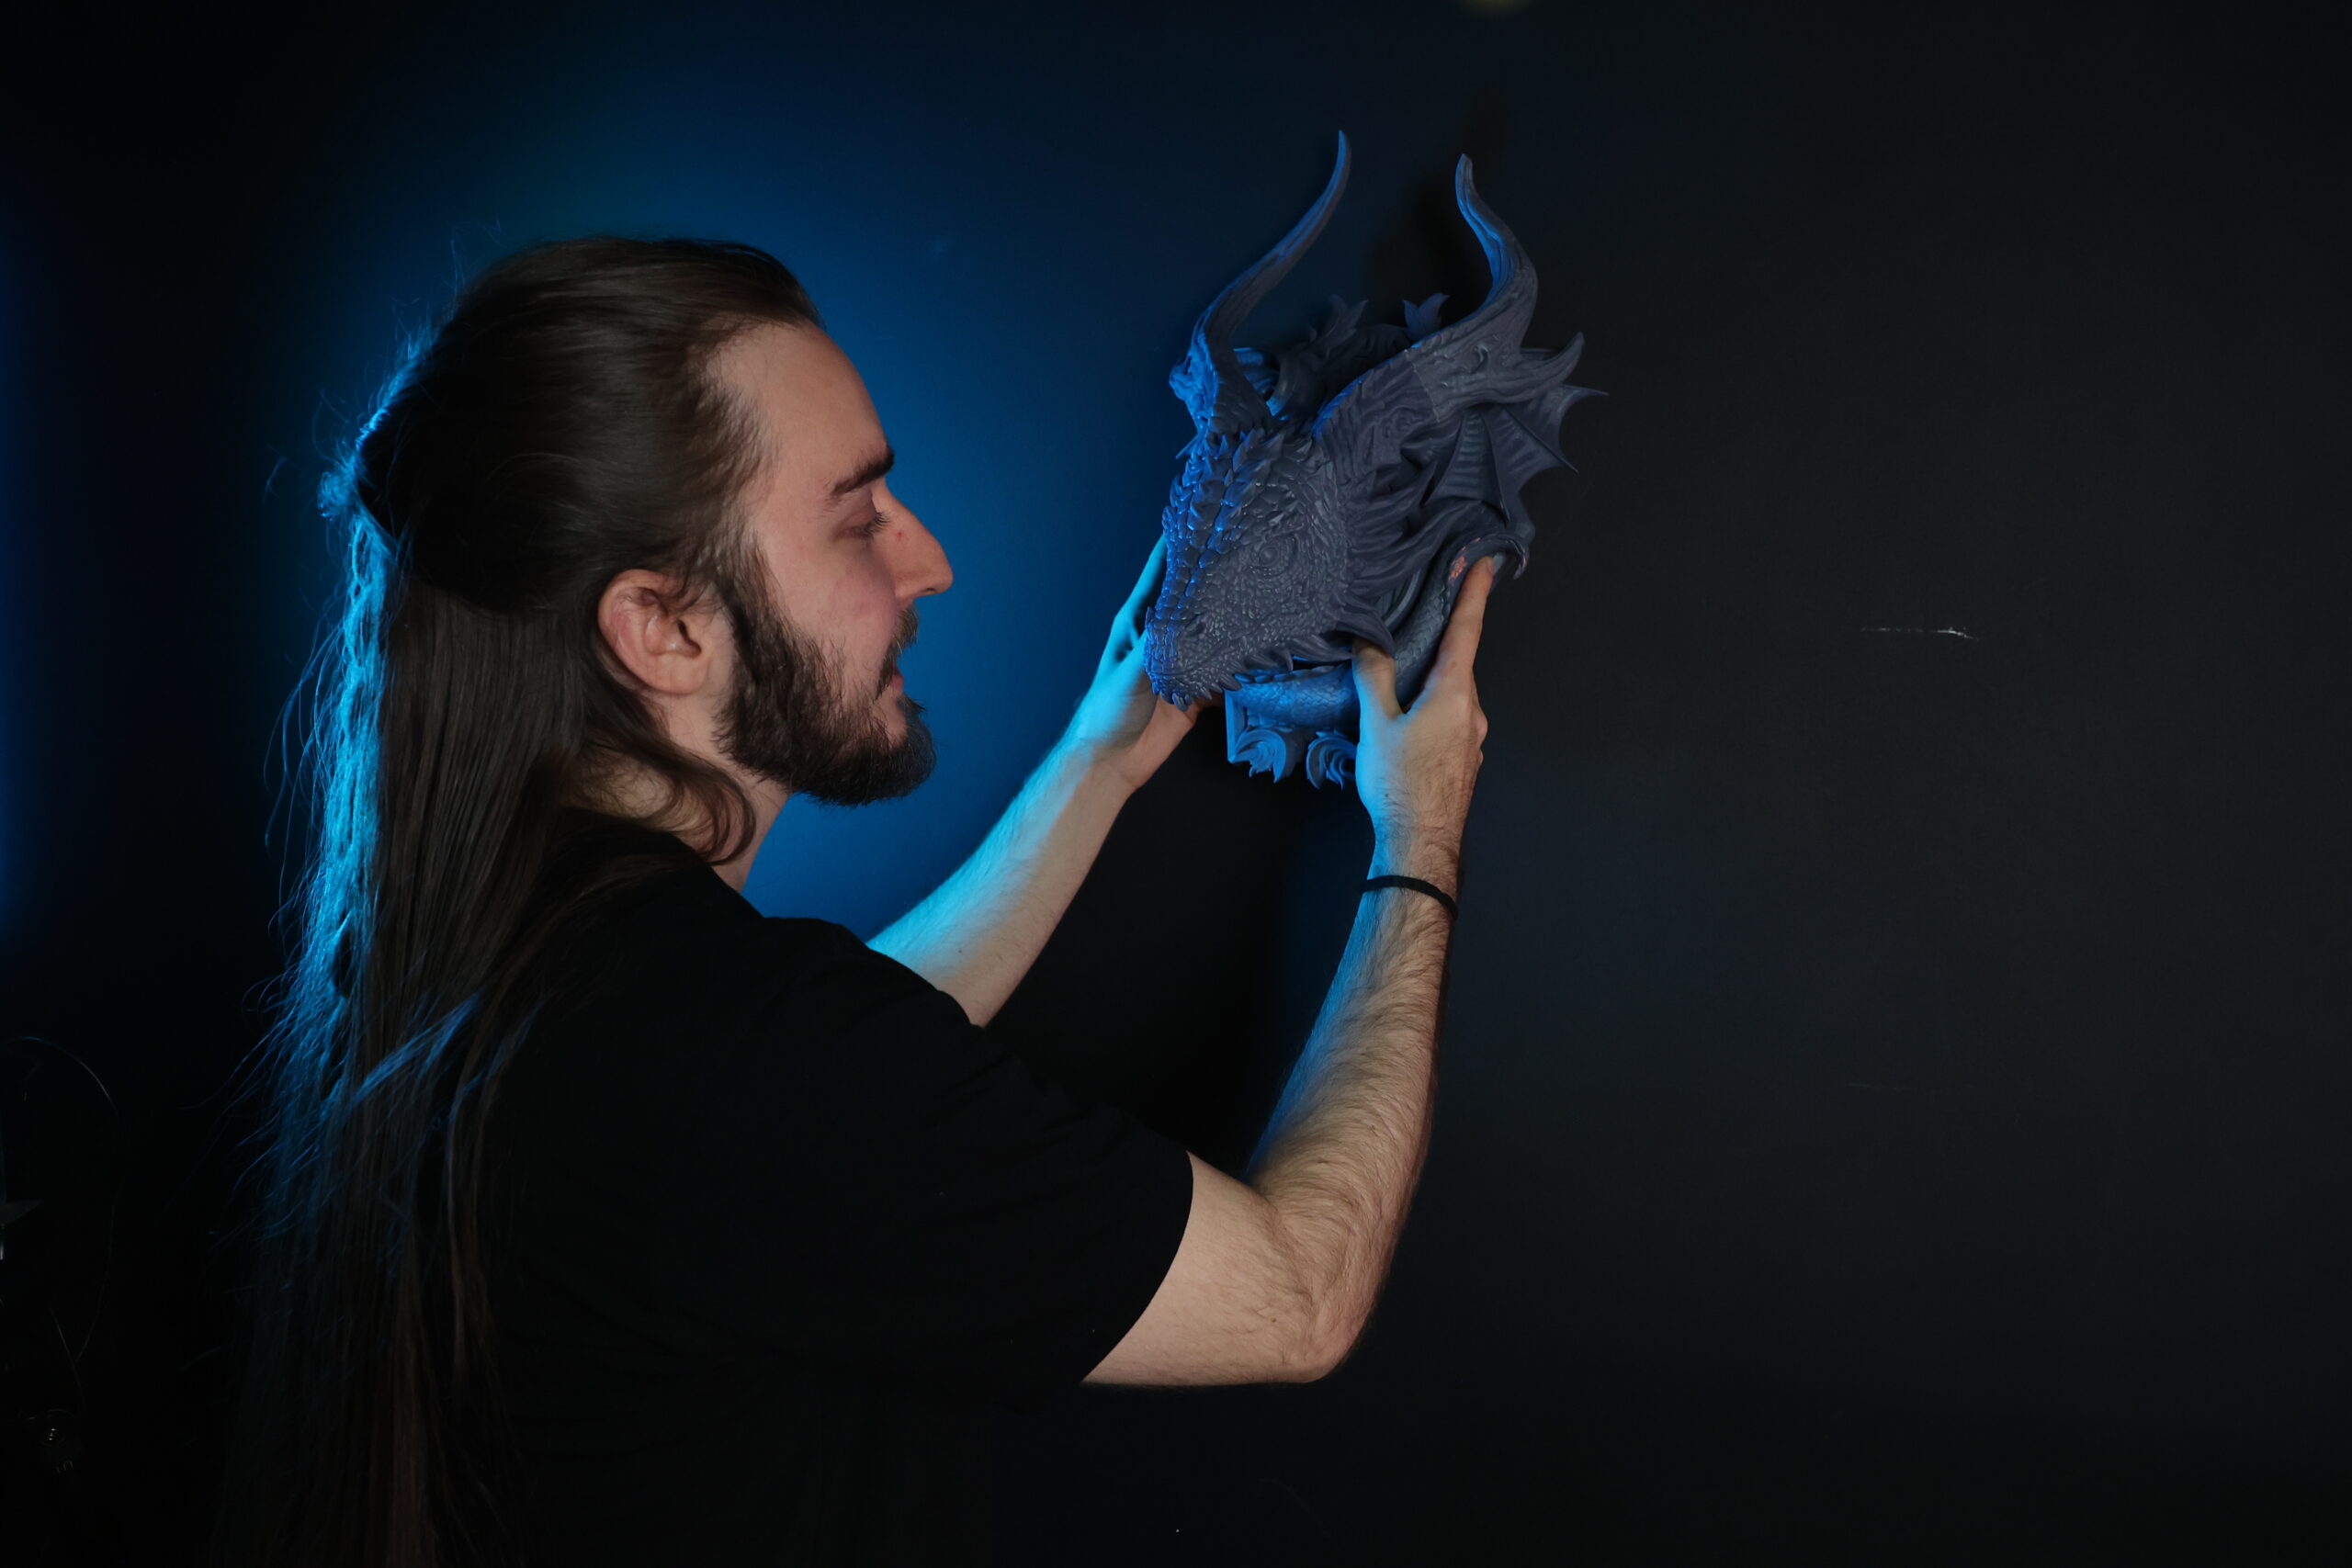
Now you can start creating some jaw-dropping prints without any worries. What? Need help with what to print? If tips are needed, check this out: 11 different things you can start printing now. Happy reading, happy printing, and may your models be nothing short of extraordinary!
Loot Studios can help you print highly detailed minis, statues and props. Choose your favorite bundle from our previous releases or sign up for Fantasy or Sci-Fi to receive a new bundle every month. You can also check out some tips at our YouTube Channel.