Exploring Painting Techniques: Drybrush
Simple Flourishes that Give Extra Depth for Your Work
Drybrush is… Well, as you may expect, a technique that involves bristles almost devoid of paint. It is commonly used in lots of different mediums, not just minis. Applying paint this way provides a special texture on your chosen surface, meaning that your miniatures will gain lots of complexity in just a few minutes consuming little material.
It is best done over a base coat to provide uniform and special coloring, often employed with metallic paints to give that characteristic sheen of armors, guns and the like. It may also be used to simulate rougher textures, such as stone, bone, sand, or fur. While some types of skin can be reproduced with this method, if this is what you’re looking for we’d recommend a specific article on painting realistic skin.

Step by Step
In order to achieve this effect, the steps you may take are pretty simple and straightforward. Compared to the detailing stage, it arguably requires less precision and tires hands, wrists and vision less. While these are to be delineated further, the overall gist is: prepare your miniature and paints, get a proper brush, load it correctly with paint, and apply it onto the correct surface.
First, your mini: if you’re doing a base coat, it may sound redundant, but check that the post-processing steps were done thoroughly and the piece has been trimmed, filed, and cleaned. You have to start with a dry miniature.
As for your paints, it helps if they’re ready to work with before you start the whole process. If you have an artist palette, surely your workflow and finish might look a lot better if the paints are laid out beforehand. They can even be mixed on the spot to be blended more smoothly as you drybrush. On this matter, some people like to work with a Drybrush Palette, which is a textured surface that lets you thin out paint by working it into small crevices of the palette itself.
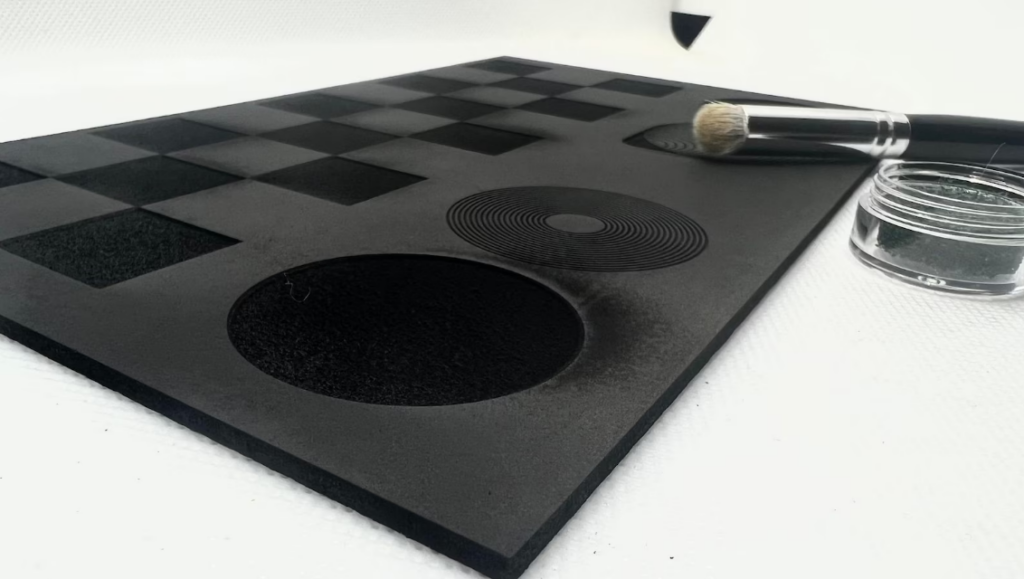
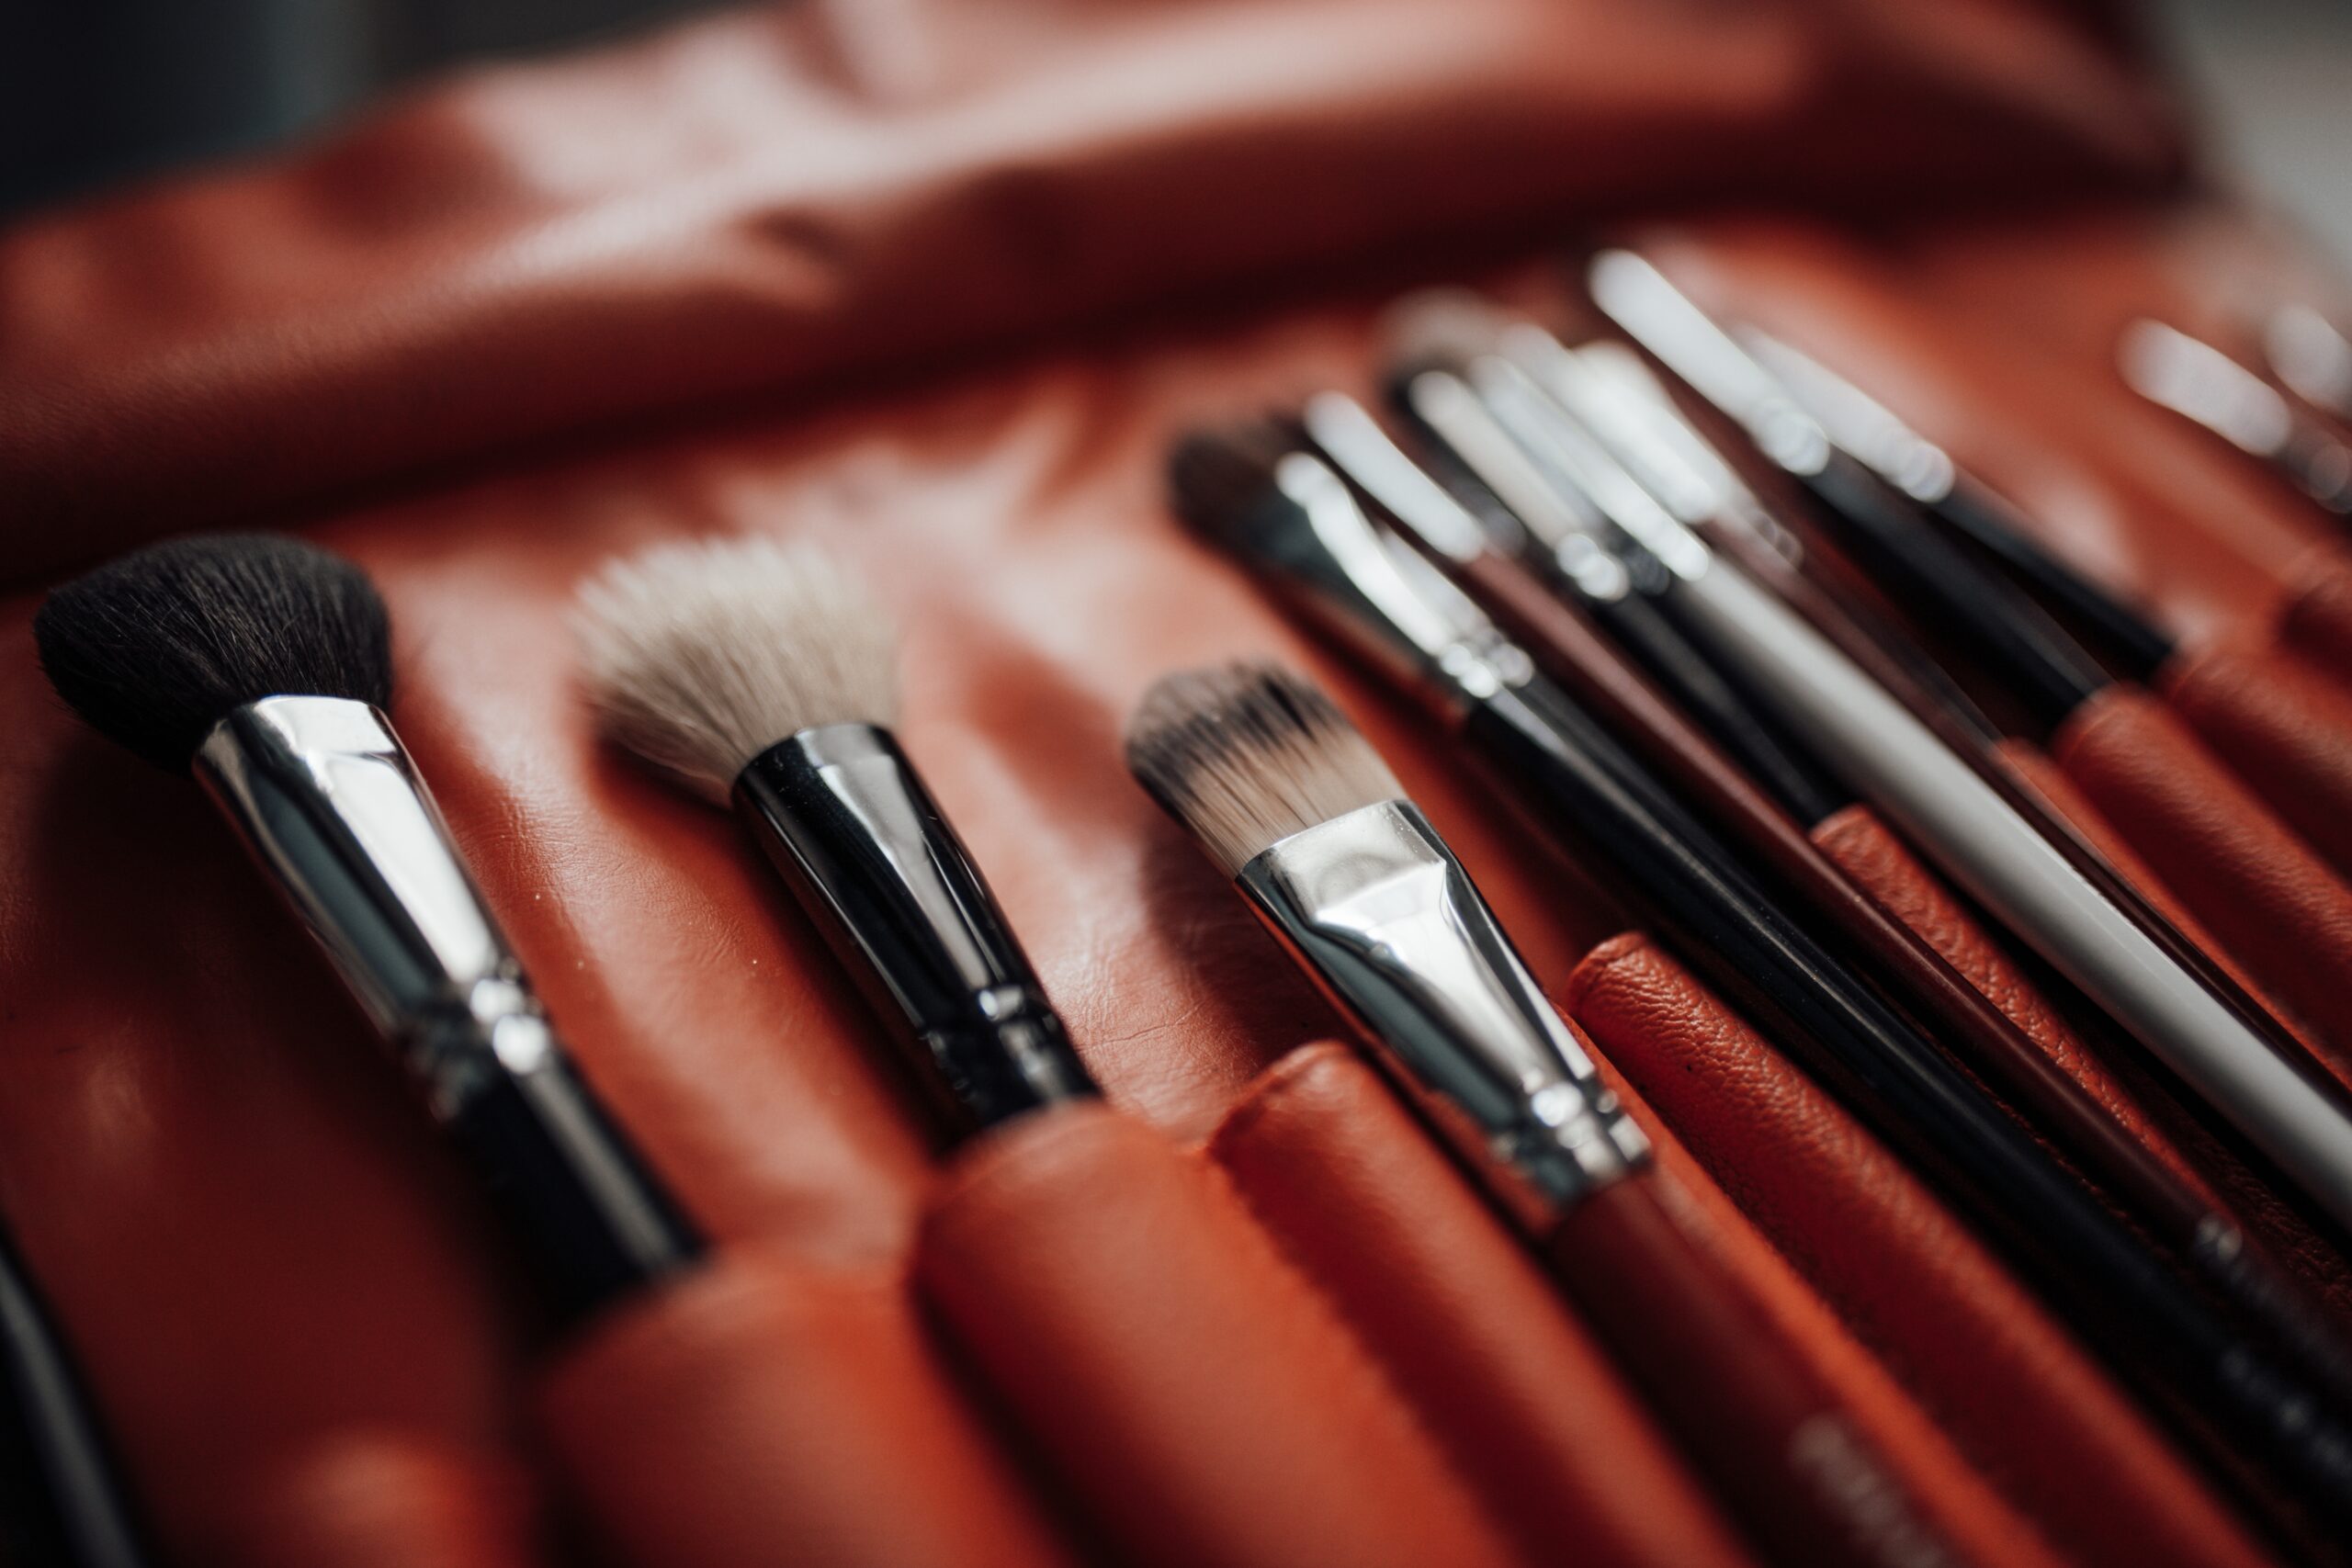
As for a brush, it’s preferable to get a big one (as it provides a smoother texture on the finished mini) with a rounded tip, such as the one on the picture above.
Drybrushing
Next, you need to wet your brush. For drybrushing? Yes. It’s as intuitive as filing your taxes, I know. But even for a rougher texture, you still need some water to allow the flow of paint onto your surface. For that, you may wish to buy a dampening pad or, in a pinch, get a (CLEAN!!!) kitchen sponge. You want your brush wet to feel cool to the touch on the skin, such as if you’re juuust starting to break a sweat. Think “going up four flights of steps”.
For loading the paint onto your brush, I recommend doing so by the laterals of the “dome” which is composed by the bristles. One again, this is to ensure uniform paint distribution through your tool, as they’ll slowly fill its interior too.
And the moment we’ve been waiting for: painting! You may apply the paint in circles, swiping, stippling, or just jamming the brush onto crevices and details of your miniature. As for what I’d recommend, start with simpler approaches and vary them as you get more familiar with the results that each one produces.
Practice, practice, practice. With this method in your arsenal, I hope this post makes it easier for you to get the gorgeous-looking, well painted miniatures we all strive for. We’ll handle the minis.
Loot Studios can help you paint highly detailed minis, statues and props. Choose your favorite bundle from our previous releases or sign up for Fantasy or Sci-Fi to receive a new bundle every month. You can also check out some tips at our YouTube Channel.