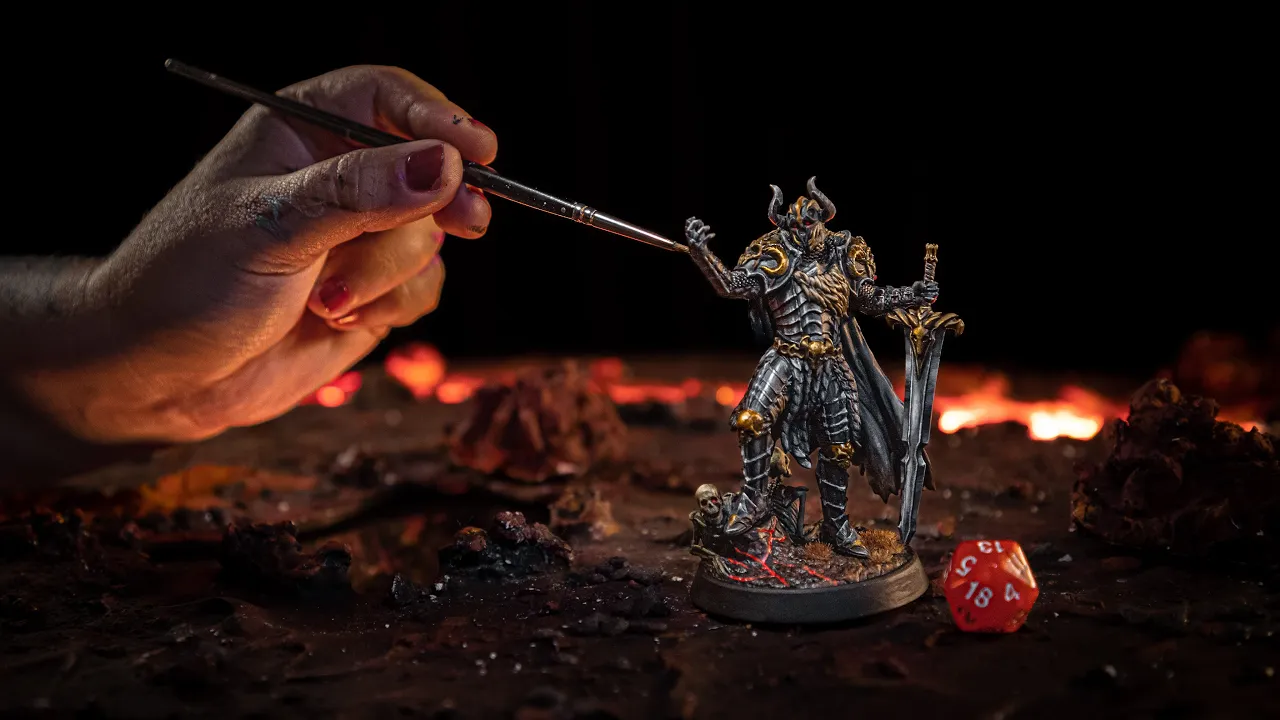
Painting Realistic Fur
It’s a Matter of Using the Same Overall Logic for Miniature Painting
A Material as Common as Wood, Stone or Metal
Whether it’s a furry creature or a simple piece of clothing, you’ll sooner than later need to paint a matted surface. I mean, most people have hair, right? As with many other materials, painting realistic fur boils down to perceiving the tones present in a surface, how they relate and blend into each other and finally, applying highlights and shadows. We’ll break this down into manageable steps.
Look at What You’ll Be Painting
The number of colors to start from depends on how varied you wish to give the final look. Much like wood, fur more often than not looks streaked with other colors, giving an overall flowing texture. The difference lies in the direction it flows. Fur, especially medium-length, curves and usually adopts the shape of the surface it covers.
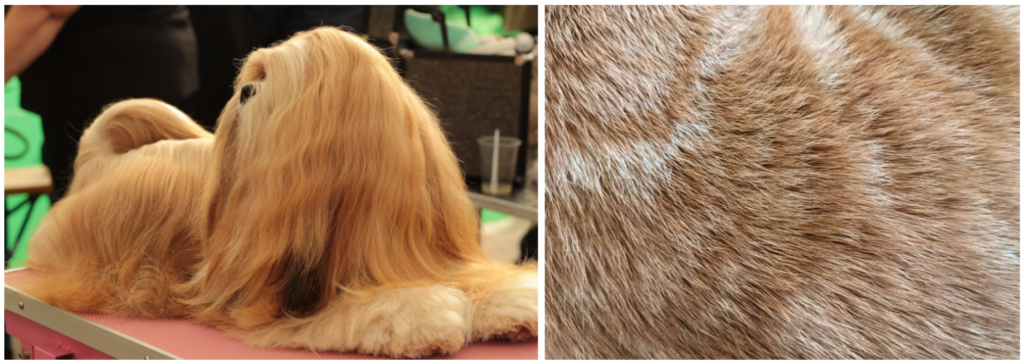
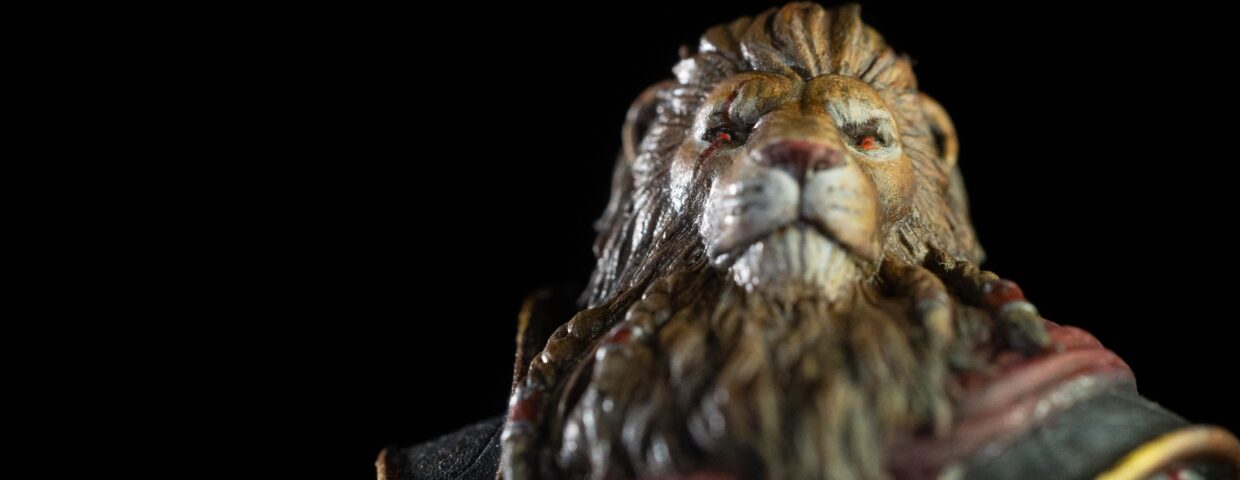
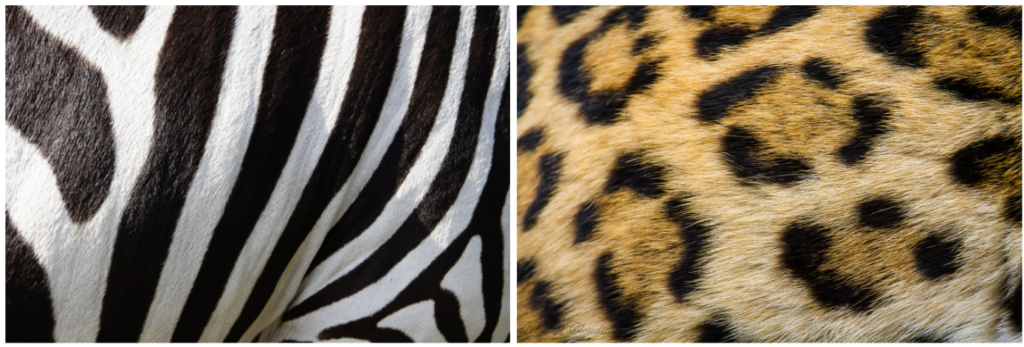
Short fur just has an outward direction, while giving a small hint of the volume underneath by the way it flows. Longer fur flows mostly downwards. They can be wavy or straight (just like matte or glossy). In some animals, like a panther, there’ll be clear highlights on its slick surface. Others, such as zebras or jaguars, have patterns on them.
How You’ll Emulate That
As the painting process goes through base – shadows – highlights, you may wish to pick one to three tones for each step, although one for each, three total, should be enough. It’s rare for a fur coat to be completely homogenous. You’ll use the small scale of a miniature to your advantage.
You’ll start with a base coat. It’s the first layer applied onto your mini and the one who’ll get patterned if you wish it to be so. In this step you’ll work on making your stipples, stripes, patterns, you name it. Be aware that any color used in this step will require more on the further ones, since you’ll need to mix a darker and lighter shade for them. If you wish to blend multiple colors, remember to apply with the examples above in mind. A coat with different hues usually has them following the same direction.
The next steps involve highlights and shadows. In order to do that, you might mix the paints used in the previous step with a darker shade, brown or black. Be frugal when using darker tones as it’s very easy to overdo it. On the other side, lighter shades, yellow or white might help you achieve the highlights for your model. It’s important to be aware of the direction the fur flows when working these details. If your models are textured, this step becomes easier.I know text isn’t the best medium to offer these instructions, so I advise you to look for pictures and videos of people working with these. We have a video of Marcia, our Lead Painter, working on a miniature that wears a fur coat:
For the people who wish something more streamlined, Filipe, our Specialist Painter, did a Youtube Short:
That’s It?
Pretty much, yeah. As with any creative and hands-on endeavor, the next steps include getting more references on potential finishes and practicing. On the same vein, take a look at our post on How to Paint Clothing and Fabrics on Miniatures. We promise that it won’t be as “ruff” as this one. Haha. I’ll see myself out.
Loot Studios can help you paint highly detailed minis, statues and props. Choose your favorite bundle from our previous releases or sign up for Fantasy or Sci-Fi to receive a new bundle every month. You can also check out some tips at our YouTube Channel.