Realistic Metal: Painting Weapons and Armor
Tips to Paint Believable and Astonishing Metal
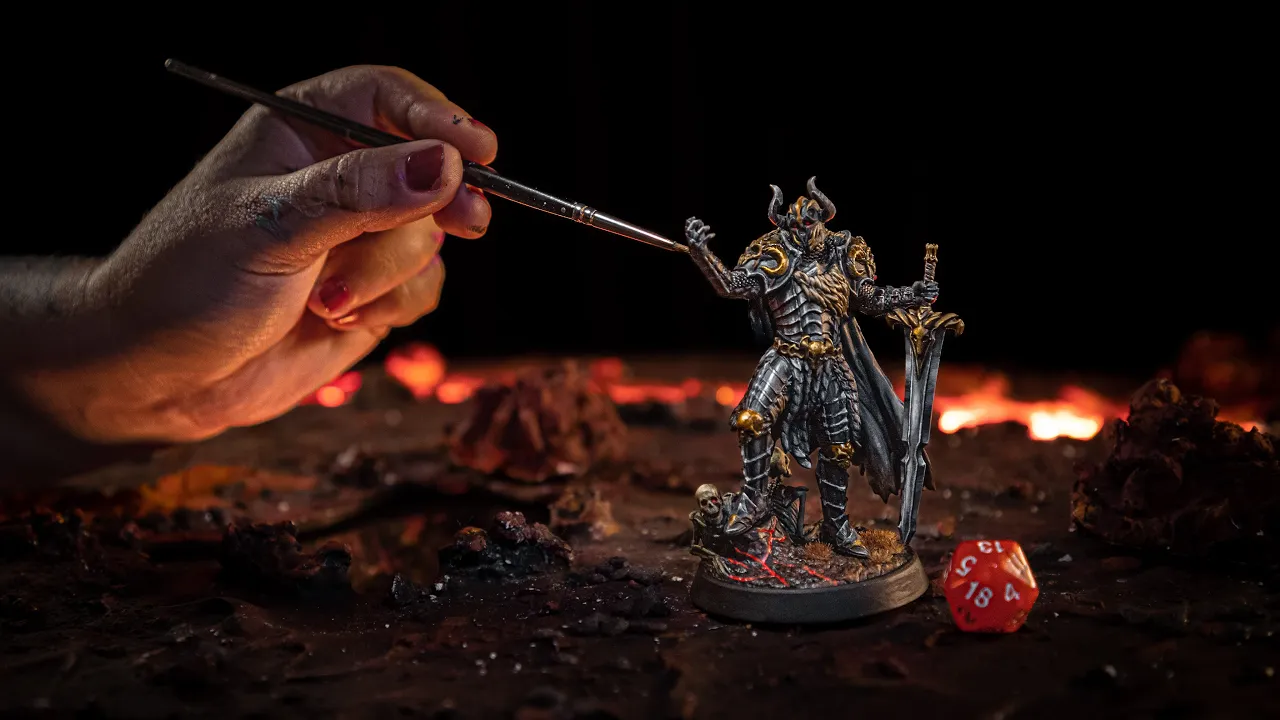
Painting minis is ultra fun but highlighting the metal parts is crucial, right? Whether you’re painting a statue or a mini, there are tons of different weapons, armors, robots, coins and guns ready to create some challenging moments in our painting process. A shiny armor from a fresh soldier ready to run for his/her first battle should look completely different from a rusty one on a death-bringer-skull inside a watery cave. And mastering these variations can take you to a whole new level of painting miniatures where you can really stand out. Let’s go over some techniques that for sure can make you proud when showcasing your tiny huge pieces of art!
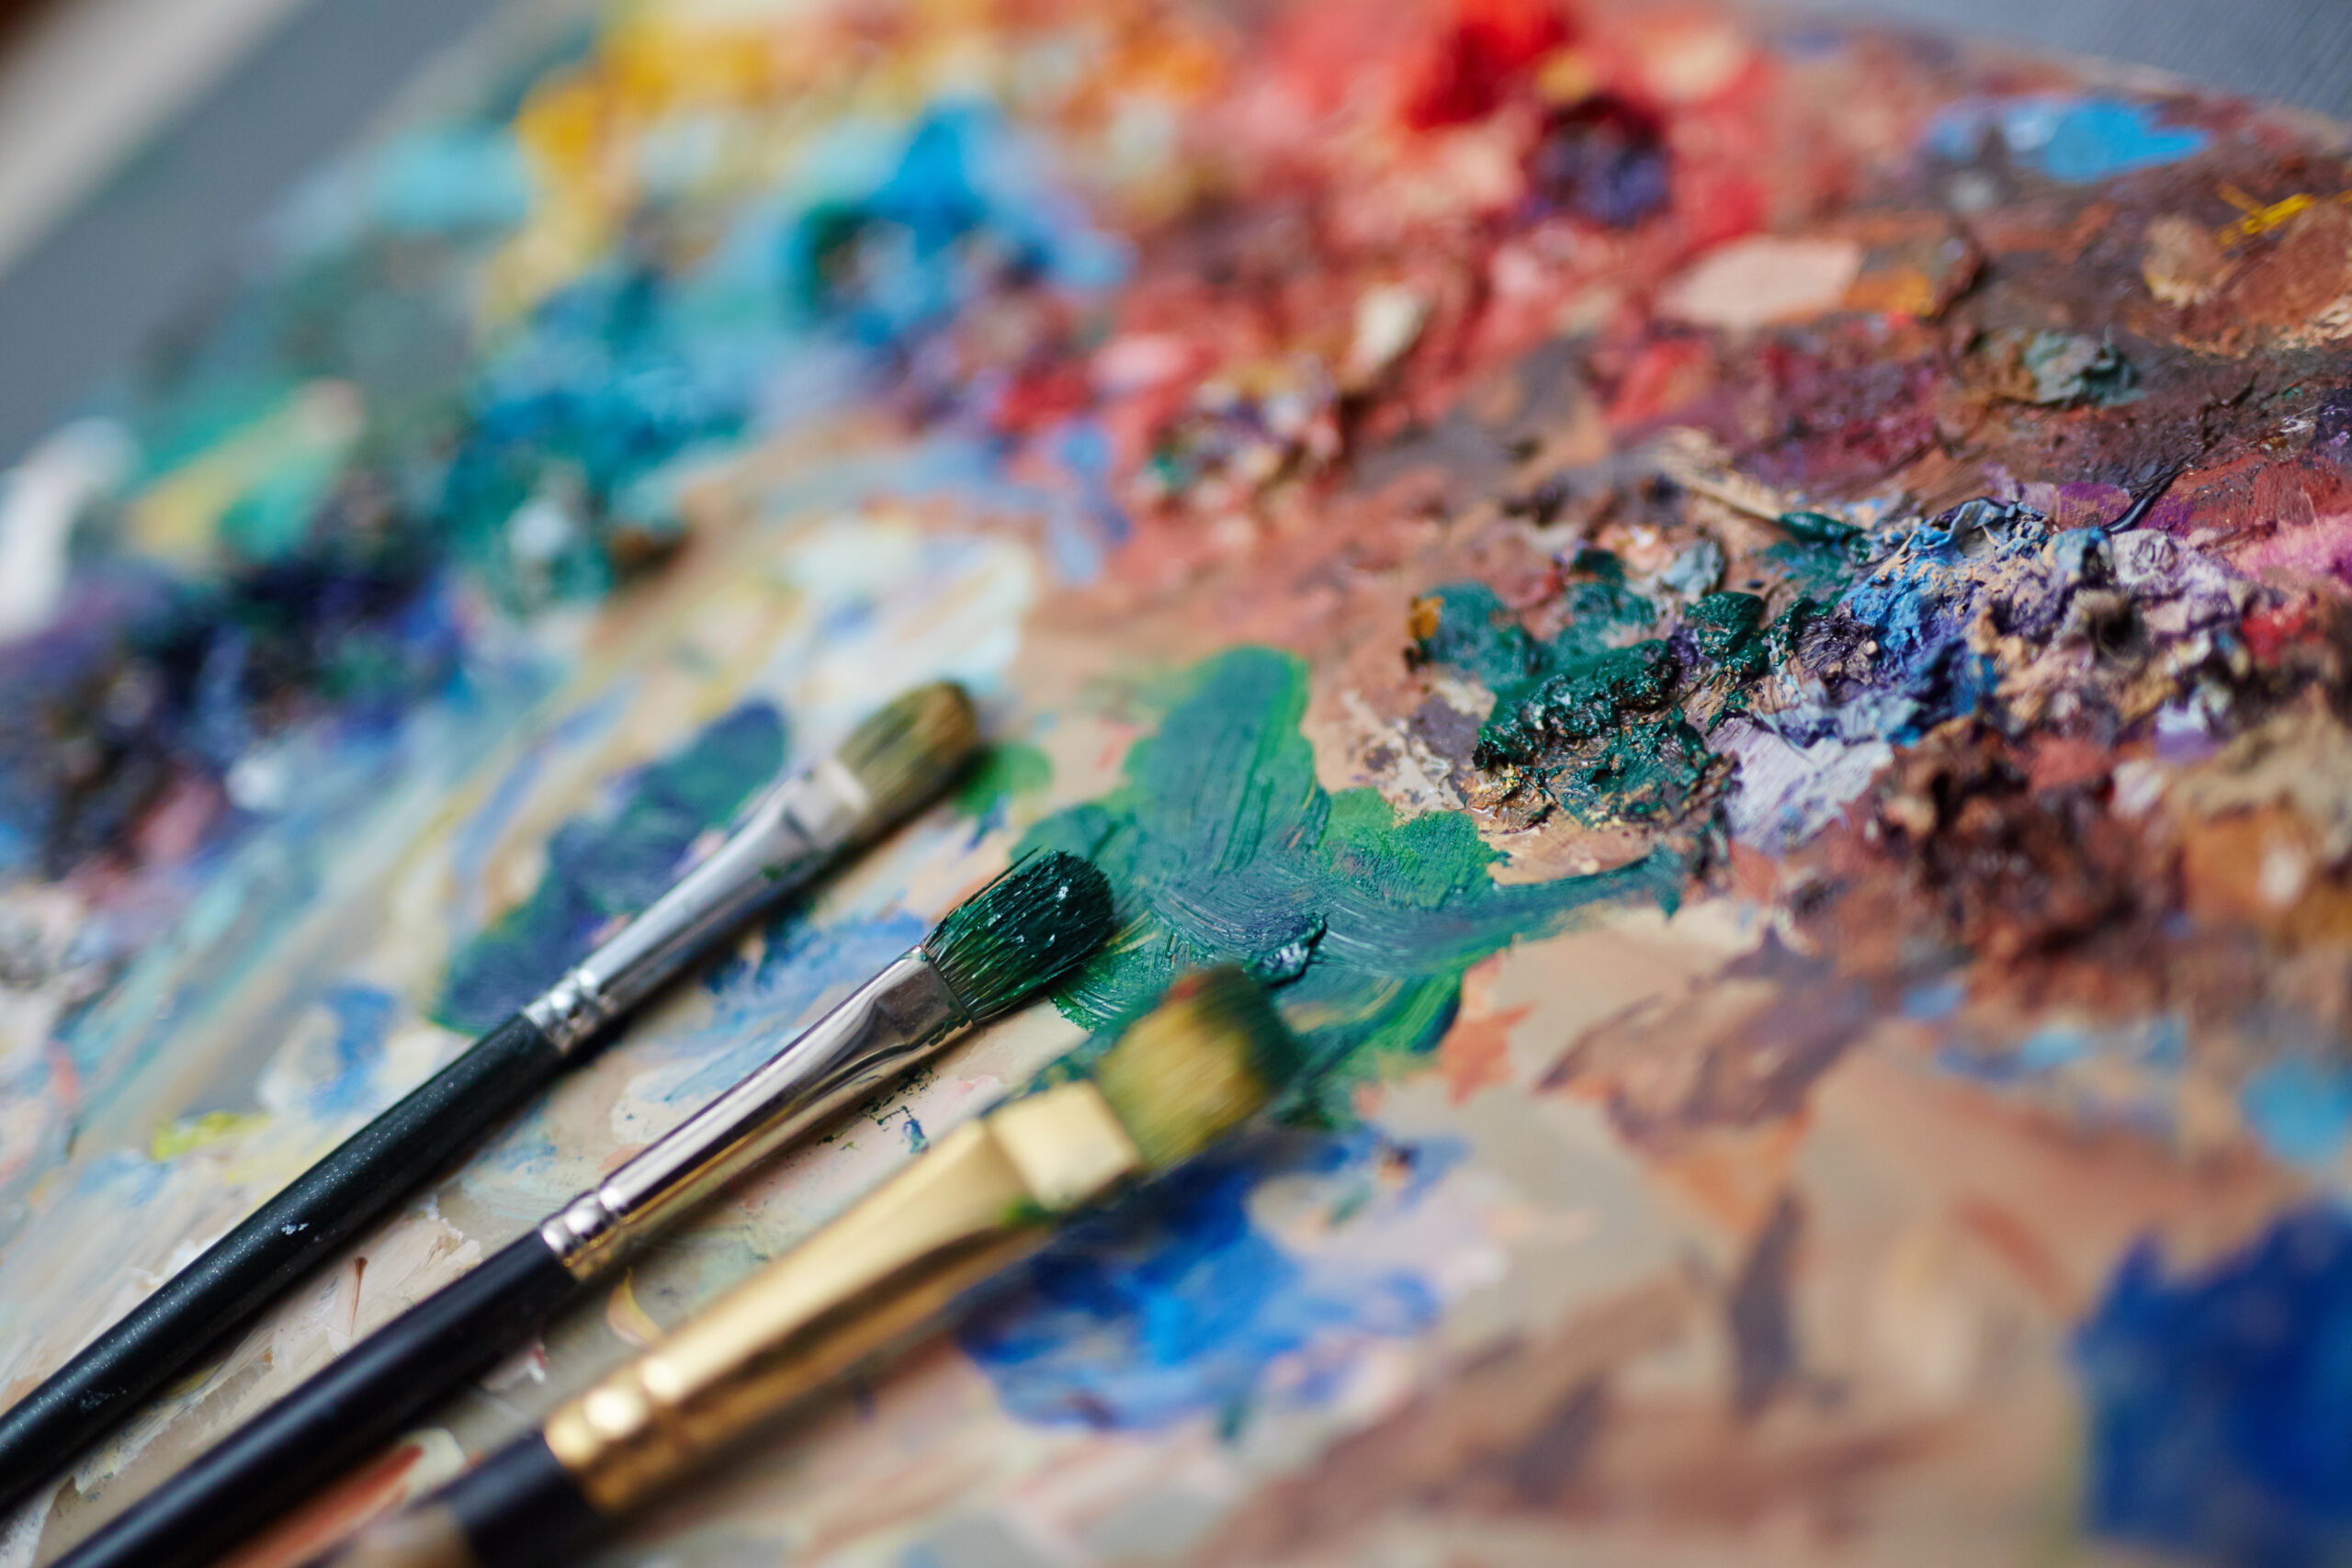
Step 1: Choosing the Colors
Choosing the right paint is mandatory, because metallic paints have particles of metal in them so they can reflect the light and bring that desired illusion of metal. Of course you should bring other colors too, so the minis can get really unique and special, but as we’re focusing on metal today, be sure to have gold, silver, bronze and copper from your favorite brands right away. By mixing them with other colors you already own, you can create some very special personalized shading which we will also cover here soon.
Step 2: Preparation
Before you start painting, prepare your minis as usual (we have a very cool selection of minis for you here), but be mindful that the color of the primer can definitely help you in creating the final effect. A gray primer is an excellent choice if you’re looking to achieve a steel or silver effect, but a dark red brown will make a rusty effect pop out easier. It can also speed up the process so you can have the desired effect with fewer layers than usual – and believe me, you’ll need lots of them today.
Step 3: Base Coat
Apply the base coat evenly over the surface of the miniature, making sure to cover all the nooks and crannies. A dark gray or black color is usually ideal, but you may choose something different depending on the color you’re planning on your miniatures. Basecoating is fundamental, don’t forget this step.
Step 4: Layers After Layers
Be patient, and I promise you won’t regret it! You will start by applying the metallic color all over the base coat, making sure everything is even and covers the entire surface of the miniature. Give time to the paint to dry completely before you move on to the next layer, this will create a really nice depth and texture to your piece. You can do this faster with an airbrush, but remember to mix the techniques here because dry brushing is amazing too when you want the metal illusion. Let’s focus on some different outcomes here to help you even further.
Gold Diggers
After applying the gold color, if you think it’s too bright and you want a more brassey gold effect, you can dry brush a little bit of silver in it. The successive light coats of it will bring a burnished effect. These small details can make a huge difference with consistent light layers on the miniature. The more silver you add, the more white gold style you will bring, so test it until you find the right amount for you. Wash your piece lightly with a black wash or even red or dark brown, depending on the level of antiqueness you want for it.
You can add pure silver on some edges with a very small and thin brush to create more definition and realism, but this is optional, just have it on your sleeve in case of necessity. If you lightly dry brush the edges, you may find a similar effect. The best part – you’re not looking for accuracy as you usually are when highlighting the pieces, go small and follow your intuition, and then you increase it as you feel it.
If you are doing coin props, for example, you can get an amazing result using an imitation of a gold leaf bond. Start by applying the base coat, let it dry and then apply the golden leaf and wait 15 minutes for it to dry it again. Use a small brush to make the leaf accommodate into the surface or even apply small pieces to any uncovered parts. Remove any excess gently with a brush or a sponge. It’s better if you burnish before cleaning the excess.

Colored Tint Metal
You can use any contrast paints as glazes to tint the metal literally any color you’d like. Silver is a good neutral base start, and then apply a black wash so the shadows and lowlights get more realistic. Increase this effect by dry brushing some iron color to it. Apply silver to edges to pick out definition, testing on your hand to check the lightness and consistency of the paint.
From now on, it’s all about adding the glaze effect you want. This is amazing to make your main characters stand out from armies or other minis, creating uniqueness and a really good final result to the whole collection. Contrats paints already have good consistency, but you should totally mix them with some medium so they get even thinner and they won’t create undesired textures on your pieces. Again, patience is key! Apply the layers and let them dry enough time to apply the next ones, until you achieve your desired effect.
Dark Metal
Follow the same steps as from the one above, but instead of a glimmering silver, go for dark gray or an iron like color. It’s really good to differentiate heroes from monsters in the painting process, if you wish. Any dark wash will enhance the effect of the iron and dark brown wash can bring a rust effect too, it’s totally up to you.
Get Rusty
To make this, all you really need is a red brown applied very watery, to create a good coverage to start. And then a lighter more yellowy brown followed by a mid-range silver. Using foam or a sponge can create a very cool effect, especially if you dab lightly and randomly to create a more natural look. Use a small brush to finish details or correct any excess of undesired color with the effect you’re looking for. Maybe some scratches can also be used here, why not?
Practice makes perfect, so remember to try out different brands of metallic colors, vary the amounts of layers and color combinations, so you become a pro in creating metal effect on your minis. And if you’re painting a lot of minis at once, this other post might help you. I hope you’ll find these steps easy, and let us know if you have anything else to add to this guide! See you soon heroes, and may the best blacksmith wins!
Loot Studios can help you paint highly detailed minis, statues and props. Choose your favorite bundle from our previous releases or sign up for Fantasy or Sci-Fi to receive a new bundle every month. You can also check out some tips at our YouTube Channel.