How to Paint Realistic Scenery Objects
Bringing Worlds and Dungeons to Life
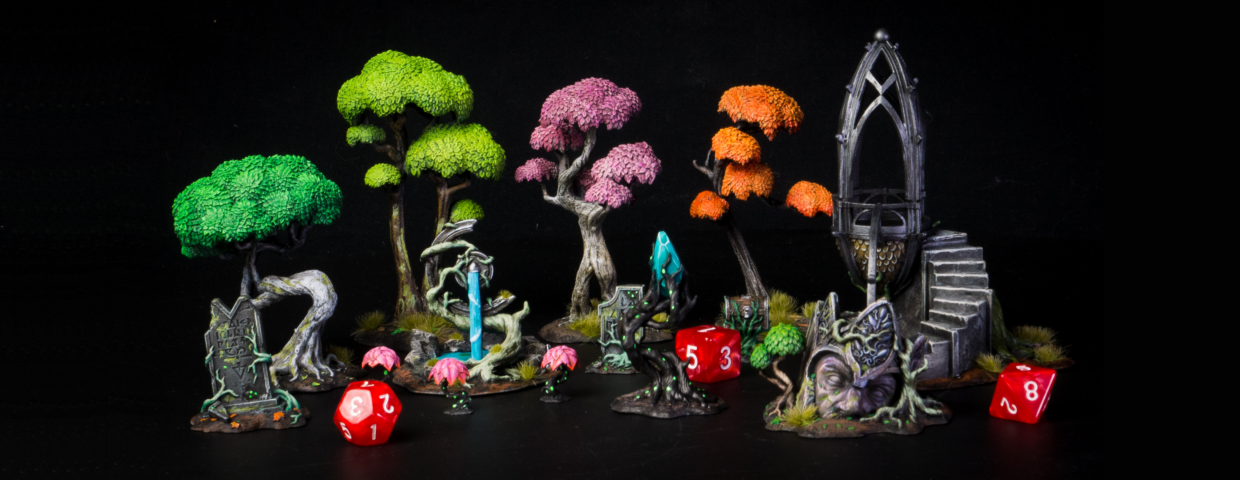
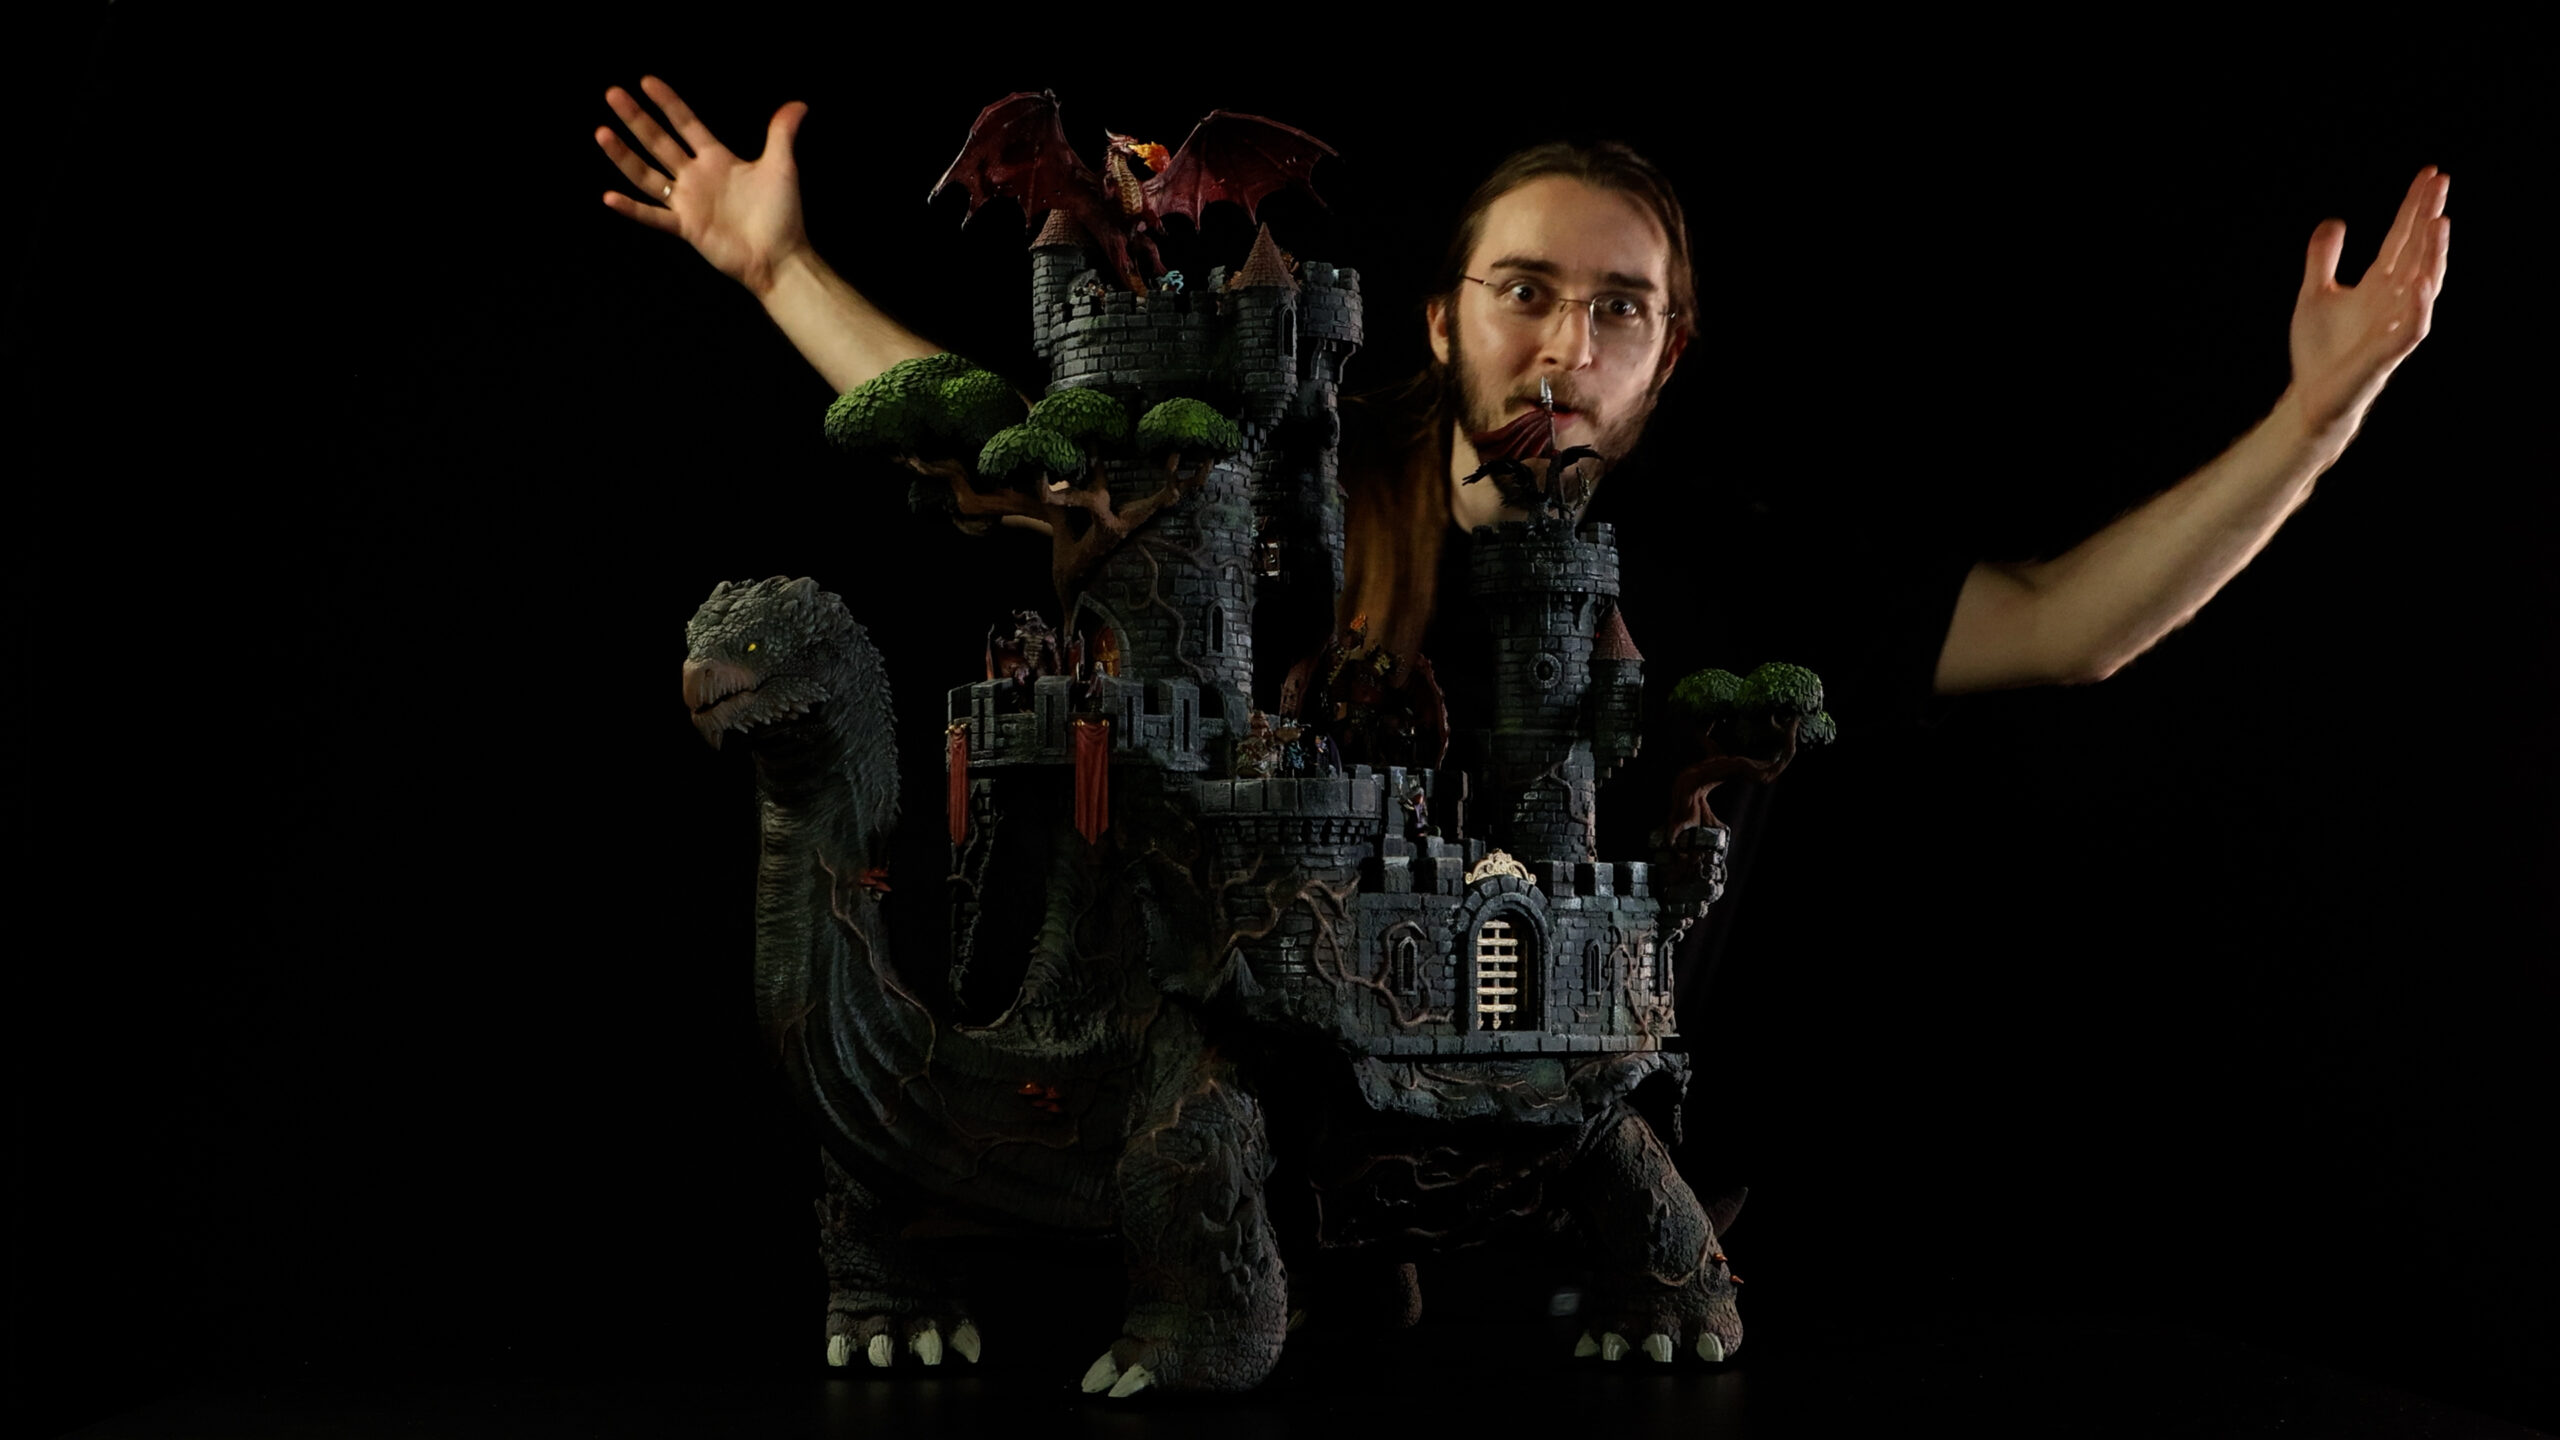
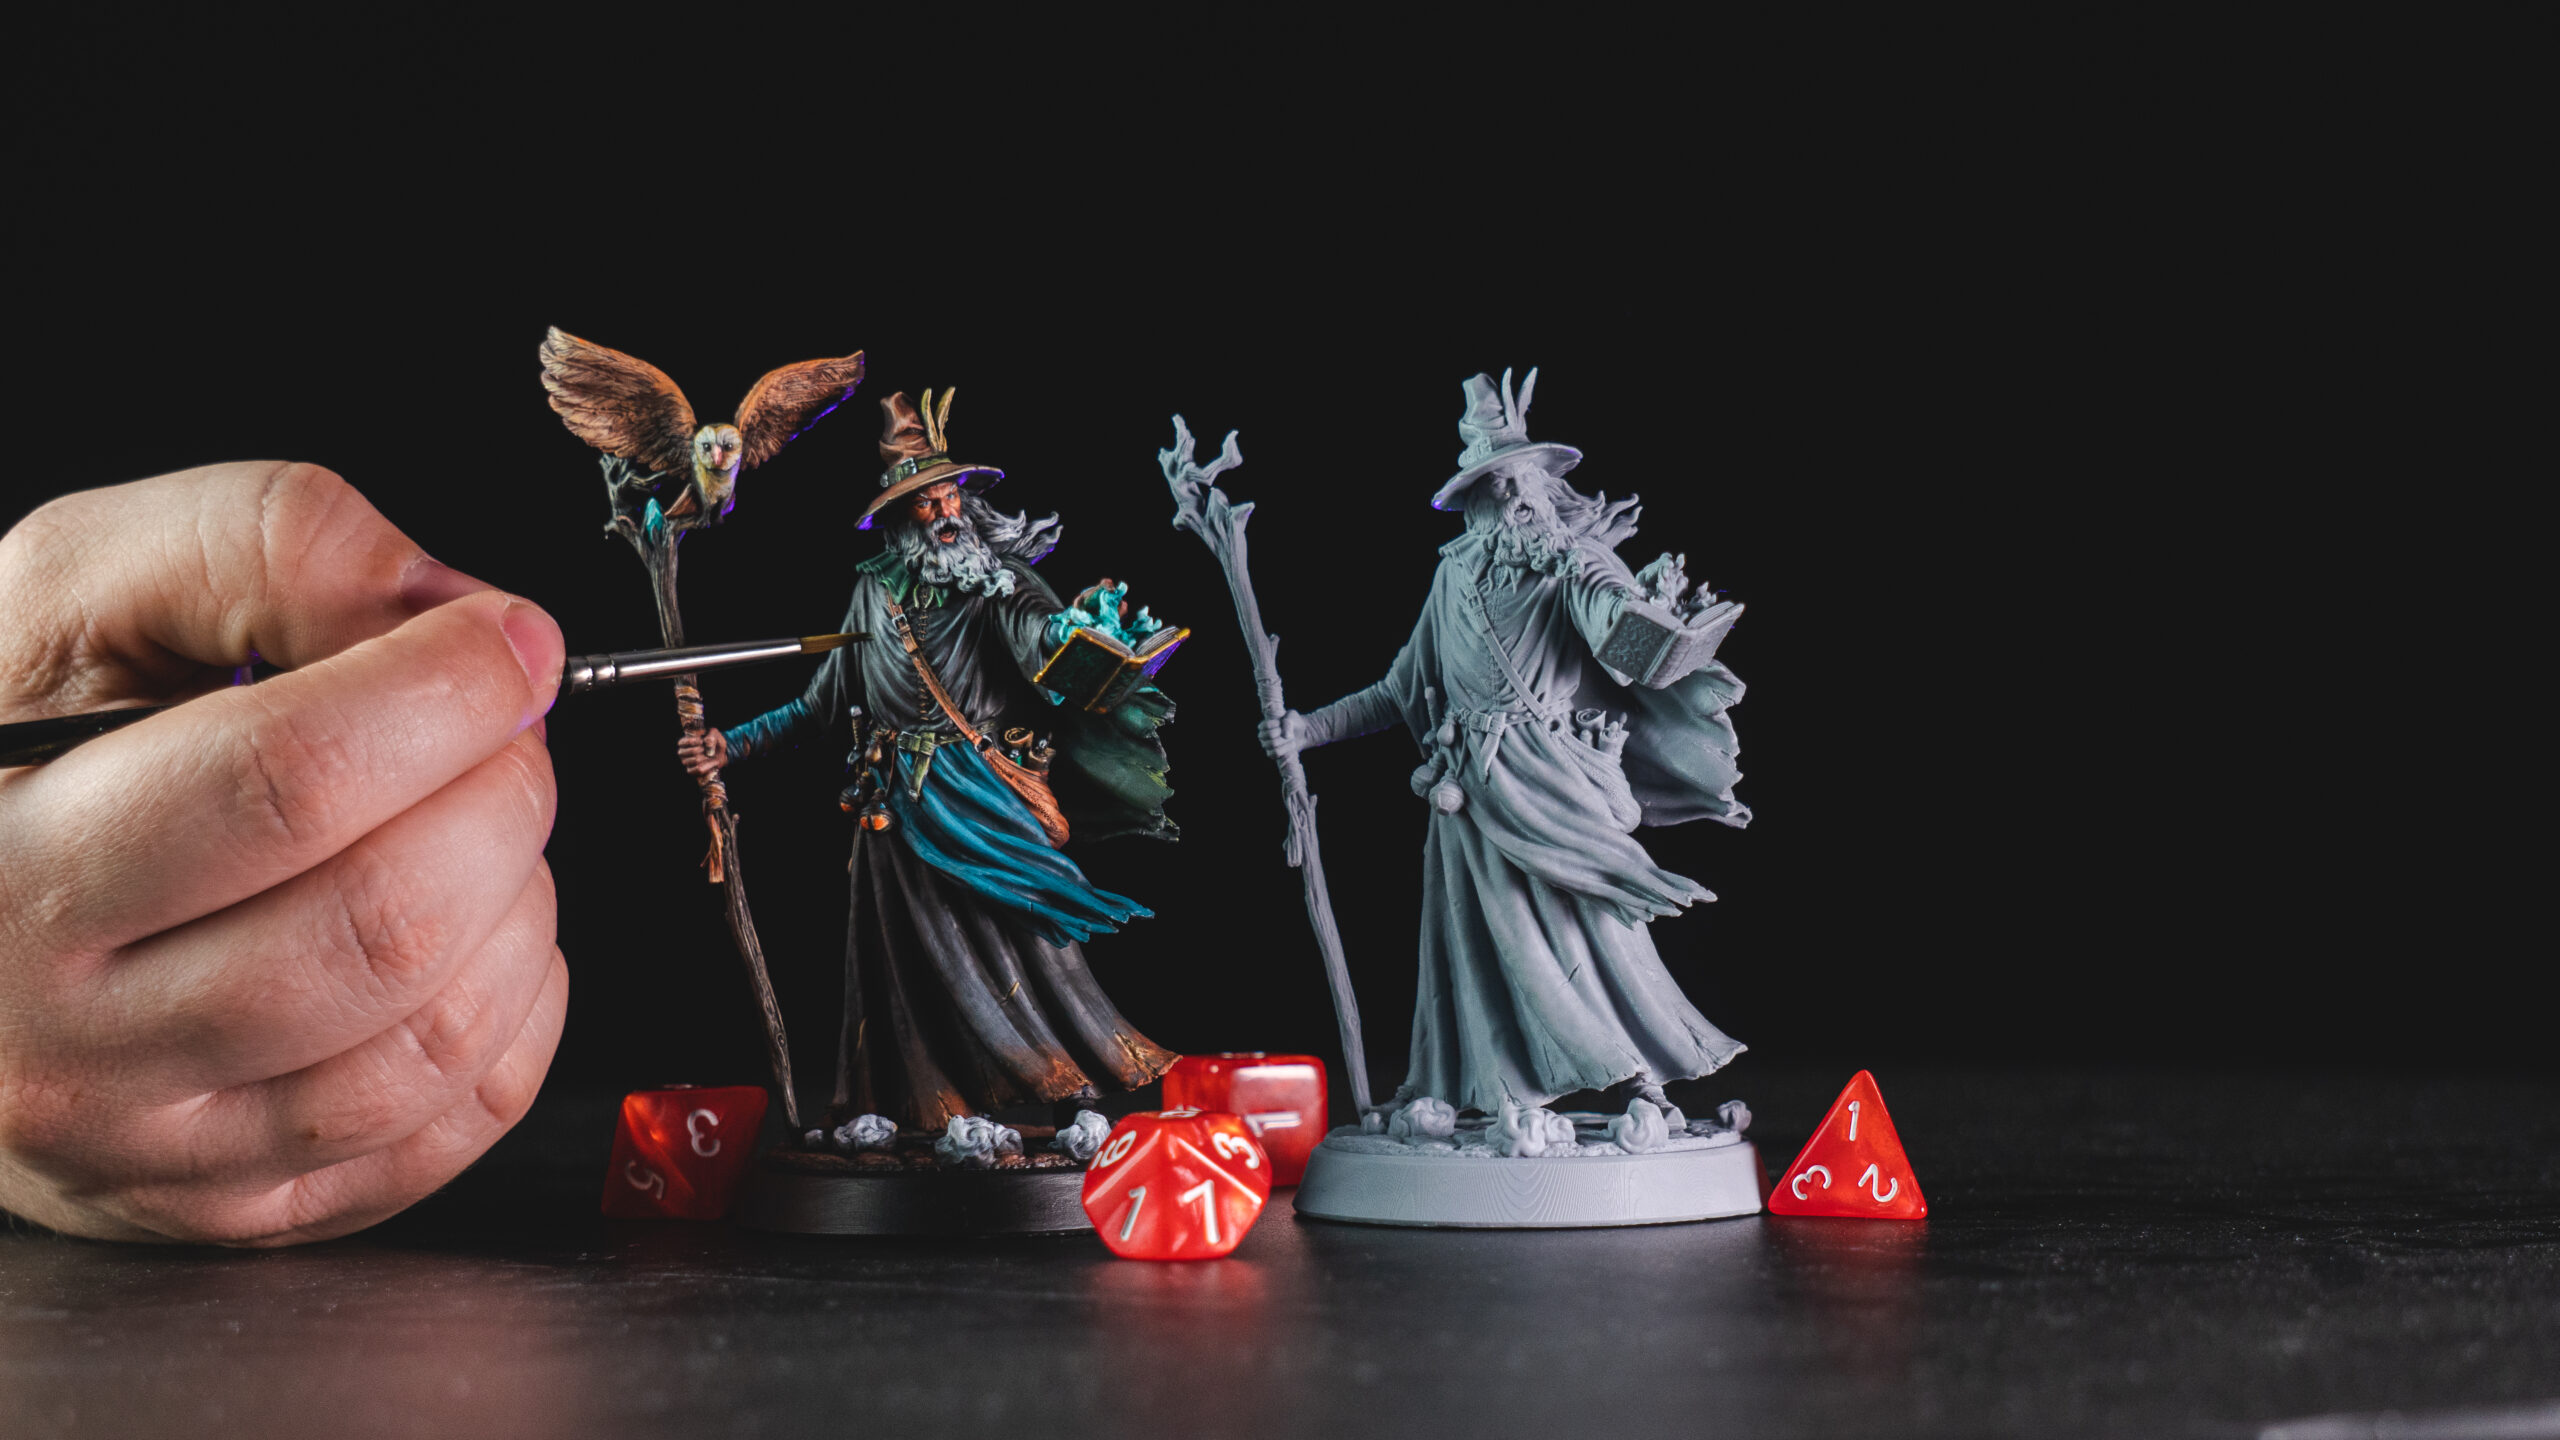
Fantasy worlds wouldn’t be the same without spectacular scenery objects. They give life to adventures and to your other minis as well as telling stories on their own. Every object has a meaning or gives an interesting touch to the composition. Be it for role-playing adventures, for creating a majestic display, or just to collect them all, these objects often come without much life out of the 3D printer and require a masterful painting job to achieve their true potential. With the right techniques, these small allegories can become so life-like that one could even mistake them for a real place.
Now, leave the dirt and garden pebbles aside, there will be no need for that. The painting process alone can mimic any kind of material, dirt, damage, weathering effects, and even light sources. Every technique, although simple, requires some patience and practice. For that, have some spare parts nearby to test things out before applying what you learned on the real miniature. With this guide, anyone can make their miniatures look more realistic, give them a new layer of life and understand what makes an object stand out. These are the best painting tips for realistic scenery around the painting miniatures world.
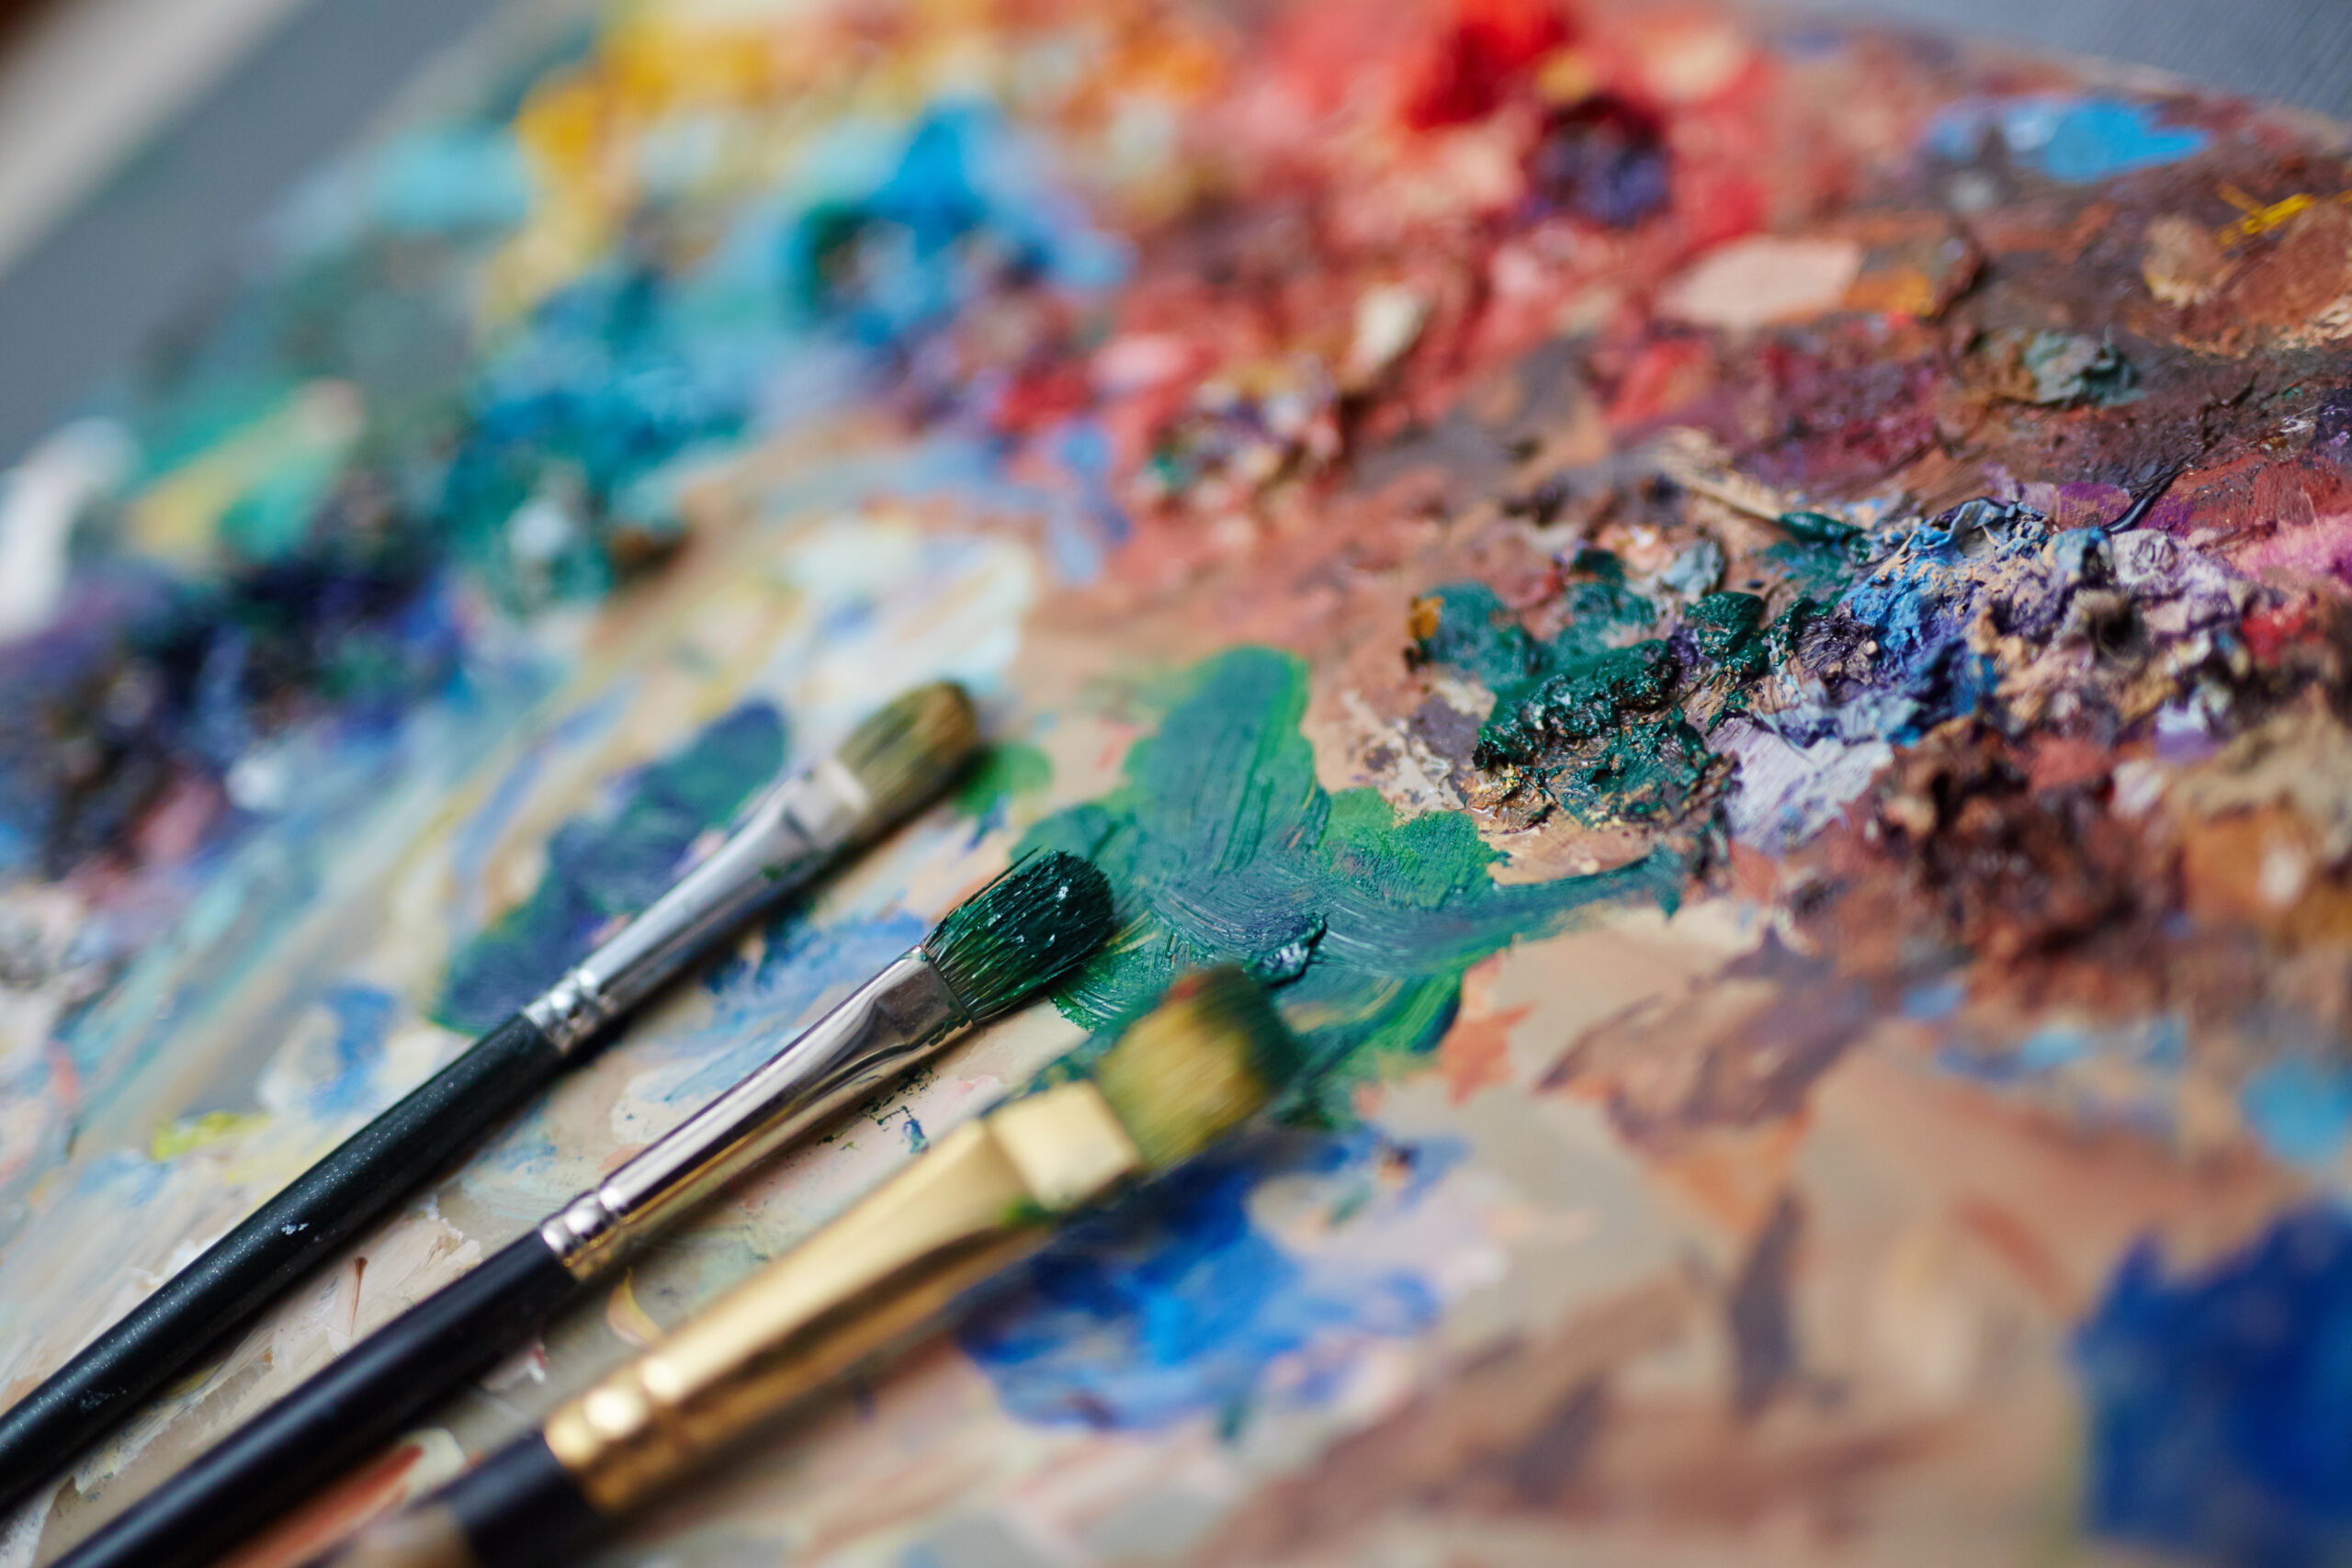
Recommended Materials:
- Airbrush
- Set of paintbrushes
- Synthetic brush
- Adhesive Tape
- Acrylic Paint
- Dry Pigment
- Oil wash
- Sponge or foam piece
- (Optional) Isopropyl Alcohol
- (Optional) White Spirit
Vallejo is often at the top 5 of paintings for miniatures, for both acrylics, airbrush paints, and even for oil washes. The most recommended airbrush for any kind of need is the Badger Patriot 105. It is considered the best all-around airbrush for tabletop and miniatures. For this guide, use cheap synthetic brushes when specified. However, for general purposes, Winsor & Newton Series 7 is the best and most recommended set of brushes for painting all kinds of models, and it will improve the overall miniature painting experience.

Let There Be Light
The secret to realistic painting is lighting. Good light is what makes a model look awesome instead of dull, and painters don’t have to rely on natural light for that. Using an airbrush is one of the greatest painting hacks for great lighting in models. An airbrush can be used for applying a white layer as a light source reference, aiding the painter on where they should paint light and shadows, or it can be used to paint colored light directly on the model, after the initial coats. Zumiko Miniatures has a great tutorial on how to think about OSL (i.e. object source lighting) when painting. And although the video uses a character miniature, the concept can be applied to scenery painting as well. Check it below:
Glowing lights are also an interesting touch of realism to add to scenery painting. The glow from a torch that hits a wall, the magma breaking through the floor, a metal shining armor or glowing alien cocoons hidden at the walls of a space station. Not only will the objects seem more believable but the painting will have a new level of professionalism. Again, Zumiko Miniatures channel has a tutorial on how to do this technique in the following video:
These techniques require acrylic paint and paintbrushes, but an airbrush can also be used. Use what feels more comfortable, as the essential part is learning the concept of OSL.
Damage Effects
Worn-out techniques are great to add an extra layer of realism to the scenery. Besides, they make the object feel used and grounded to the rest of the composition. However, damage depends on the kind of material someone’s trying to mimic (e.g. wood, metal, rock, leather, and so forth). Each material has its way of looking a bit rough, so it’s best to always look for references when mimicking damage. Chipping is a common technique to mimic metal or any armor that has suffered damage, and its first layer of paint is crackled (i.e. the metal surface underneath starts to appear). For this technique, it’s best to use acrylic paint and either a sponge or a foam piece.
To start things off, rip the sponge piece, so that it won’t have an even texture. Then, just dip it into the paint of choice. Depending on the type of metal, use dark brown, dark grey, or other rusty colors for the paint. Then, tap it over a paper towel to remove most of the paint. It’s a process very similar to the dry brush technique. When there’s almost no paint left in the sponge, it’s time to gently press it on the object where the damage should be, preferably near the edges.
Additionally, to add damage with more control, use a very small brush with thin bristles. A dark-colored paint will also add traces like sword cuts and sharp impact marks. Then, over one side of the mark, add a highlight with a brighter color to make the dent more believable. If the object is supposed to look like it lost all of its paint in one area, then consider using metallic acrylic paint to add a final touch of realism to that spot.

Old & Dirty
One of the best ways to age a model, and blend the overall color palette well, is to apply oil wash or create the same mixture with oil paint and white spirit. Just be sure to use a cheap synthetic brush for this. It starts by applying the oil wash over the whole model and then using a paper towel or sponge to remove unwanted pools and excess wash. Unlike acrylic paint, the oil wash takes a long time to dry, so there’s no need to hurry in this process.
For a drier and dustier look, it’s best to use the Stippling technique. Again, very similar to Dry Brush, this technique involves using a paintbrush with almost no pigment on it. For this, use dry pigment instead of paint, and tap the brush over the model’s surface with the tip of its bristles, leaving very small dots, and letting the bristles do the texturing. It’s a great technique for creating atmosphere. Besides, it adds a level of dirt that’s worthy of being lost in a wasteland. Alternatively, if the dry pigment is mixed with either glaze medium, thinner or isopropyl alcohol, it’ll behave like really thick mud.
Spatter Everywhere
For those that enjoy some grittier texture or want to fulfill a vampire massacre fantasy, there’s always the option to add spatters to the scene. Mud spatters on a battlefield, blood marks inside a sinister castle, dirt on ruins, and slime on space stations. There are no rules on how stained it should get, and painting realistic spatter is no mystery. Just be sure to protect your workspace from stains with some towels or paper. Leave the bloody look for the miniature, not the room.
The best way to mimic a blood spatter is to use an unloaded airbrush and a paintbrush together. To do that, take a bit of red paint with the paintbrush and spread it on its bristles. Then, position it near the object where the blood marks should go. Now, take the airbrush with the other hand, without any paint loaded in it, and use it to shoot air against the brush’s bristles to make the paint spatter on the object.
Use adhesive tape to cover any surface that shouldn’t receive the spatter. Change the distance and angle between the paintbrush and the model’s surface to have different impact effects, and remember that blood spatters are usually bright red, while darker tones are more suited for pools of blood. Dilute the paint if the intention is to create just stains of blood, and don’t dilute it at all if the intention is to have a more visceral look (i.e. strings of blood caused by heavy impacts). For dirt and mud, add an extra layer by painting highlights over the dark spatters, to give it a bit of color variation.
Extra Tip
Speaking of color variation, after closely following and applying these techniques, the object could still not hit the realistic mark. In that case, the problem could be rooted in the principles of how color behaves, and the color scheme the painter’s been using. To give the object a more realistic look, try using less saturated tones and blending layers more often. The oil wash will also help with that part. When checking a reference, use a color picker to separate the colors from the image to see their real value and tone, as certain color combinations can sometimes trick the mind.
You can also read about how to paint a lot of minis really fast here, and start your next game with much more color.
Loot Studios can help you paint highly detailed minis, statues and props. Choose your favorite bundle from our previous releases or sign up for Fantasy or Sci-Fi to receive a new bundle every month. You can also check out some tips at our YouTube Channel.