How to Paint an ARMY of Minis Really Fast
Hacks to Save a Lot of Time in Miniature Painting
Painting an entire army of minis can be a daunting task, but with the right approach and some planning, you can paint them all in no time. Preparing yourself is mandatory, because there are a lot of painting hacks you can – and should – use it on your behalf. Get ready for some mess, wear your best “armor” to the task and let’s get it on! However, if this is the first mini you’re painting, you might want to check out this beginner’s guide.
Prepare your area, choose a nice playlist or even a podcast you enjoy, check all your materials and prepare a list of each step you’re gonna do. I’m a list lover, what can I say? But they really help you control your workflow AND your time. Make sure you have all the supplies and envision the result you want to have at the end of the process.
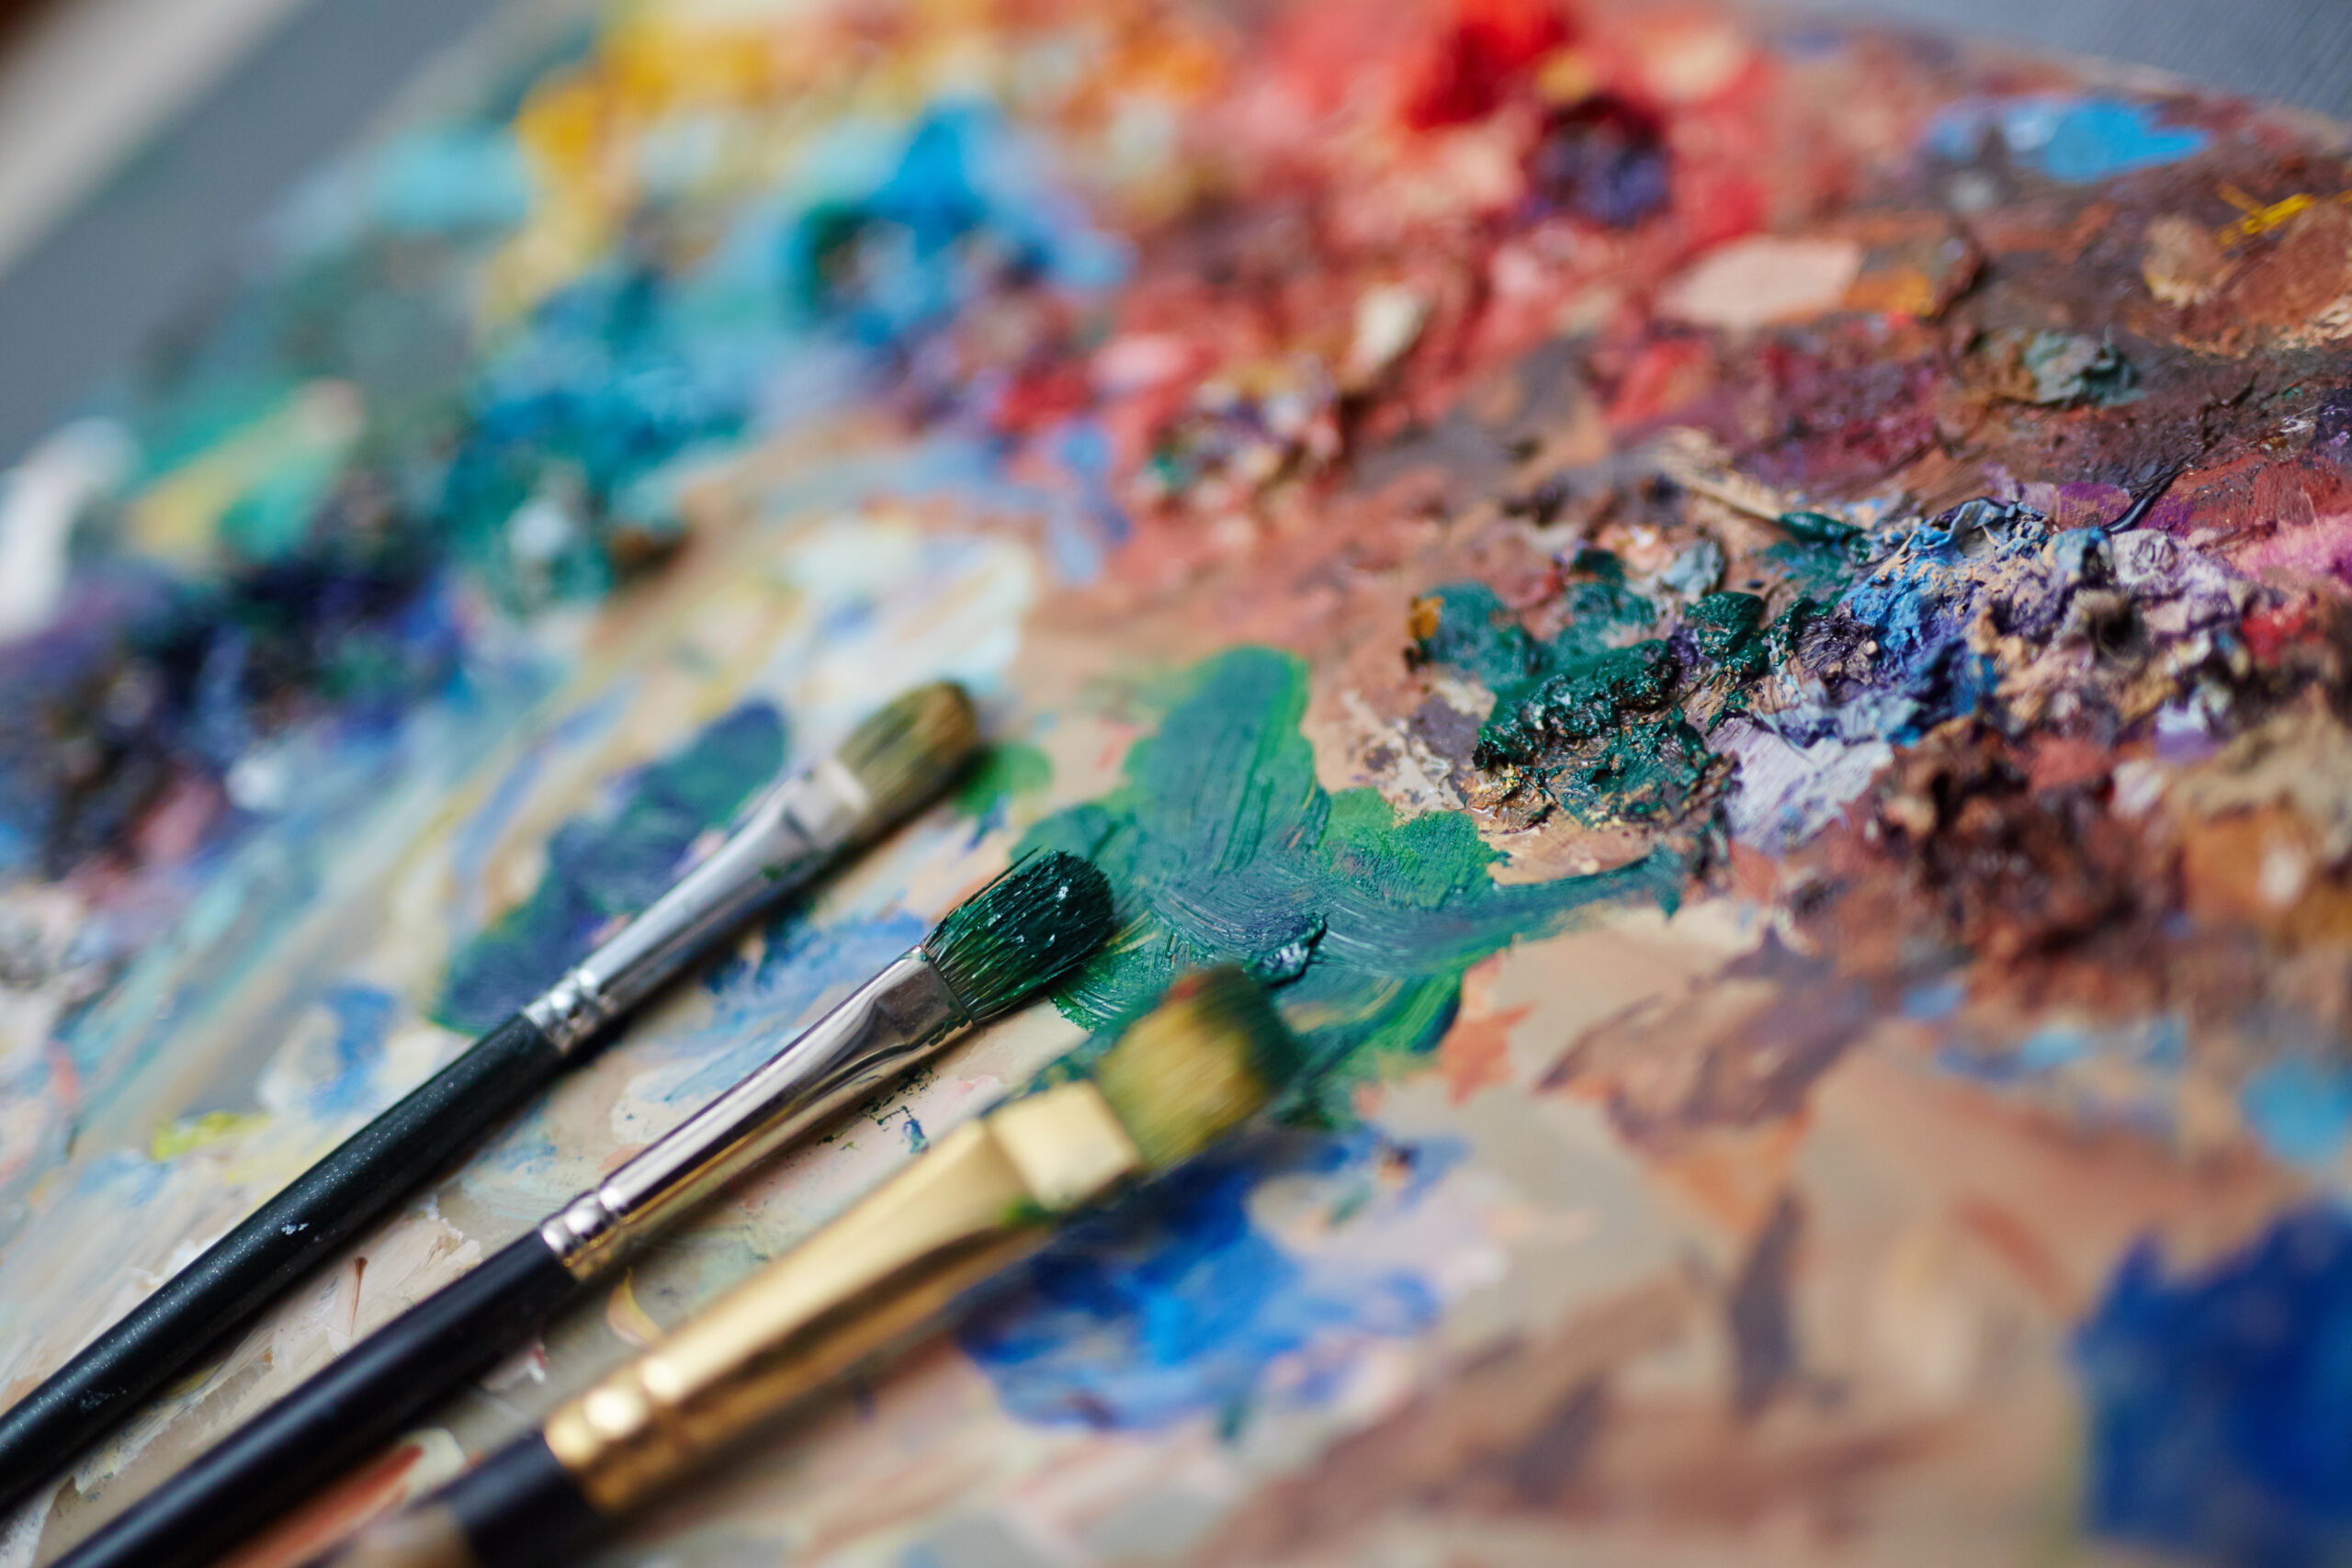
Use a wet palette so your paints can remain fresh and workable for much much longer. The main technique to have in mind is batch painting – instead of doing them one by one, you follow each step below on all your miniatures, before moving on to the next. Keep a comfortable grip so you can last longer and don’t hesitate to take small breaks, you’ll need them.
This post can be used as a guide, but personalize it as you wish. This is a mere blueprint to a bigger art journey! Painting minis is really enjoyable, especially if we are talking about precious ones you will use on your next adventures. So remember to have fun, ok?
Alright, let’s get started!
Step 1: Prime Time!
The first step in painting an army of minis is to prime them. Priming your minis is important because it gives the paint something to stick to. Sprays here are the fastest option, but you can also do it with a brush-on primer. Cardboard is excellent for gluing them on and then start the spray away from the models and sweep past the targets (that’s why you need the cardboard!). Light dusting many times is way more suitable than one heavy coat, that probably will cover tiny details from the minis and create texture – you don’t want that now. Let them dry on a well-ventilated area for the time recommended by the primer of your choice, never less.
Step 2: Basecoat
This step is fundamental if you need speed on your mini painting project. To make it simple, Basecoating is painting the miniatures with a solid color, which will serve as a foundation for the rest of the paint job. The fun begins now! Start painting without being neat and tidy, it’s not the time for detailing, it’s time for consistency.
You’re looking here for a smooth and even coverage and finish, but a major mistake is to let the paint too thick. Thick paint doesn’t flow off the brush, quite often gets details hidden and tends to leave visible brush strokes. Tip: you want a consistency that is slightly thicker than milk, and you can do this by adding water to the paint. You can use a large brush to quickly cover the larger areas, and then switch to a smaller brush for the smaller parts.
Pick up the color scheme you selected for the minis (around 5 colors is more than enough for speed painting) and start with the mid tone, this will help you a lot. It’s better if you have to add more layers because they are thin than doing a thick one that will waste your mini and your effort. On adding layers, be mindful you need to wait for the first one to get dry so you start applying the second.
Step 3: Wash
A wash is a thin layer of paint that is applied over the basecoat to create shadows and depth. You can use a premade wash for a quick and easy way to add some visual interest to your minis. Washing will also help marry the tones you used together. Contrast is key, but avoid at all cost using plain black and white paint. They tend to make your final result flat and boring.
As you are adding shadows and working on the edges, you may have to pay attention to how you do the brush strokes. The general rule is to maintain the same direction on the same area you’re working on. If you see some of the paint accumulating on the bottom, clean it and try doing the brushstroke from bottom to top, it can work miracles and prevent extra cleaning on final steps. You can also use a clean brush to soak up any excess wash before it pools in unwanted areas.
Maybe you’re rushing with time (that’s exactly why you’re reading this post) but don’t be afraid, as soon as possible, to test different techniques. There are many different ways to get to the same final result, discover which ones are best for you. Some may like wet blending or even layering, check them online and, most important, test them.

Step 4: Highlighting
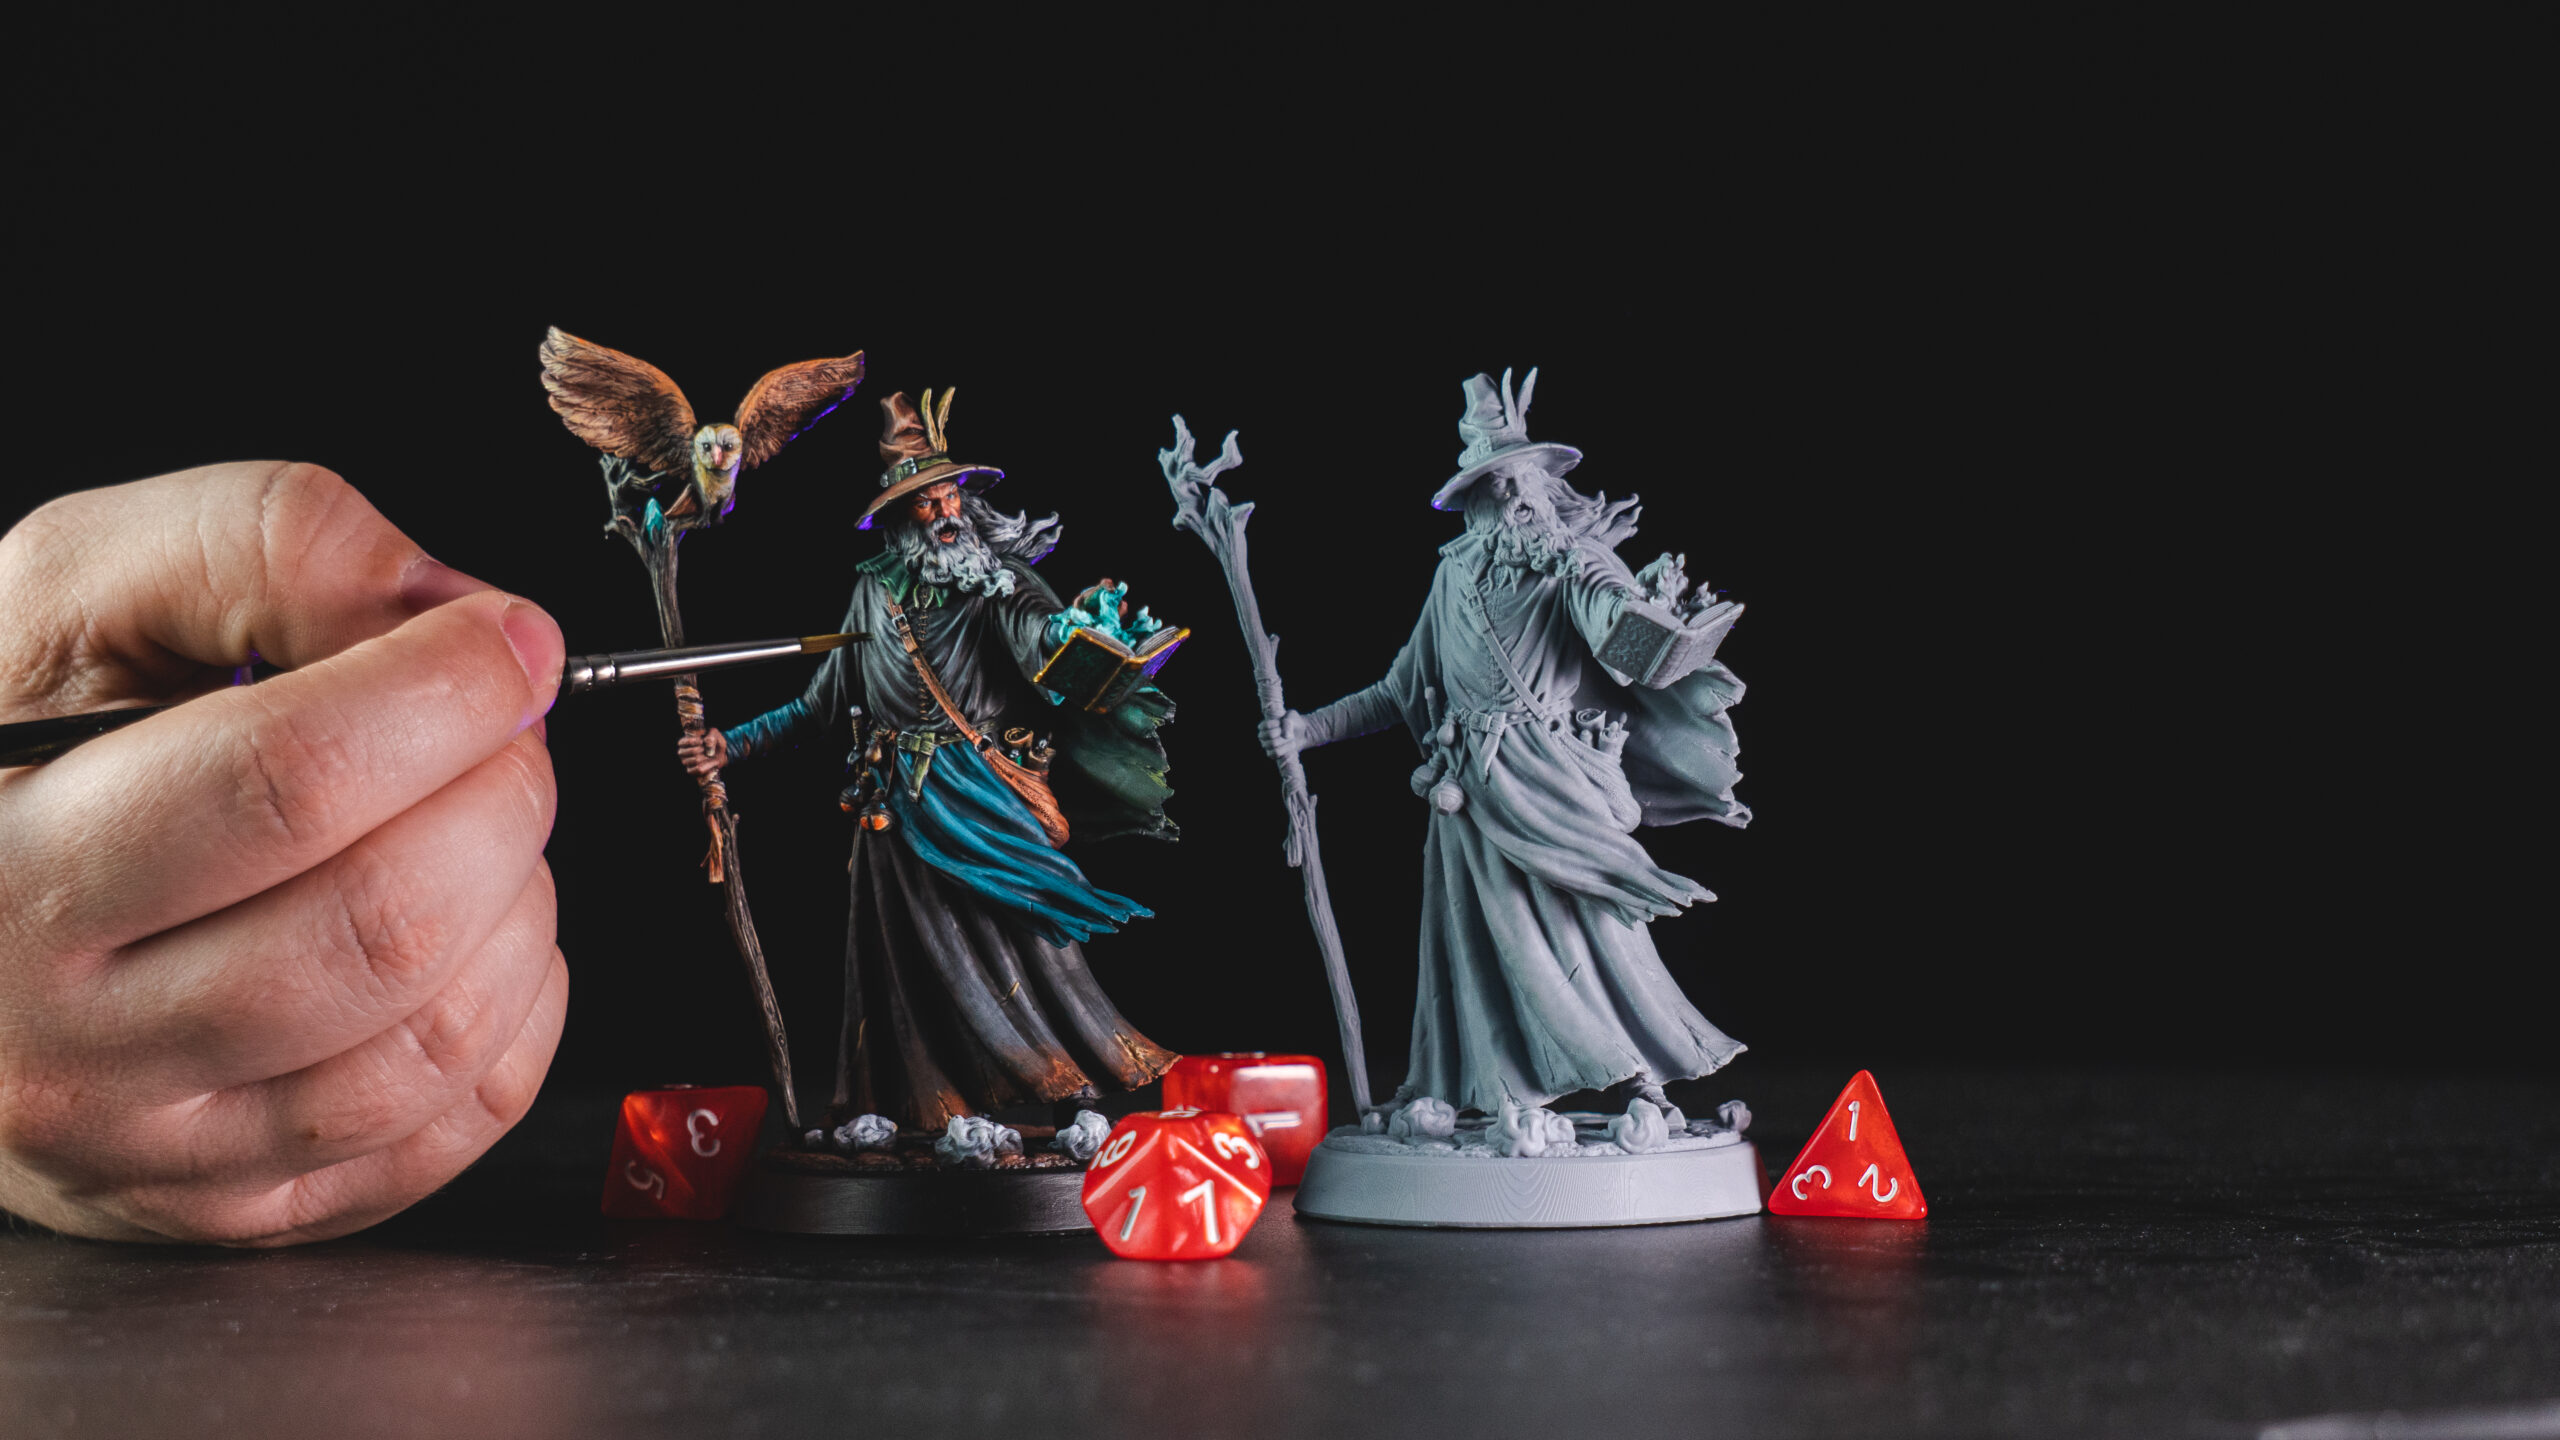
Details, details, details! Some may argue that’s the best part of the whole process, you can come back here later and tell me if you agree! Highlighting is the process of adding lighter colors to the raised areas of the miniature to make them stand out. The most used technique is dry brushing, which consists of lightly dragging a dry brush over the raised areas or any other part you want to highlight.
Imagine where the light source would be coming and focus on the parts where the light would hit stronger. You won’t get a good result with only one application – be patient, wait for the paint to get dry and apply more layers to it. Focus on the edges and you’ll probably get it right!
Step 5: Clean Up and Base
Now that your minis are mostly painted, it’s time to clean up any mistakes and give them a polished and professional finished look. With a small brush, keep your hand steady and carefully touch up any areas you think you did it wrong. Don’t waste too much time here, done is always better than perfect. Be nice to you, painting minis is something that will require practice and more practice, so be gentle to yourself.
Basing your minis is a quick and easy process that adds a lot of visual interest to your finished miniatures and we do that by applying textured material, like sand, dirt or grass to the base where you’ll glue the mini at the end.The sky’s the limit here, there are plenty of different materials you can use, just keep on the theme and be creative. Don’t be afraid to experiment and find what works best for you. Once you’ve added your basing material, you can paint it to match the rest of your miniature or leave it natural for a more realistic look.
Yes, You Did It!
Now it’s time to enjoy your work and assess everything you accomplished. Did you struggle at any specific part? Don’t worry, you can always practice specific steps with more caution and check for some content on that specific part. You can also read more about painting scenery objects, metal weapons and armor or realistic skin.
Anyway, these were general lines giving ideas to someone who has just started the hobby or is planning to. Painting minis is a really nice way to get even more involved in RPGs, and I hope I have inspired you at least just a little! See you soon!
Loot Studios can help you paint highly detailed minis, statues and props. Choose your favorite bundle from our previous releases or sign up for Fantasy or Sci-Fi to receive a new bundle every month. You can also check out some tips at our YouTube Channel.