How to Paint Wood on Miniatures
"Wood" You Like to Know Our Secret? Haha. Ha. I'm Sorry.
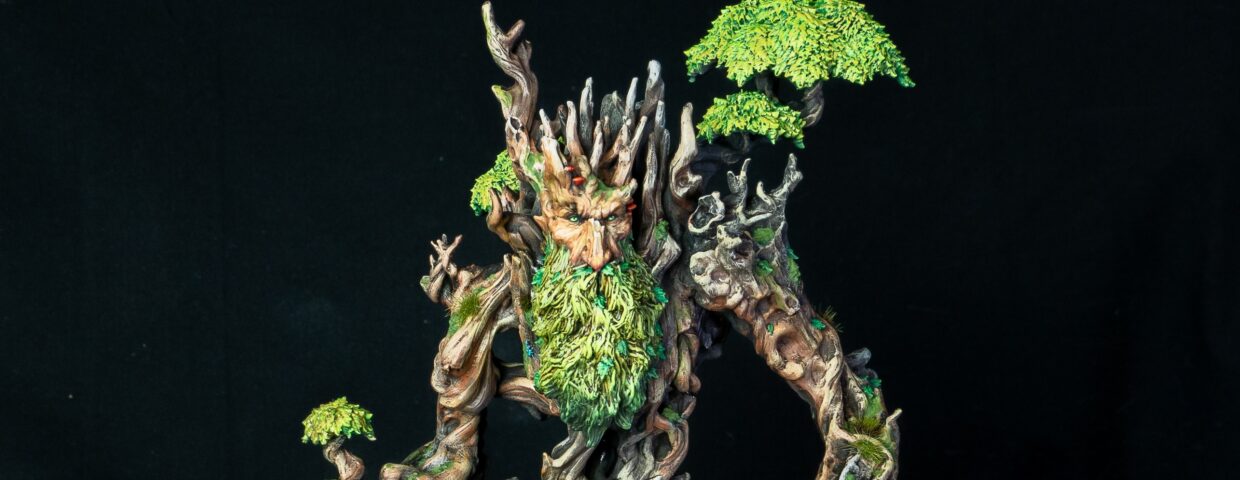
Take a Good Look at Something Woody
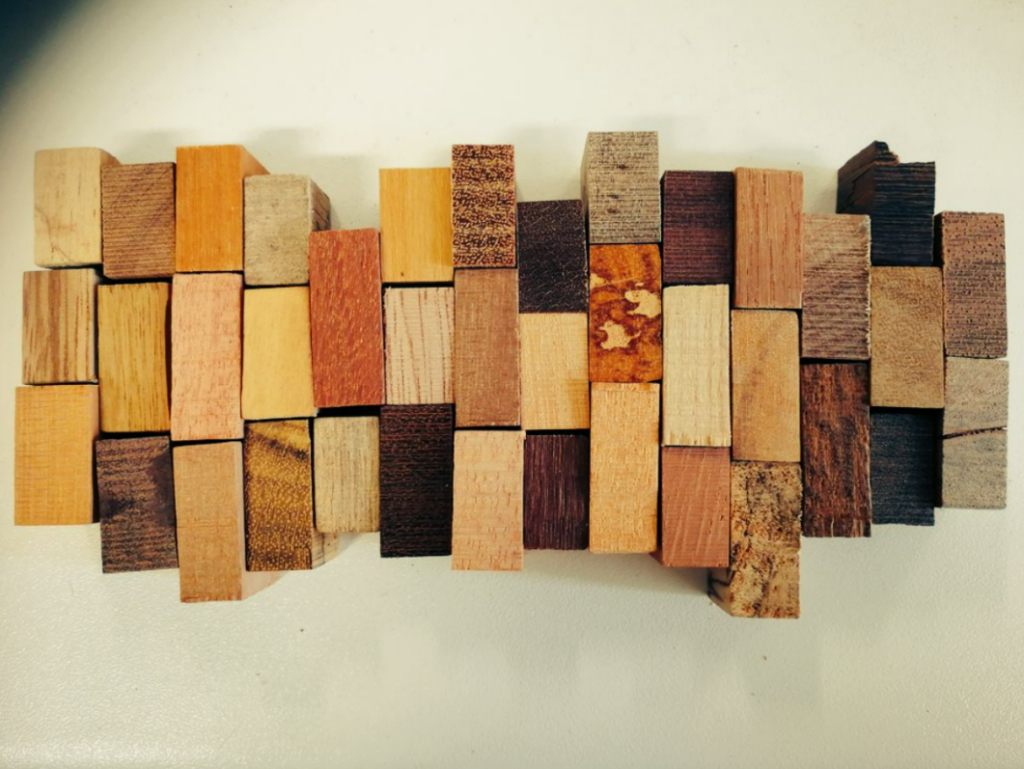
I would start by making a quip on the lines of this article on how to paint wood: “it’s just brown ok? byeee”, but look at the photo above. It provides a good illustration of the immense variety of appearances of what we call “wood”. Don’t think it’s exhaustive. I won’t even get started on spalted wood, because that could yield another article in of itself.
Well, so wood is mostly brown or beige, but it can be red, green, gray, purple, black, and orange, with details made of stripes, knots, dots, burls of the same color, or not. The key is to understand how these colors usually show up in actual wood, and how these features characterize different species. It may sound daunting, but it’s not that complicated.
Begin With the Basics
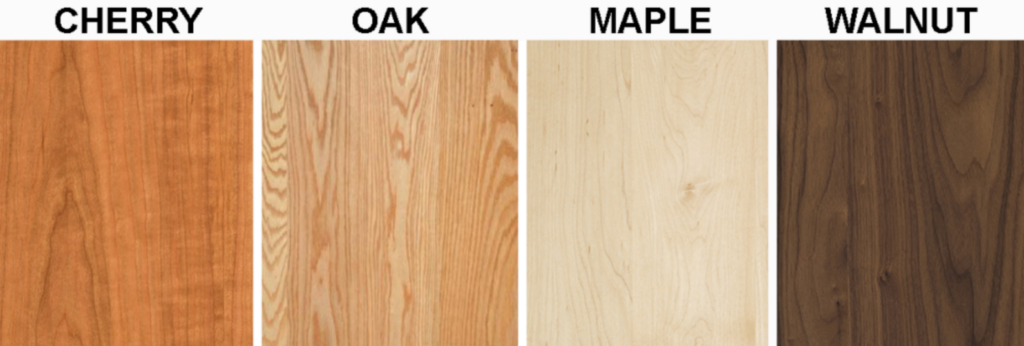
Let’s start from species that are most common in the U.S: Maple, Oak, Walnut, Cherry (I know, this is technically wrong). With these in mind, we can develop a simple palette that is respectively “light-medium-dark-warm”, which handles 95% of what people intend when representing this material. Key features to notice are the main direction and shape of the fibers that develop as the tree grows. This is also called wood figure or wood grain.
If you’re trying to work from a “blank” surface, that is, one devoid of texture, let me warn beforehand that it gets a bit more complex. Achieving this effect demands some labor and finesse, but it’s still within the grasp of any painter – especially considering your end result will be in the 16ths of an inch. Start simple, follow a grain pattern mainly in one direction, build up layers of color and texture and always check your work from afar, as the mini will occupy a very small part of your field of view on the regular usage. Some of the basics from our article on painting statues vs. miniatures can easily be applicable here!
If the Skills Allow You to, Don’t Be Afraid to Experiment
Our highly detailed minis usually come with textures that will show up and can be felt or seen once printed. The natural crevices of a miniature can easily be turned into the wood grain with the help of some clever use of shading or dark washes. With that in mind, one of the best examples that I can provide in this case is the video of our highly skilled and esteemed Marcia Georgina, showing different levels of dedication and finesse being applied to a seemingly simple wooden barrel.
Notice how much personality can be given to a simple prop once you start to take into consideration physical properties that can show up in items like these, e.g. how its fasteners can rust or how a piece of the wood may rot, one kept in a cellar for decades.
As with most of the painting tips, the most important one is to practice, cubed. If you get to a point that you’re sick of looking at tiny wooden things, set them on (a metaphorical) fire! We can help (figuratively) with that.
Loot Studios can help you paint highly detailed minis, statues and props. Choose your favorite bundle from our previous releases or sign up for Fantasy or Sci-Fi to receive a new bundle every month. You can also check out some tips at our YouTube Channel.