Build Plate Leveling for Resin 3D Printers
Try This If You’re Having Adhesion Problems

Spotting Issues
Consecutive failed prints can be a consequence of retrograde Mercury, which interferes with small and medium-scale projects. That, or your printer needs some maintenance, such as build plate leveling. The first layer is the most crucial for prints, and if yours aren’t completely adhering to the build plate, this might be the cause of the problem. Every machine eventually loses its alignment and suffers from some wear. Tools, cars, even YOU need some periodic check-ups. Some printers come pre-leveled straight from the factory, but you don’t have to fret if yours isn’t.
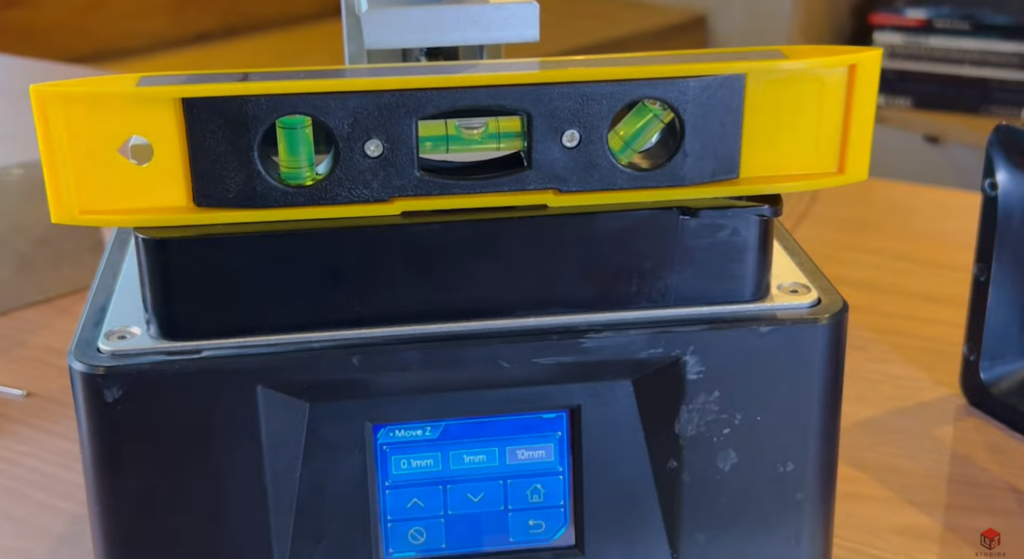
For clarification: when we say leveling, it doesn’t necessarily refer to keeping the printer at a level with the ground. Although that helps, we’re mostly referring to keeping the build plate parallel and within the appropriate distance from the LCD.
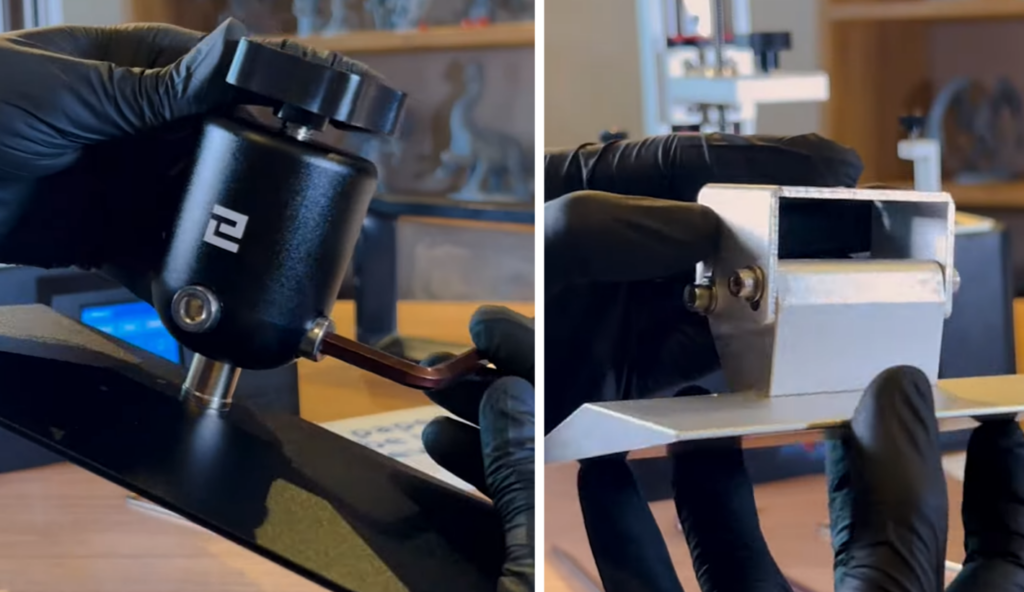
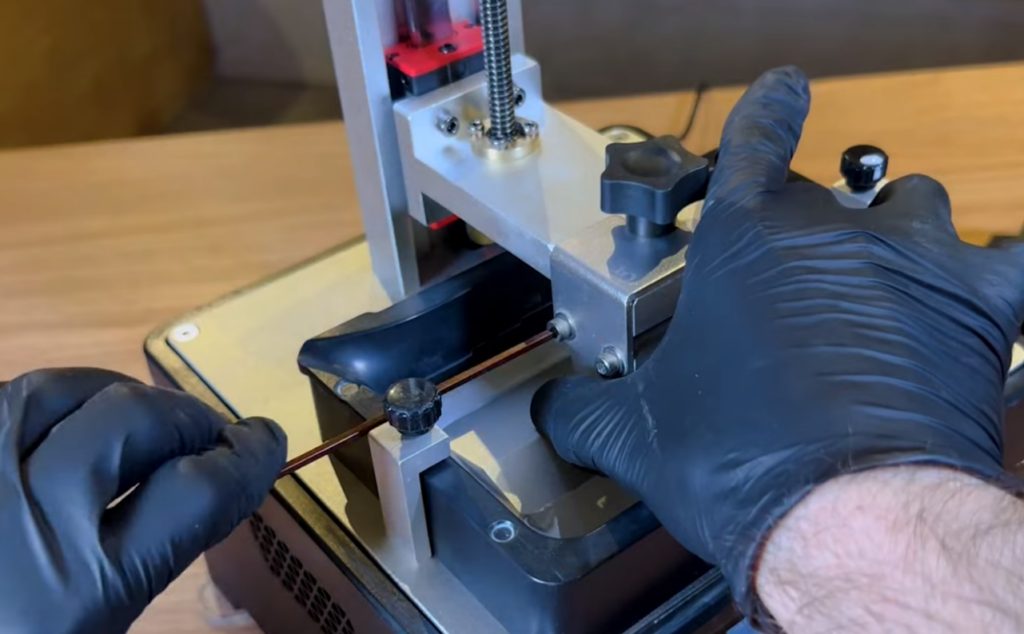
The different steps that’ll be shown ahead all involve some screws next to the build plate. These, when tightened, lock the position of the build plate and will be loosened (but not completely screwed off) in the next steps. They look unique on each printer, but are all in a similar zone. Whenever tightening these on the following methods, always do a little at a time on each screw head (do NOT tighten a single screw all the way in before moving to the next one). Work a full turn or two when it is loose and half to a quarter of a turn when almost completely tight. This will ensure the alignment won’t get messed up.
Using a Spacer Under the Build Plate
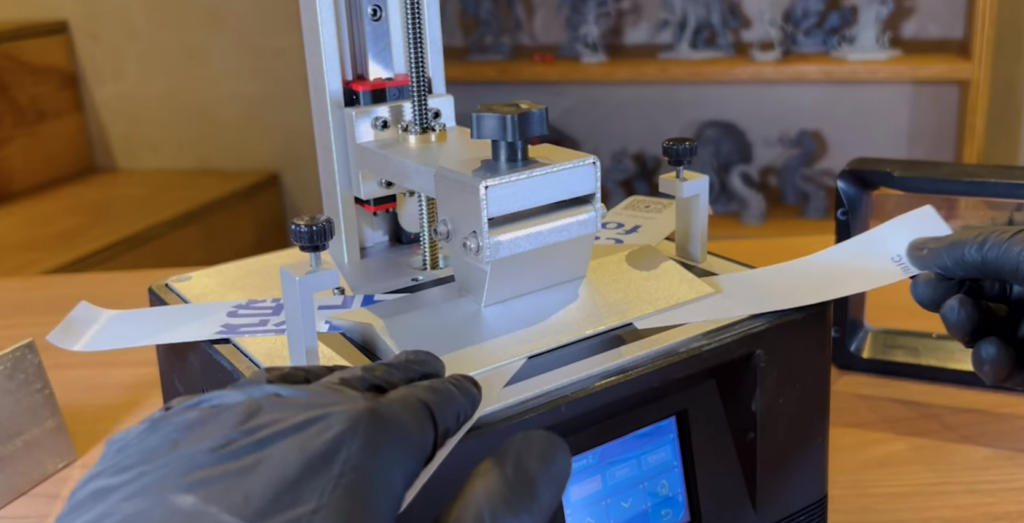
For this method, you’ll need a sheet with about 0.15mm / 0.006in that normally is provided by your printer manufacturer. You’ll then place that sheet under the build plate, loosen the bed screws and lower it until it hits the lowest sensor.
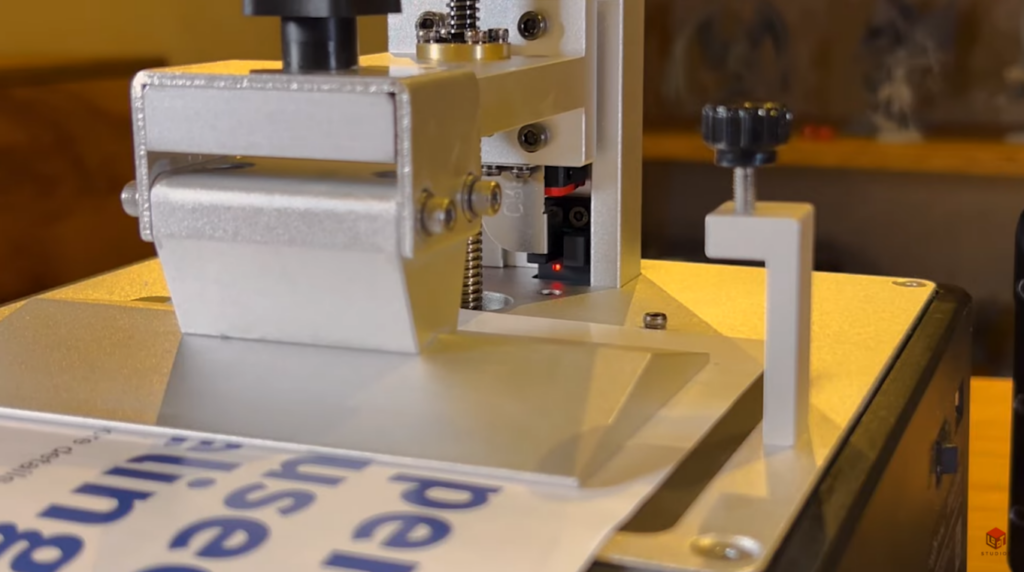
Hold the bed down firmly and tighten the screws gradually. Set Z = 0 on your printer menu. Now this will be the lowest your bed will go, and will ensure even and proper spacing between this component and the LCD. You know that it’s a proper job when you can still wiggle the paper out of this position, albeit with some difficulty.
Using the Vat as a Spacer
This process is very similar to the aforementioned one, and a bit self-explanatory. It works even if the vat still has some resin in it, and can be used if you don’t have any spacers.
Ensuring Correct Alignment on Every Corner
If you’re using a spacer sheet and it seems like it snags in one corner while the others are loose, try cutting it into pieces and checking the fit separately in each corner. Uneven alignment can happen if you don’t tighten all sides evenly.
If Adhesion Remais Poor
After all these methods, it’s more likely than not that you’ll get a proper leveled plate that has good print adhesion. However, these problems will persist in a cupped or warped bed.
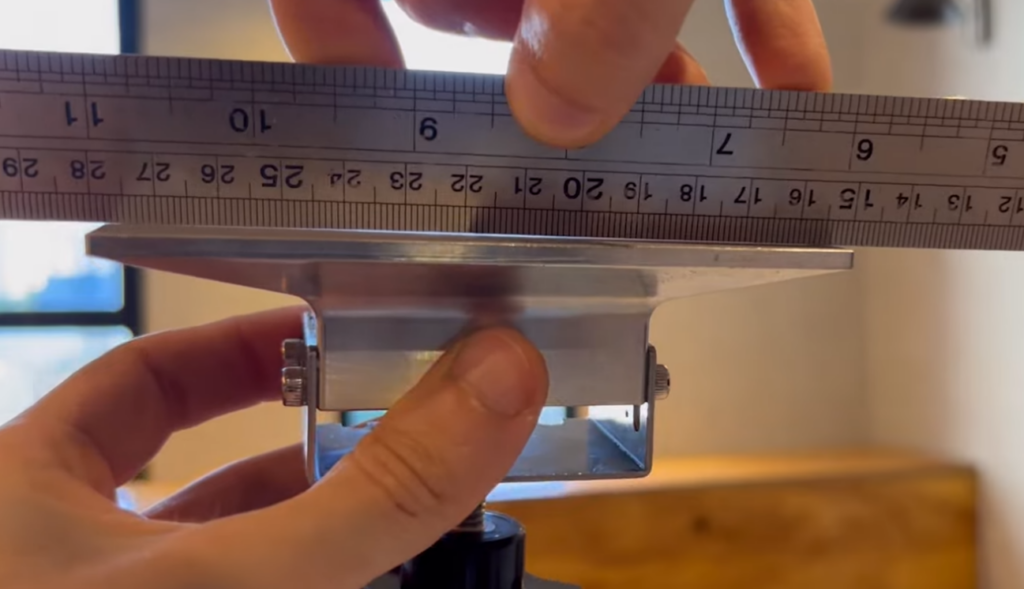
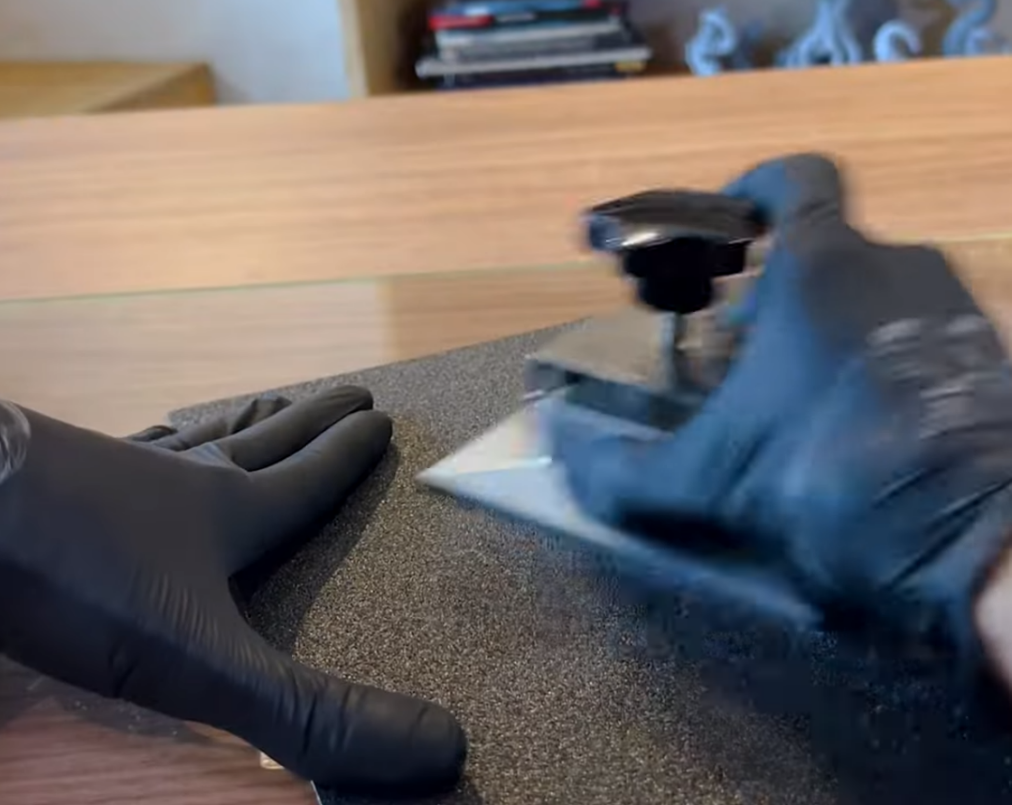
A solution is finding a place that can service your part with a CNC machine. By milling it flat, you’ll spend more but have a greater precision. Another option more on the DIY side is to place a piece of sandpaper on a flat surface (such as glass) and sand your part with circular (or figure 8) motions for some seconds. Use several different grits of sandpaper and work your way up the numbers: from 80 grit up to 400 gives you a good finish and ensures a consistent finish.
If this problem persists, we recommend tweaking with the exposure time on your printer. But if it worked, congratulations, you can now move to a fun part. How about checking our guide on finding some good STL files?
Loot Studios can help you print highly detailed minis, statues and props. Choose your favorite bundle from our previous releases or sign up for Fantasy or Sci-Fi to receive a new bundle every month. You can also check out some tips at our YouTube Channel.