How to Clean Up 3D Printed Minis
Everything About Post-processing
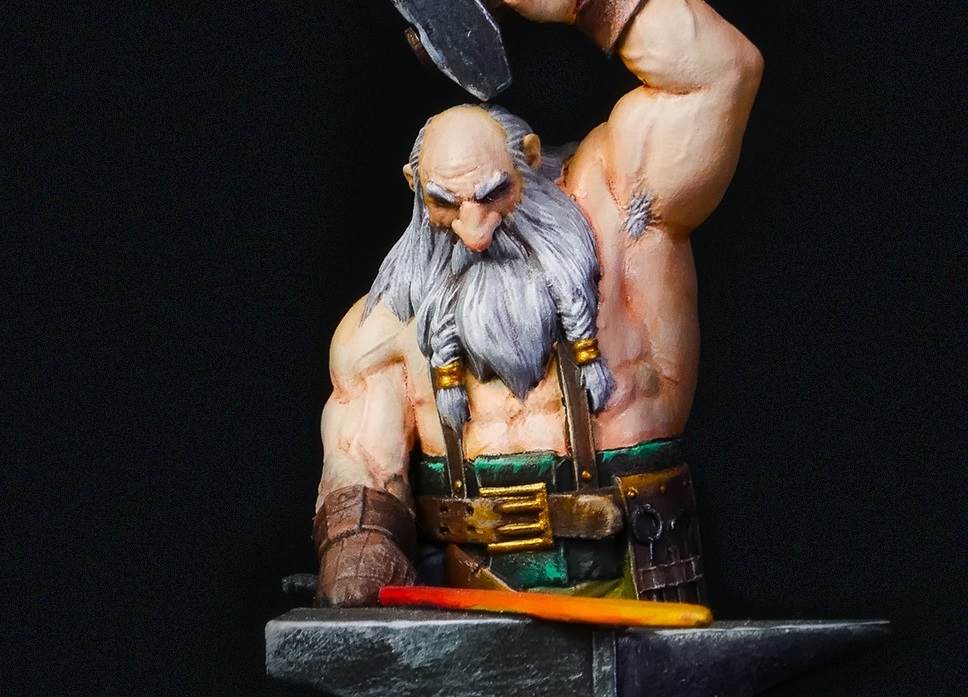
Welcome to how to clean up 3D printed miniatures, and no, they’re not ready as soon as they get out of the 3D printer. Shocking, isn’t it? They certainly look good right after being printed, however, there’s still work to be done before any miniature can be used or even painted. This is called the post-processing phase, a set of necessary and important techniques that helps the miniature look as intended – free of imperfections, safe to the touch, and ready to be painted. An FMD miniature will never look professional without these tips, and a resin miniature won’t be safe without going through washing and curing. In this step-by-step guide, hobbyists will learn everything about how to effectively post-process 3D printed miniatures.
Material List
These are the essential tools for post-processing 3D printed miniatures:
- Nitrile Gloves: Required for handling resin miniatures, as direct contact of uncured resin with the naked skin can cause serious allergies. Always wear nitrile gloves until curing the resin miniature.
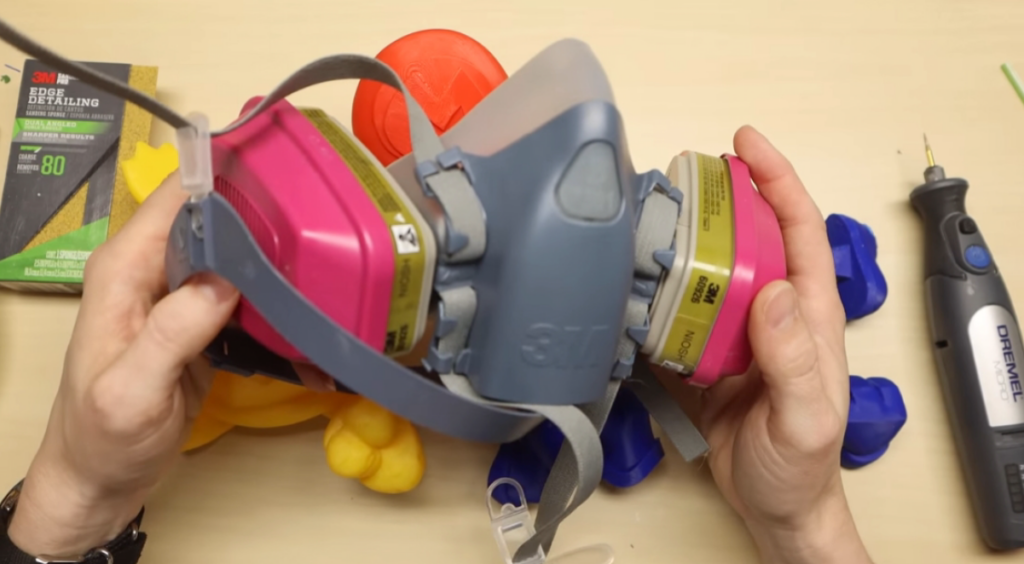
- Respirator: One of the most important items on this list. Do not use simple masks, go for a respirator with a good filter. It protects the lungs from PLA residues and Resin toxic fumes. Always wear it when doing post-processing and before curing a resin miniature.
- Protective glasses: Removing imperfections can potentially throw residues in the eyes. Choose glasses that offer good protection. A pair of sunglasses is good for protecting the eyes from residues and also from direct UV light from curing resin miniatures.
- Sanding sponges, sanding sticks, or sandpaper: Commonly used to remove imperfections on the 3D printed miniature, whether it’s PLA or Resin. It’s good to have different grits for parts that require more work. Alternatively, a dremel can be used to remove smaller imperfections from crevices that are hard to reach. However, be careful not to melt the miniature, especially if it’s PLA, with these tool’s intense friction.
- Pliers and snips: Used to remove the miniature’s supports when it comes out of the 3D printer. Flathead pliers are the best tool for removing it, but a sharp knife can do the job just fine.
- Plastic wood filler putty: Used for filling holes, gaps, and any damage or accidental dents in the 3D printed model. It’s efficient and ready for usage. Alternatively, a mixture of resin and baby powder can be used to achieve the same result, however, it requires a UV light to cure the resin while it is applied in the model.
- Superglue: For miniature parts that must be glued together.
Whether for FDM or Resin 3D printing, be sure to always do the post-processing procedure using the necessary equipment to protect your health.

FDM Post-processing
#1. This process starts by removing the 3D printed miniature from the 3D printer and gathering the post-processing tools and safety equipment. Choose a place that will be easy to clean up later as smoothing the miniature will produce a lot of plastic residue. Good lighting also helps to see the model’s imperfections. Gear up with the safety gear and prepare to work.
#2. Remove all supports with the help of pliers or an equivalent tool, and identify the areas that need to be smoothed. Consult your 3D model’s image to discern small details from surface imperfections, and use sanding paper, a dremel, or an equivalent tool to smooth them out. After this process, the miniature’s surface should feel smooth to the touch.
#3. Now it’s time to look for dents and holes in the model and fill those up with the plastic wood filler putty. Let it dry, and use the same tools from step two to smooth out any excess putty.
#4. Assemble your model individual pieces and glue them together with superglue.
For further tips and tricks, and a visual example of the whole process, check out ItsMeaDMaDe’s
tutorial on How to Smooth PLA 3D Prints to Look Like Resin.
Resin Post-processing
#1. Start by following step one of the FDM post-processing, yet this time, find an easy-to-clean and well-ventilated place for working on it. Don’t forget your safety gear, and remember to always wear nitrile gloves when post-processing resin miniatures. Do not let it touch your skin.
#2. Now it’s time to wash the miniature to remove any excess uncured resin. Dunk it in a recipient full of isopropyl alcohol. Shake it and move it around so the alcohol can enter every crevice of the mini. A soft toothbrush can be used to further try to remove any uncured resin during the wash.
#3. Just like steps two, three, and four of the FDM process, it’s time to remove the supports, identify areas that need smoothing, remove any imperfections, cover any holes with plastic wood filler putty, and then assemble any pieces with super glue. Let it dry and the miniature will be ready for the final step.
#4. Lastly, it’s time to cure the 3D printed model. Curing is achieved by shining UV lights directly on the resin model. There are different ways to do this: shine UV lights with a lantern; use a professional curing station; place the models underwater, and shine UV light on them; leave the model under direct sunlight for about 3 or 4 hours. After the curing process is complete, the minis will be safe to the touch without the need for nitrile gloves.
For further tips and tricks, and a visual example of the process, check out Rybonator’s tutorial on How to Post-Process Resin 3D Prints & Water Curing:
And since curing resin is crucial for post-processing resin prints, check our article about The importance of curing your 3D printed mini to further understand this process, and why it cannot be skipped.
Loot Studios can help you print highly detailed minis, statues and props. Choose your favorite bundle from our previous releases or sign up for Fantasy or Sci-Fi to receive a new bundle every month. You can also check out some tips at our YouTube Channel.