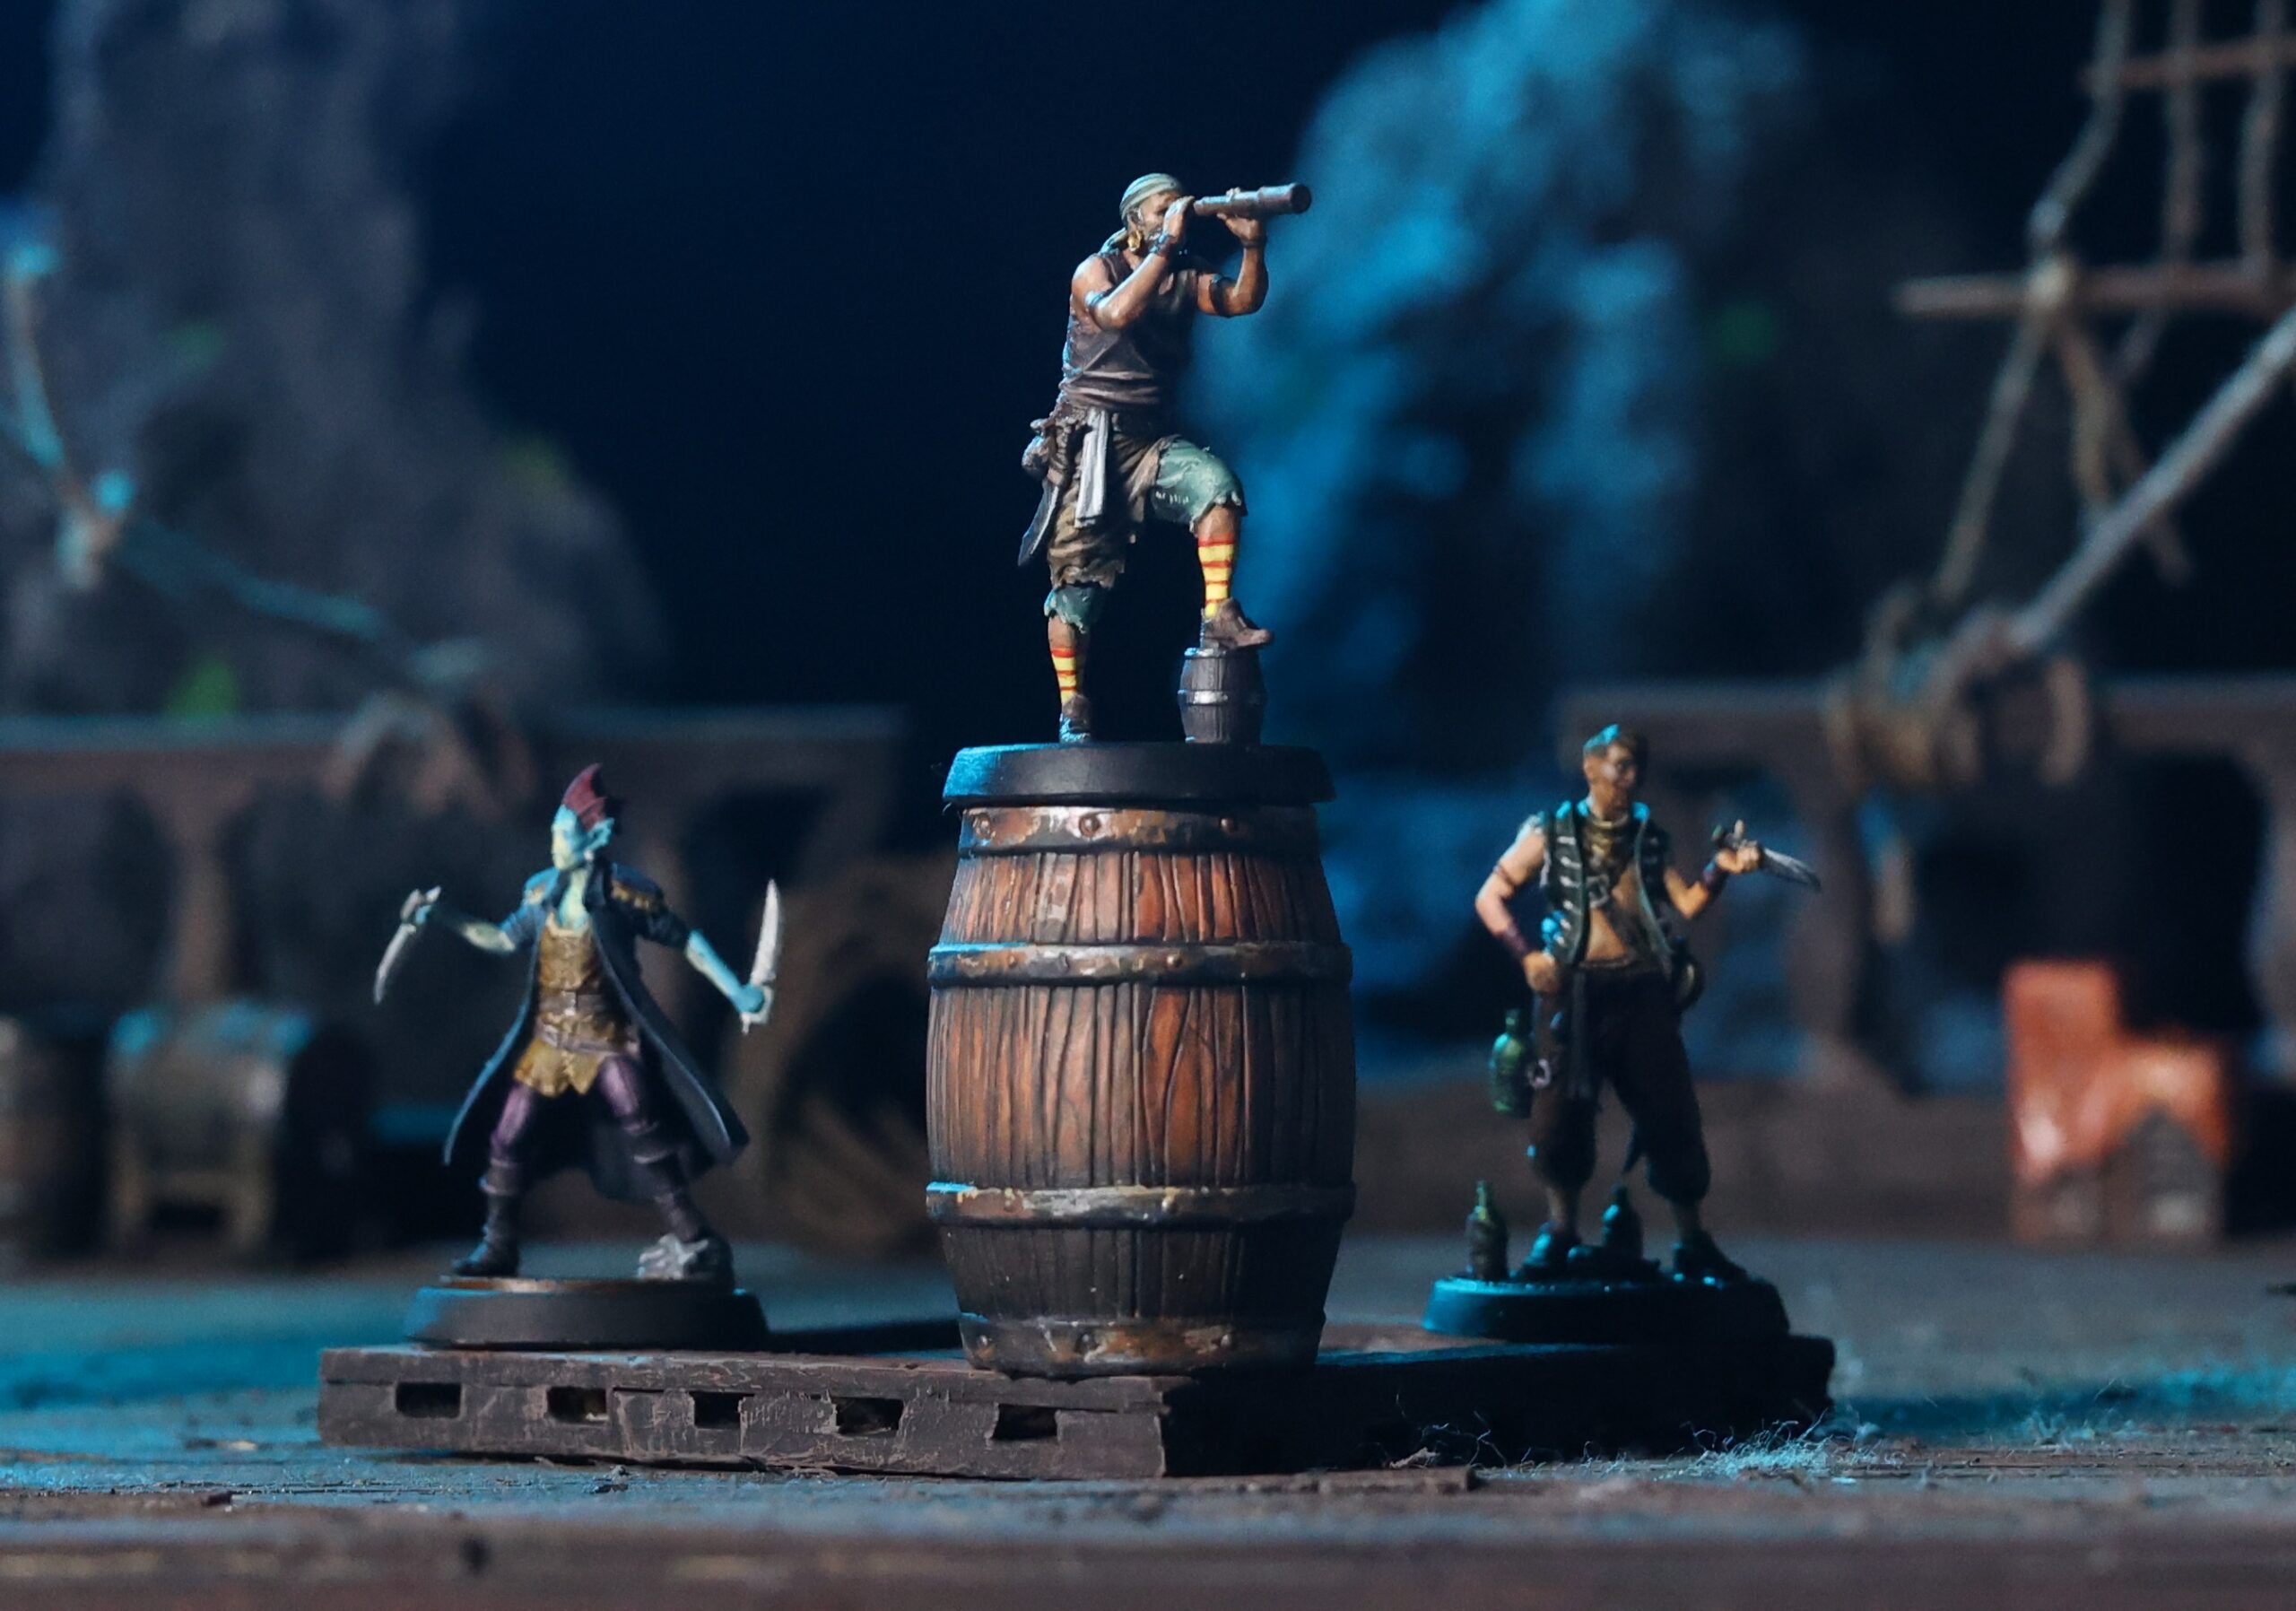
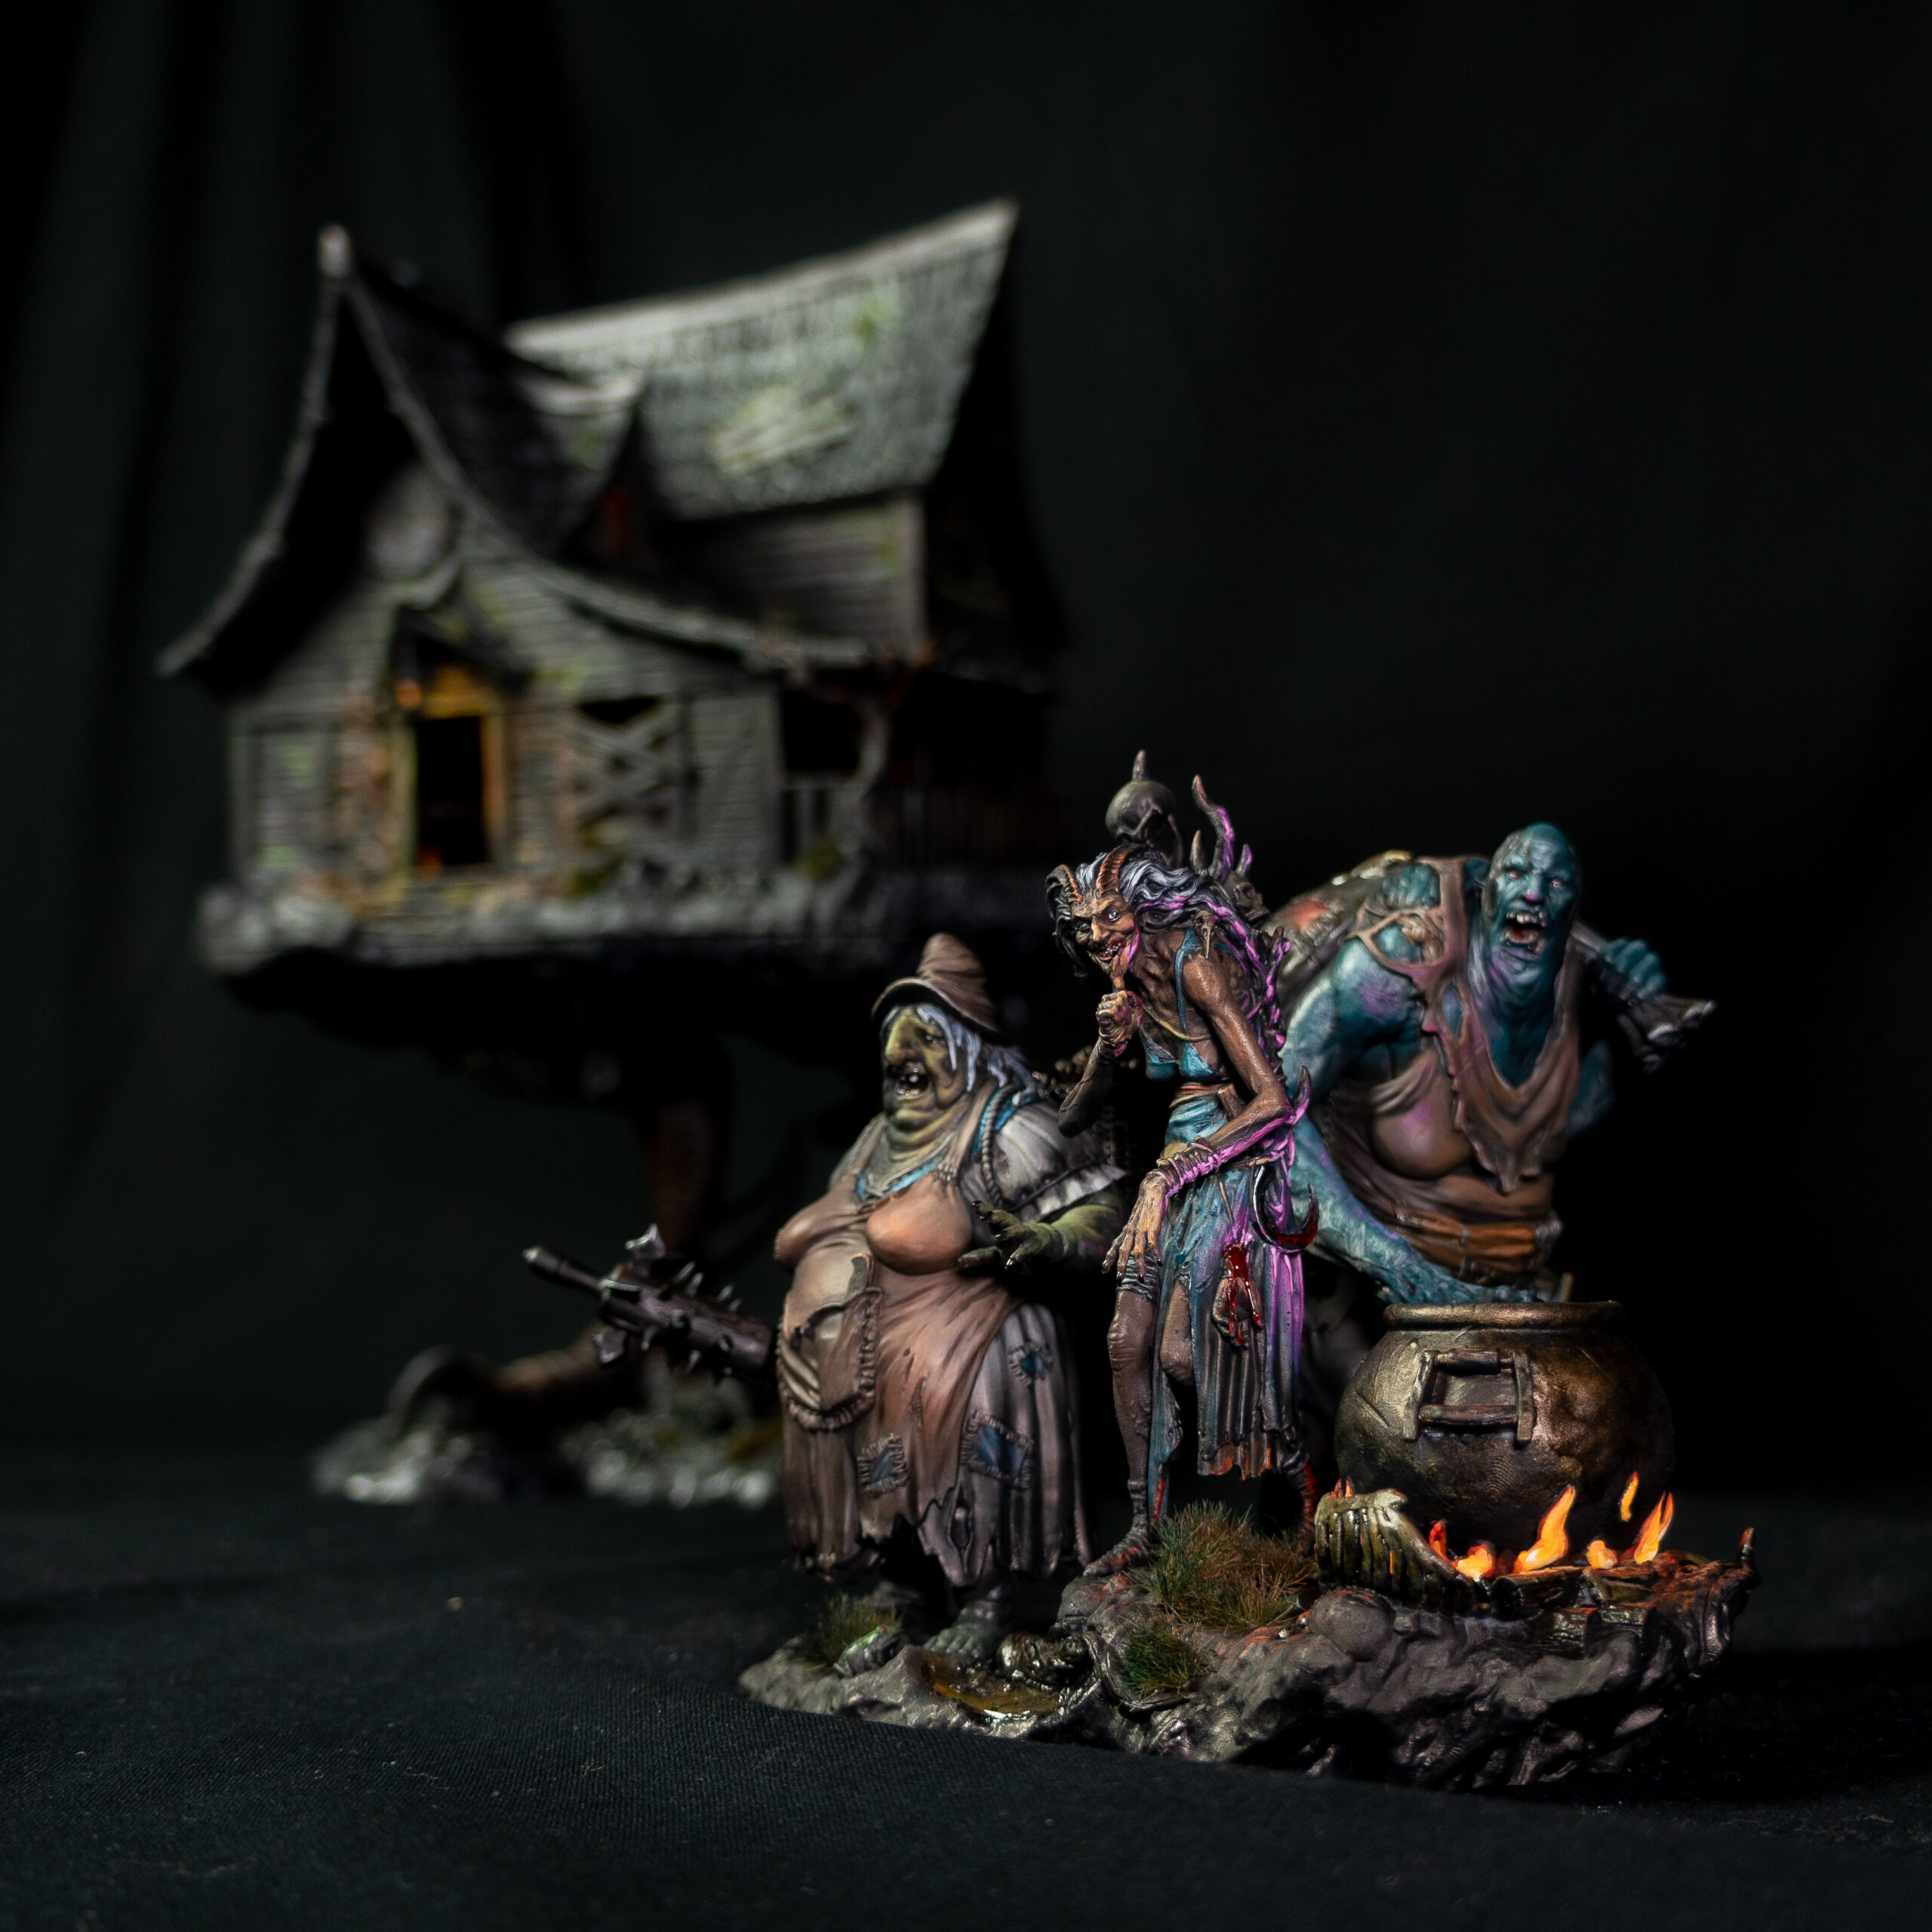
The Importance of Curing Your 3D Printed Mini
We Did Some Curating to Help With Your Curing
But Seriously, It’s Necessary
Way beyond just a matter of taste, washing and curing your 3D printed objects is about personal safety. Resin prints require post processing. It ensures that no harmful effects might befall on you or whoever touches, sniffs or licks the finished piece (please don’t sniff or lick 3D printed objects. Please). With that in mind, remember to always wear your PPE (that is: mask: respirator, non-latex gloves, goggles) when handling uncured material.
While there’s zero doubt a printer helps to transform resin into the desired shape you’ve chosen and arranged in the slicer program, the material right off the machine isn’t fully hardened and chemically stable. A soft, sticky print is no fun to paint and play. Let’s help you with what to do next.
From “Why” to “How”, Washing
After coming out of the printer bed, your item needs a proper wash. Unless you’re using some special resin that works with water, you’ll need isopropyl alcohol. There are washing stations that more effectively move the liquid and speed the cleaning process, usually made by the same resin 3D printer manufacturers. You can, however, submerge your piece and swirl it in the alcohol to help this a bit. The amount of time, as with the next steps, varies depending on the size of your print. This can be done for two to three minutes on miniatures and twice or thrice as much if you’re processing statues. A good sign that they’re properly washed is when your print isn’t tacky anymore, just overall soft.
The materials necessary for this step can get as complex (and expensive) as you wish them to be. For a barebones solution, a bucket with alcohol should be enough. For a setup that has more features designed to aid in this procedure, look towards your preferred 3D printer brand. If you wish the best and quickest option available, ultrasonic cleaners are the way to go.
From “Why” to “How”, Curing
Once again, varying levels of cost and complexity can yield varying results when curing your print. One important thing to note here is that 3D prints can be over-cured: too much UV light and they become brittle, discolored and develop cracks. As with the washing step, the time varies depending on the resin, color and size of that object, so it’s tough to just give a number without more additional info. You can expect about 15 minutes for miniatures and most resins when done in a curing station. Every brand that makes washing station also has a curing one, which is pretty much a rotating base to help uniform curing with a powerful UV LED.
Another cheaper, yet more inconsistent option is to rely on your favorite deity. Tonatiuh, Inti, Ri Gong Tai Yang Xing Jun, Sol, Helios, Ra… just offer your print on an appropriate vessel and, if they are in good spirits (ha!), let their blessings be cast onto it. In other words, let it bask for an hour or so under the sunlight, rotating it occasionally.
Almost There!
Once the previous steps are done, your print will likely still have support material attached to it. Removing them isn’t a tough task and we can help you with that here. That being done, you’ve managed to successfully PRINT. That’s one of three steps done! Let us offer you a hand if you’re also interested in the PAINT and PLAY.
Loot Studios can help you print highly detailed minis, statues and props. Choose your favorite bundle from our previous releases or sign up for Fantasy or Sci-Fi to receive a new bundle every month. You can also check out some tips at our YouTube Channel.