Beginner’s Guide to Paint Your First Mini
The Best Easy Hacks to Paint Like a Pro
Miniature painting sounds terrifying. A hobby that most admire from afar, and lack the courage or patience to practice themselves. Painting in general is pretty scary. Not to mention, what to do with a figurine that someone painted wrong? However, the whole process isn’t as hard as people imagine, and in fact, anyone can do it! Between different techniques and basic procedures, there’s a simple path to learning how to paint your first mini and start with this great activity. But, if you want to dive deeper into the world of colors, you can check out this post about color theory for miniature painters.
In any case, there are important tricks that should be known even before the painting part, and that can make all the difference for any mini to look great. Still, one could ask how to even begin with that dream, and another one would answer: with this guide. Fear no more, dear mini-collector. Here’s a guide for those who want to enter the wonderful world of miniature painting. A pretty relaxing hobby that undoubtedly pays off in the end.
Knowing Your Mini
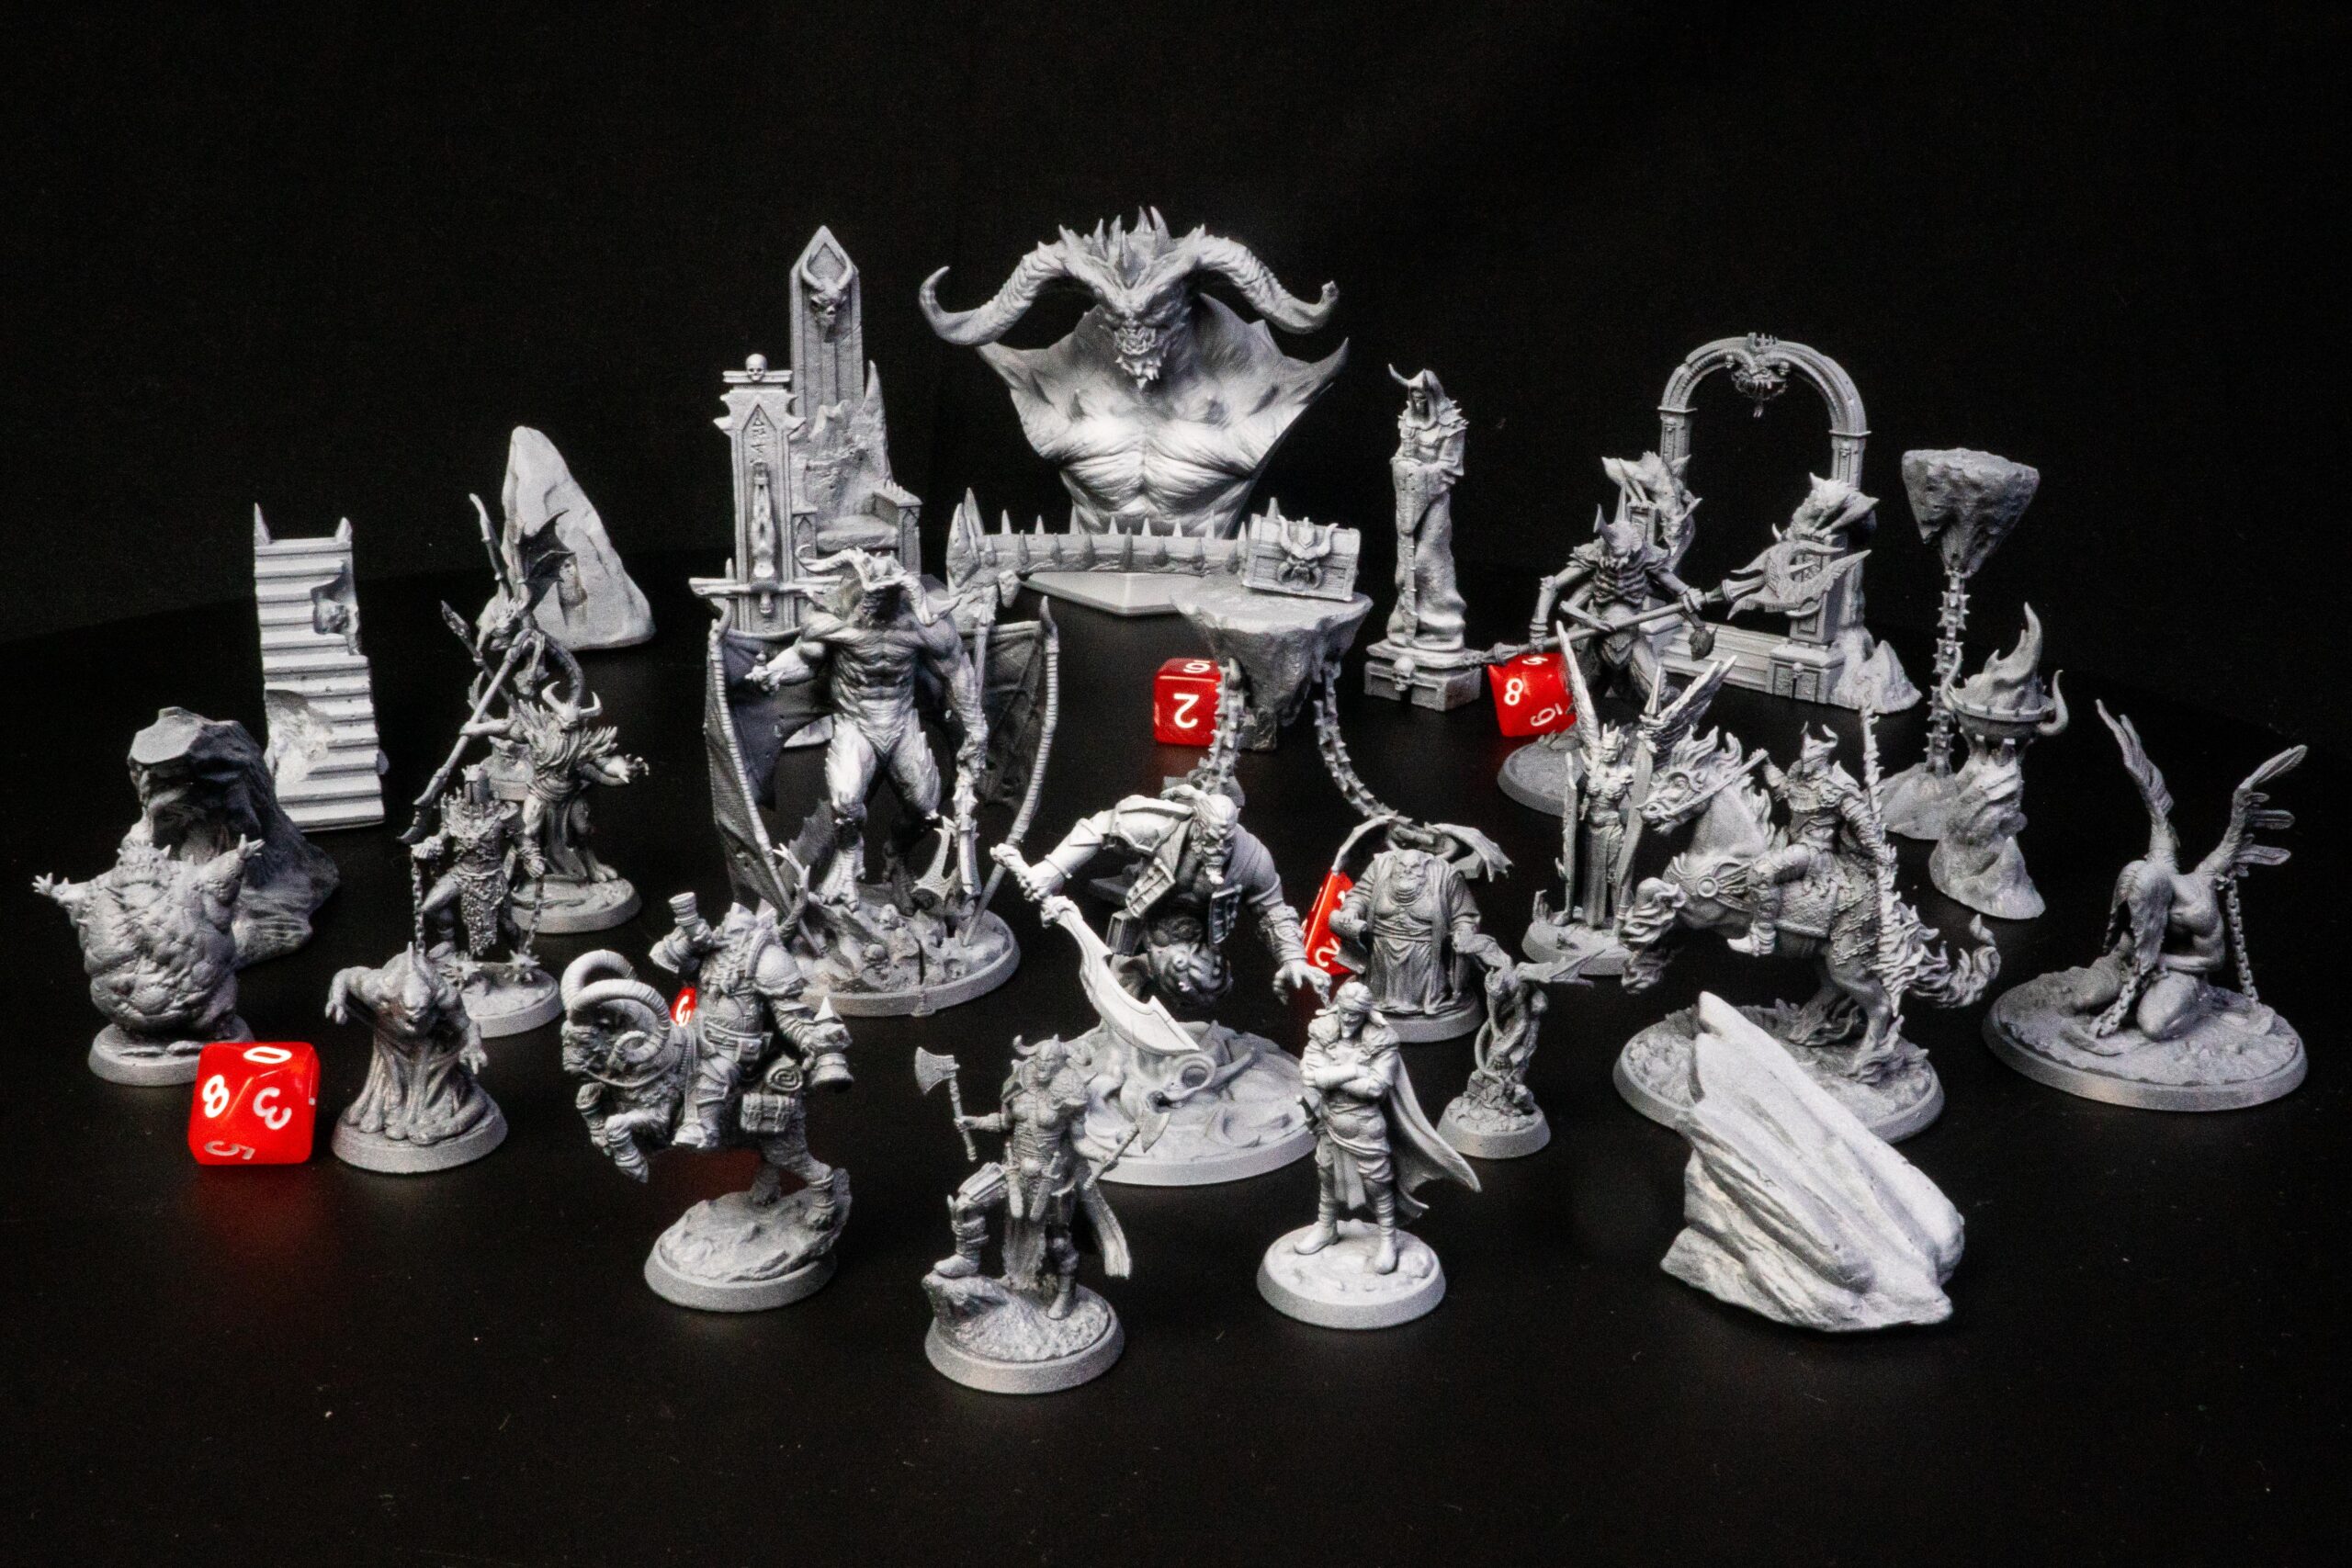
3D printed objects can be printed in different ways and with different materials. It’s important to know what materials were used so that the painting job will be the best suited for that material. Perhaps the mini wasn’t even 3D printed. It could be a handmade project, sculpted and baked in clay or play-dough. That could differ a lot on what to use to paint the mini and even more on how to prepare the miniature before getting to the painting part. Luckily, this beginner painting guide works for any kind of 3D printed miniatures.
Material List
Easy and cheap materials to get this new hobby started:
- Plastic gloves
- Face mask
- Old toothbrush
- Isopropyl alcohol
- Sandpaper and/or nail file
- Double-sided adhesive tape and a cork stopper
- Black primer
- Acrylic paint
- Paintbrushes of different sizes
- A wet palette for mixing colors
- Water and some napkins
- Varnish spray
Acrylic paints are popular for this because they’re nontoxic, easy to use, and don’t crack when handled or painted over! There are no specific brands required for any of these items, as long as the paint and the primer are acrylic. Vallejo, for example, sells both at an affordable price. As for the wet palette, a DIY version can be easily made by following this tutorial:
Preparing the Model
Filament minis come out of the printer with a lot of surface noise and require sanding to achieve a more professional and smoother look. Sometimes, even resin minis might need a bit of sanding near their source marks. To do so, it’s recommended to sand the surface in a circular motion, using sandpaper for the big parts, and nail files for the smaller ones. Find an easy-to-clean surface and remember to use gloves and a mask to protect yourself from any particles. Do not use a dremel for this! It might sound great at first but the friction will completely melt the miniature. Additionally, you can find some tips in the following video:
200 to 400 sandpaper grit are recommended for removing extreme surface marks, while 600 to 3,000 can be used for more subtle irregularities. Sit back and take some time to carefully remove any marks while being careful not to sand the important details away in the process. Check a reference if necessary and don’t blow the dust. Instead, use a disposable toothbrush with alcohol to clean the mini from time to time. The alcohol will help with spotting the remaining imperfections on the piece. Once the sanding is done, wash the model to remove any remaining particles and let it dry.
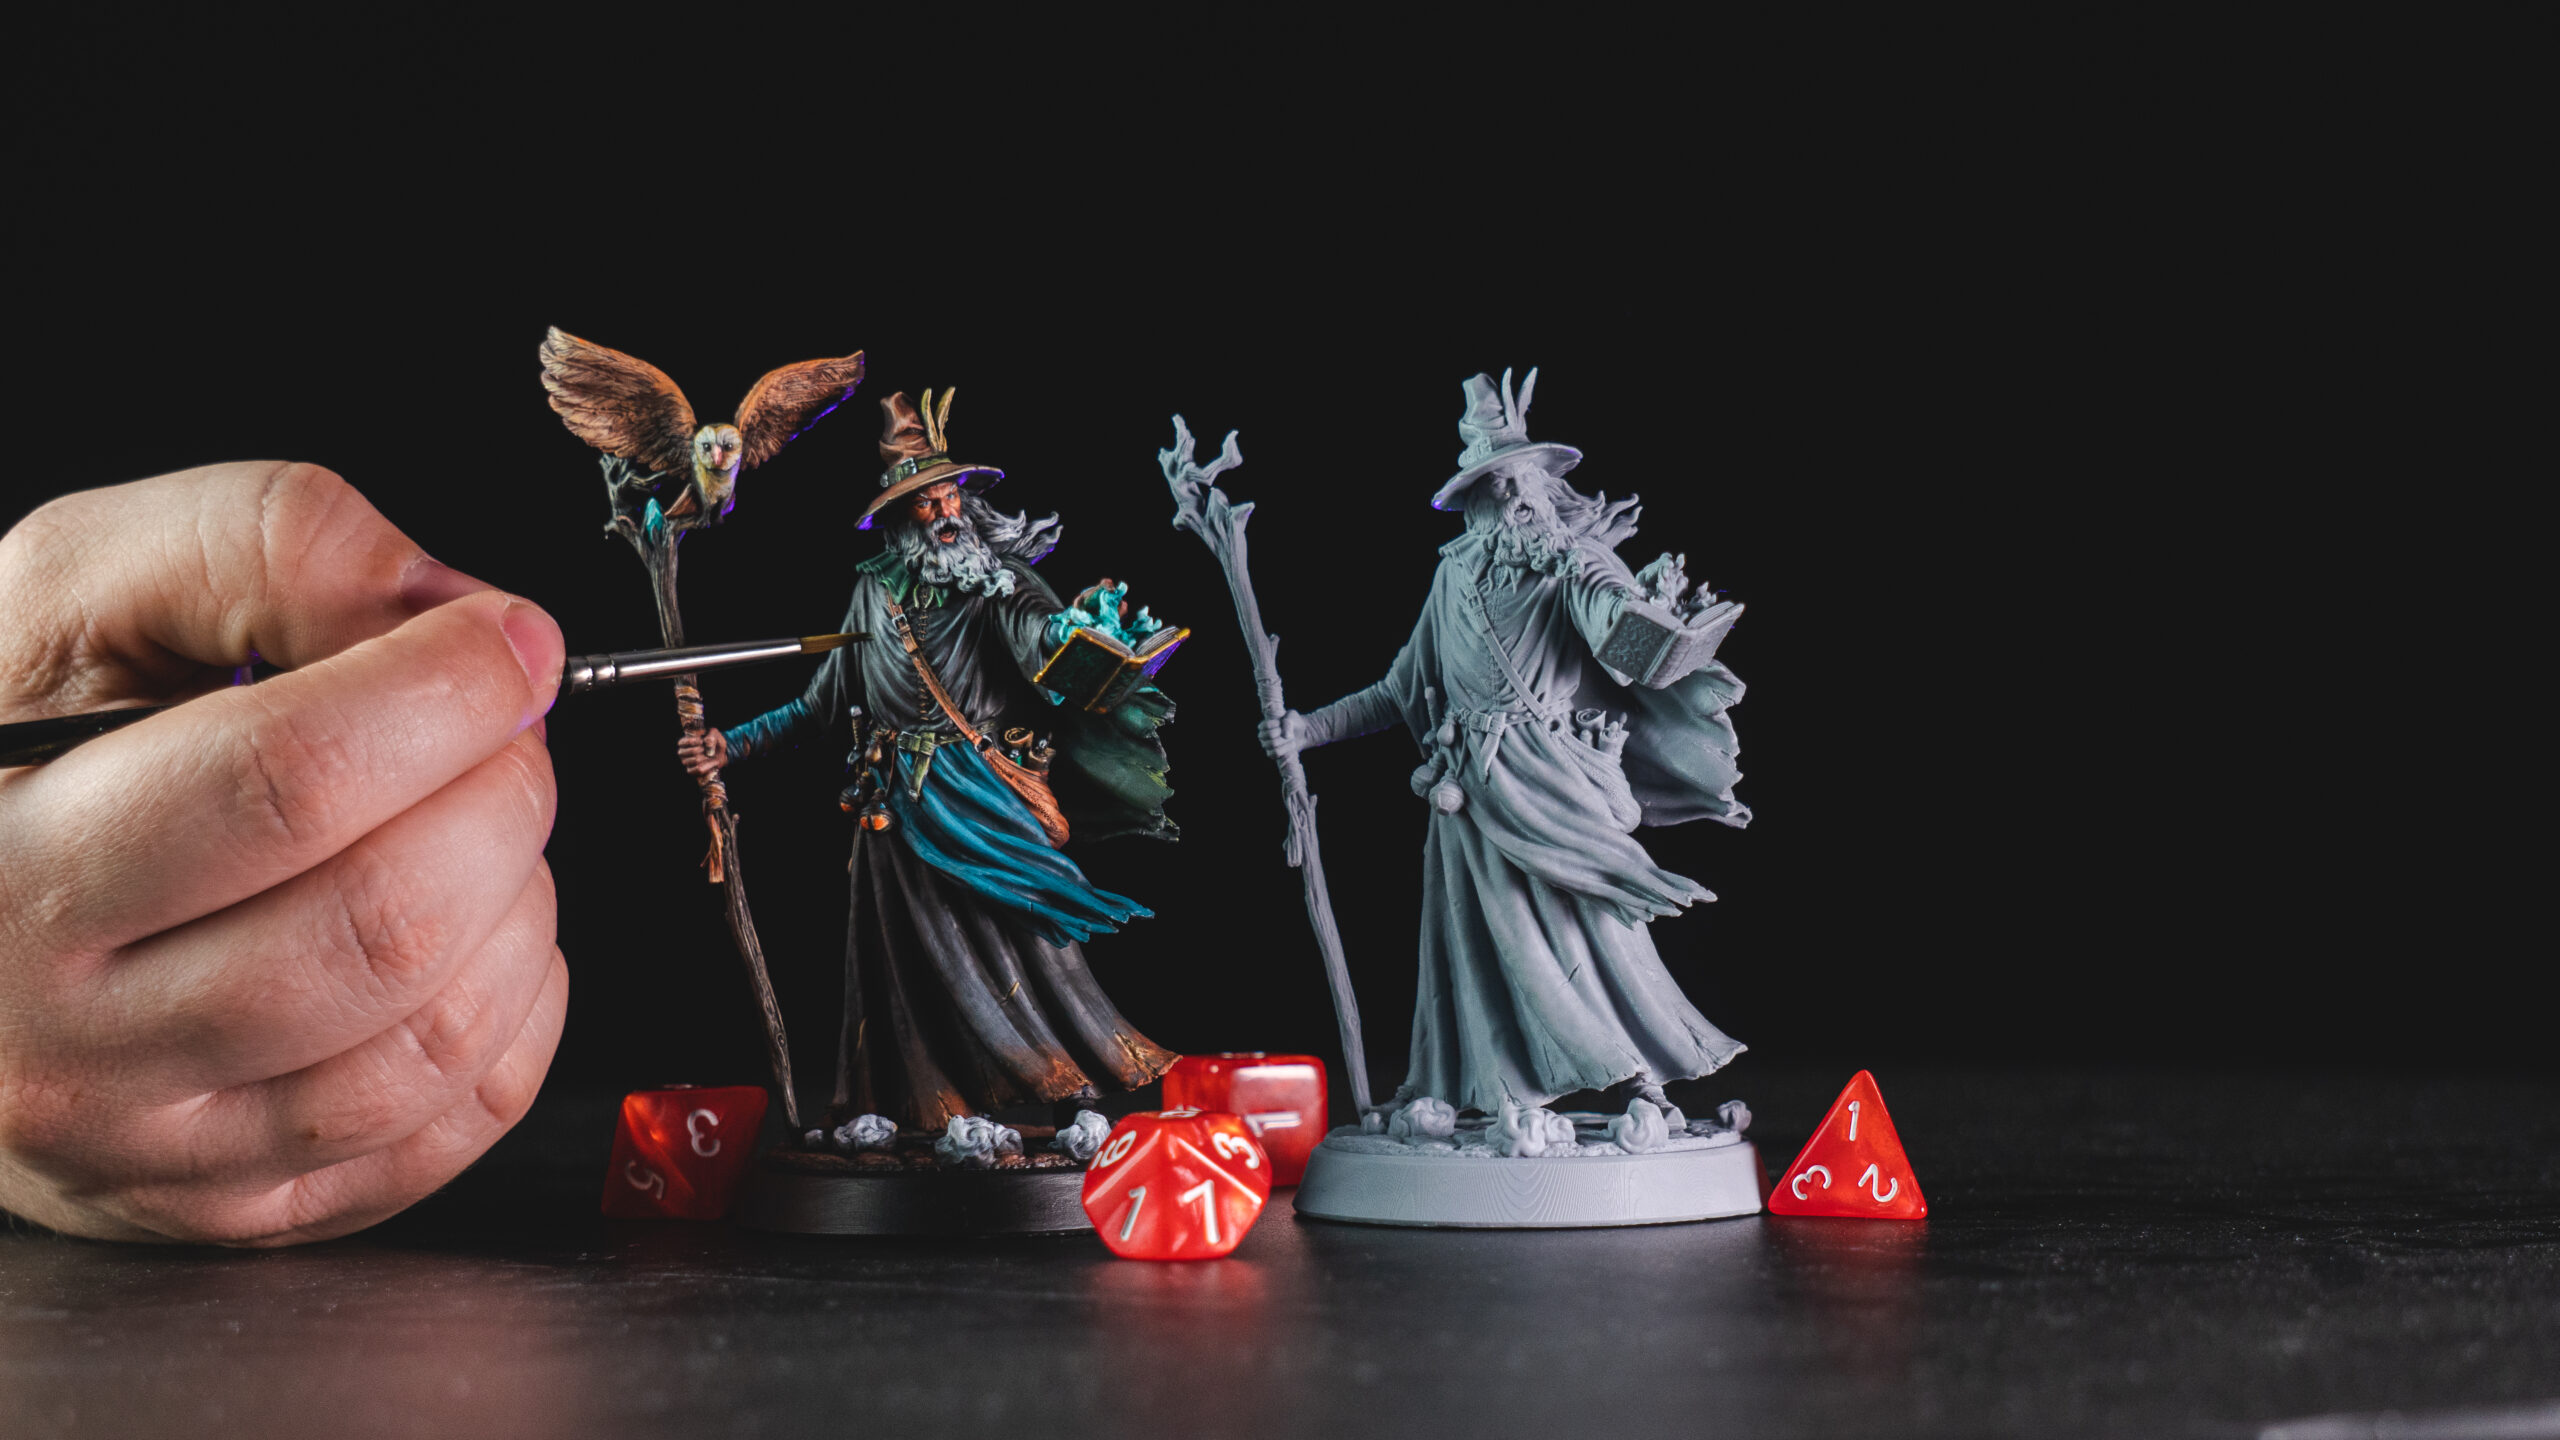
Using the Primer
This part is as easy as it comes, just be sure to get an acrylic primer like Vallejo since you’ll be painting the mini with acrylic paint later. Black primers are best for beginners, and hobbyists that don’t have a particular color scheme in mind. It’s best to apply the primer in an open area (i.e. outside the house), and always use gloves.
Grab a big brush and start applying it evenly on the model. If it proves difficult to paint the mini, create a handle by using a cork stopper (or similar object) and adding a bit of double-sided adhesive tape to fix the mini over the cork. Apply primer on the whole model and leave it to dry for the manufacturer’s specified time. By the end, the mini’s smoothed and ready to be painted.
The Basics
Start by vigorously shaking the paint tubes before using them, to get rid of paint decantation, and apply an initial basecoat to the model. This coat will blend with darker and lighter tones later (e.g. if the arms are green, give it a flat green basecoat). Let it dry and apply new layers when necessary until it completely covers that part, and the primer is no longer visible. Now, prepare your wet pallet and start mixing new tones by following your reference, color scheme, and creativity.
Remember that large brushes are good for coats and smaller brushes are better for details and blending colors. Acrylic painting is about applying layers and waiting for them to dry. Remember to dilute the paint in your wet pallet to create thinner layers and preserve the miniature’s details. Depending on the size of the mini, use some tape to conceal parts that shouldn’t receive paint at that moment, giving more room to paint without fear. As a rule of thumb, start painting the bigger areas, from the center of the model to the outer parts, and leave the small details for last. Bright spots and highlights can be left for the end as well.
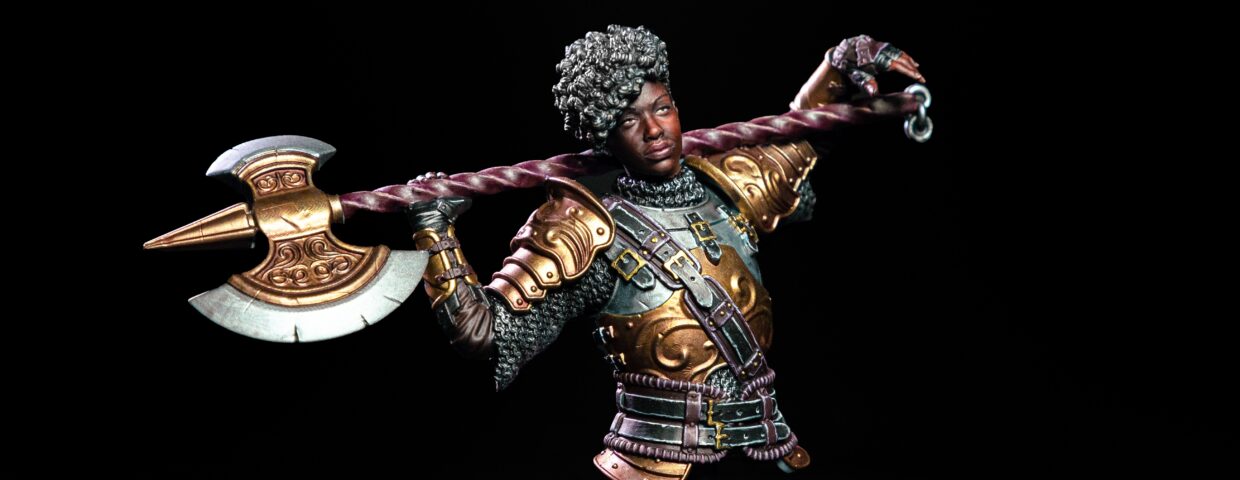
Painting Techniques
The most known painting technique to blend colors for beginners is to gradually add thin layers of color, achieving the desired tone for shadows and highlights, and then blending everything with Glazing. It gives great control over colors and little to worry about drying time. Lyla Mev does a great job at teaching this technique in her video Layering & Glazing Made Easy:
Another great and simple technique is Dry Brushing, often used for highlights and creating worn-out effects on weapons and armor.
If glazing sounds too taxing, or if the miniature is not so small, a sponge can be used to blend the layers more quickly and smoothly. After applying a layer of paint with the brush, gently tap the edges with a small sponge piece. Remember, pressure it on the model with taps instead of rubbing the sponge across the surface. Alternatively, put a layer of paint directly on the sponge and tap it on the model (e.g. to create the shadow directly). Then, tap it again with the side without paint to remove it where it needs to blend.
Hacks: Using Wash
The biggest painting hack is using wash paint to paint deep crevices. Highly detailed texture, pores, wrinkles, and other tiny details pop out when using this simple trick. To do that, select a very dark tone of the desired color and create a really thin layer (i.e. with more water than paint) and let it fill the model’s crevices. You can also use a ready-to-apply wash paint. Just be careful not to leave big pools on the model. Even if the surface is flat, this can work as a final layer to give the model an overall color harmony, or to create interesting effects like sweat on a shirt! Avoid using pure black as shadows, as dark brown feels more natural.

Fixing Mistakes
There’s no need to throw away a mini or hide it where no one can see if something went wrong. Mistakes can be easily fixed by repainting areas with new layers, and without the need for primer. However, for more extreme cases or when the paint layer is too thick, removing the acrylic paint with isopropyl alcohol can be a solution. Just be careful when handling this type of alcohol as it can go through plastic gloves, and this method is not recommended for resin models.
Finishing the Model
Once the painting is done, it’s time to apply the varnish. Testors Dullcote Spray Lacquer is a recommended spray varnish that preserves the model’s original colors while keeping the non-reflective look. It’s best to test the varnish on a scrap piece before using it on the mini. Equip the face mask, and gloves, and take your miniature to an open area. There, vigorously shake the varnish can to ensure that it’s mixed well and spray it all over the model to create a thin final layer. This will guarantee that the painting is preserved for a long time. Now that the mini is ready, it’s time to show off! Invite some friends for an RPG session, or just for a tour around your new amazing gallery.
You can also check out this post about some of the greatest minis Loot Studios has made! Maybe it’ll help you find your next painting project.
Loot Studios can help you paint highly detailed minis, statues and props. Choose your favorite bundle from our previous releases or sign up for Fantasy or Sci-Fi to receive a new bundle every month. You can also check out some tips at our YouTube Channel.